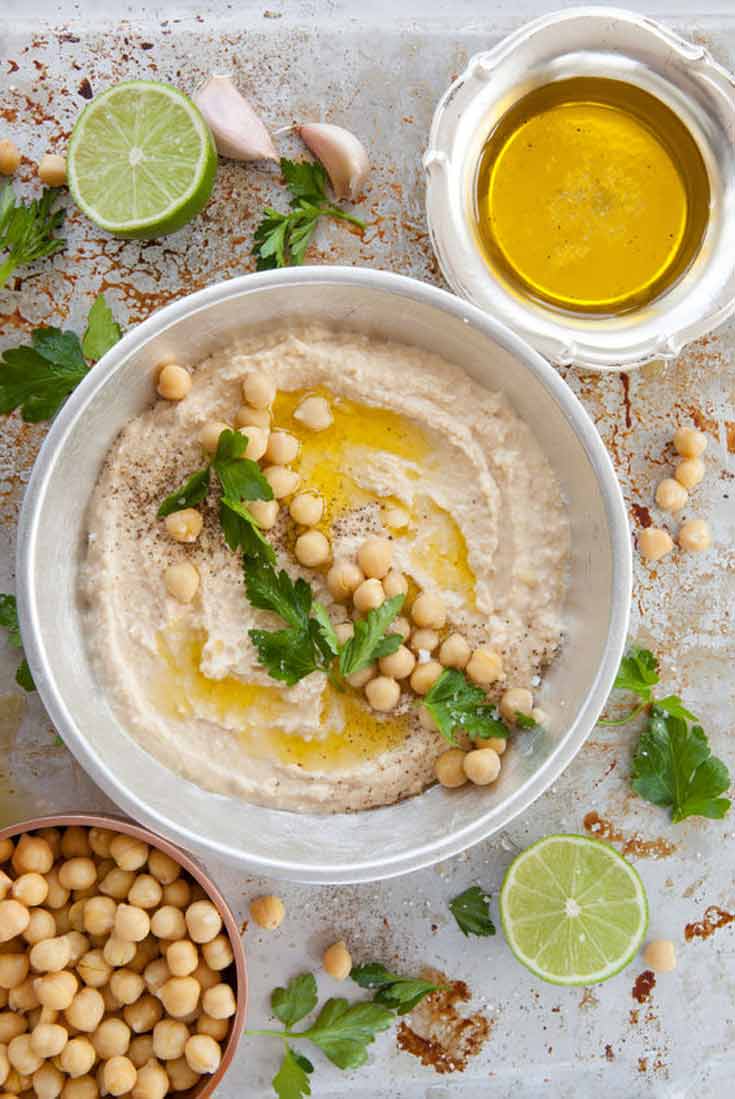
Hummus Recipe
This hummus recipe makes a perfect, take-along snack or even a spread for your morning toast!

I have a love/hate relationship with hummus. I absolutely adore the stuff. But when I try to buy it in the store, it either costs an arm and a leg, or it has added sugar. Something I avoid completely.
I finally got fed up and tried my hand at making my own. And you know what? It was easy! All you need is a food processor or a hand blender (a regular blender will work fine too.).
And if you’re wondering what to do with a large batch of hummus, here are some ideas:
- Use it in place of salad dressing
- Use it on sandwiches instead of mayo or other condiments
- Use it as a dip for veggies and clean eating chips
- Spread it over a tortilla and make a wrap with chicken & veggies
More Hummus Recipes
- Black Bean Hummus
- Artichoke Heart Hummus
- Taco Hummus
- Sun Dried Tomato And Olive Hummus
- Traditional Hummus
Recipes Used
Hummus Recipe Card


Hummus Recipe
A deliciously nutritious dip or spread you can eat with veggies, on toast or even just as a side dish!
Servings: 12 servings (3 cup total yield)
Calories: 175kcal
Equipment
- Food processor
Ingredients
- 30 oz. canned chickpeas (drained and rinsed)
- 1 medium lemon (juice only)
- ½ cup tahini sauce (see link above)
- ½ tsp. salt
- 1 large garlic clove (2 garlic cloves if you don’t have to talk to anybody the next day)
- water (optional for adjusting consistency)
Instructions
- Place all ingredients in your food processor and blend until smooth (Please remember to put the lid on before you turn on the processor!).
- Note: If your Hummus is too thick, add either more lemon juice or a little water to loosen it up a bit.
Notes
Please note that the nutrition data is a ballpark figure. Exact data is not possible.
Nutrition
Serving: 0.25cup | Calories: 175kcal | Carbohydrates: 21g | Protein: 8g | Fat: 7g | Sodium: 88mg | Potassium: 252mg | Fiber: 5g | Sugar: 3g | Vitamin A: 25IU | Vitamin C: 1.3mg | Calcium: 49mg | Iron: 2.5mg


Just tried this, but in reading down I see where you drain the peas and I didn’t. I figured I was going to try it that way next, as it can probably be a bit thicker, but it’s still pretty good. Need to play with it to get the right spices. I was getting hooked on a cayenne sprouted hummus from our Farmer’s Market and they are now closed for the winter. I’m trying to mimic that. Need more spicy spices! 🙂
Natalie – Thanks for pointing that out. I just updated the recipe. Good luck with that mix of spices! Sounds yummy! 🙂
Thanks! Actually I just checked it and it thickened up a bit in the fridge, and it tastes a little spicier than earlier. Yay!
Natalie – Ya, sometimes you have to let hummus sit for a while. It can take a little bit for the spices to meld. Enjoy!
Making chickpeas, garbonzos, from scratch is easy and can be used for Hummus or just eating:
1. Soak over night, with water covering about 2 inches.
2. Drain and rinse with fresh water.
3. Bring to boil with beans covered by about 2 inches of water.
4. As water boils, skim off and discard froth & foam.
5. When water has reached boiling reduce heat to simmer (may take some adjusting depending on your pot construction).
6. For beans to use in salad, or plain eating: Cook about 1 hour until a test bean is cooked but firm. You can squish it with a little effort. When done, drain and put on cookie sheet to cool. If winter, put outside to cool/freeze so they can easily be put into freezer baggies and they won’t clump in the freezer.
7. For Hummus: Cook about 1 and one/half hour until a test bean squishes easily. Drain and allow to cool, then blend with other ingredients.
Ron – Perfect! Thank you! I like cooking them in my slow cooker too. 🙂
I cut the tahini out and instead of water reserve some of the juices from the chick peas 🙂
Alicia – Great! Do you still get enough “tang” from just the lemon?
This is the best hummus I have ever tasted. Thanks.
Staci – My pleasure! 🙂
I made this last Sunday, we loved it! We ended up taking small bowls of it and flavoring it up to our liking (more garlic, old bay, plain, etc.) I do need to confess, the first batch went in the trash, it was really thick so I tried to stir it and the blender took a chunk out of the wooden spoon….so the whole batch got trashed! 🙂
Monica – Oh no!!! I did that once with a metal spoon. My blender was not happy.