Instant Pot Chocolate Cake Recipe
This Instant Pot chocolate cake recipe is a wonderful way to enjoy a smaller, homemade cake without turning on the oven. It has tons of chocolate flavor and pairs well with a cup of tea or coffee.
If your got chocolate cravings but it’s too hot to heat up the oven, or you just don’t feel like wasting the gas using your oven, an Instant Pot is a great way to “bake” a cake on your countertop.
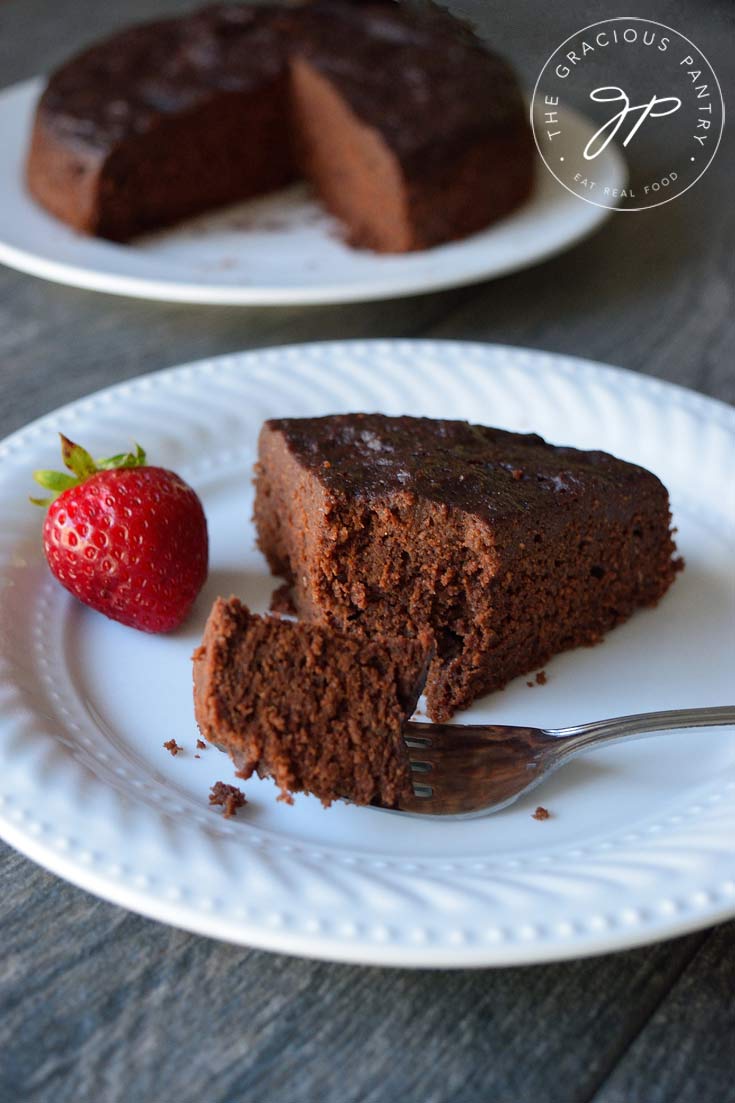
Can You Bake In An Instant Pot?
Yes and no. I don’t recommend it for things like cookies or delicate desserts, but a few things that can bake in a small cake pan, can most likely “bake” in an Instant Pot. Cakes are a classic choice. If it can “bake” in a moist environment, it should do well in an Instant Pot.
Which Instant Pot Has A Cake Setting?
The DUO EVO Plus Instant Pot has a cake setting. Many other versions of the Instant Pot do not. It’s a more recent addition.
What Is The Cake Setting On An Instant Pot?
This function does not stop the moisture of a pressure cooker. Instead, it uses the steam to do the “baking”. Cake handles moist environments pretty well, so it’s a great dessert option for Instant Pots.
What If My Instant Pot Doesn’t Have A Cake Function?
Not to worry! A pressure cooker cooks the same way, no matter what function you use. The difference is in the timing. So if you don’t have a cake function, all you have to do is follow the temperature and timing recommendations of the recipe below to properly bake your cake. (My Instant Pot does not have a cake setting either).
Can You Use Any Cake Pan In And Instant Pot?
If it fits, yes. The trick is to ensure that there is plenty of room around the cake pan. It should not be a tight fit. It should also have a tall edge, no less than 1-inch. A 6-inch cake pan is a perfect size cake pan for an Instant Pot.
Can You Make This Cake Gluten-Free?
I do not recommend switching the flour in this recipe for anything gluten-free. I am working on a gluten-free version however and will add the link here when it’s done. In fact, I may just make it a flourless chocolate cake altogether. Yum!
Different Sweeteners And Their Effects
I made this several times and discovered that the texture could be greatly affected by the sweetener used.
With liquid sweetener, I purposely gave an amount that was on the low side in order to keep the sugar content down. The cake will not be overly sweet with these measurements. If you too want to keep the sugar on the low side, you could add 1 tsp. of pure liquid stevia to make the cake a bit sweeter. But if you add any type of frosting or filling, it should be plenty sweet. You can always add a bit more liquid sweetener, but if you add too much, you’ll have a hard time getting your cake to cook completely. So don’t overdo it.
- Dry sugar, such as xylitol (which technically isn’t clean, but which I use because of my blood sugar) or an unprocessed sugar such as Sucanat give a much more dense cake. More like a brownie.
- Honey will affect the flavor slightly, but will give you a much sweeter cake with a more crumbly texture.
- Maple syrup will give you a less sweet cake (which I preferred out of all of them) and definitely a far more dry and crumbly texture.
Amounts Of Sweetener
- Dry sugars – ½ cup
- Fluid sugars – ⅓ cup
Instant Pot Chocolate Cake Topping Ideas
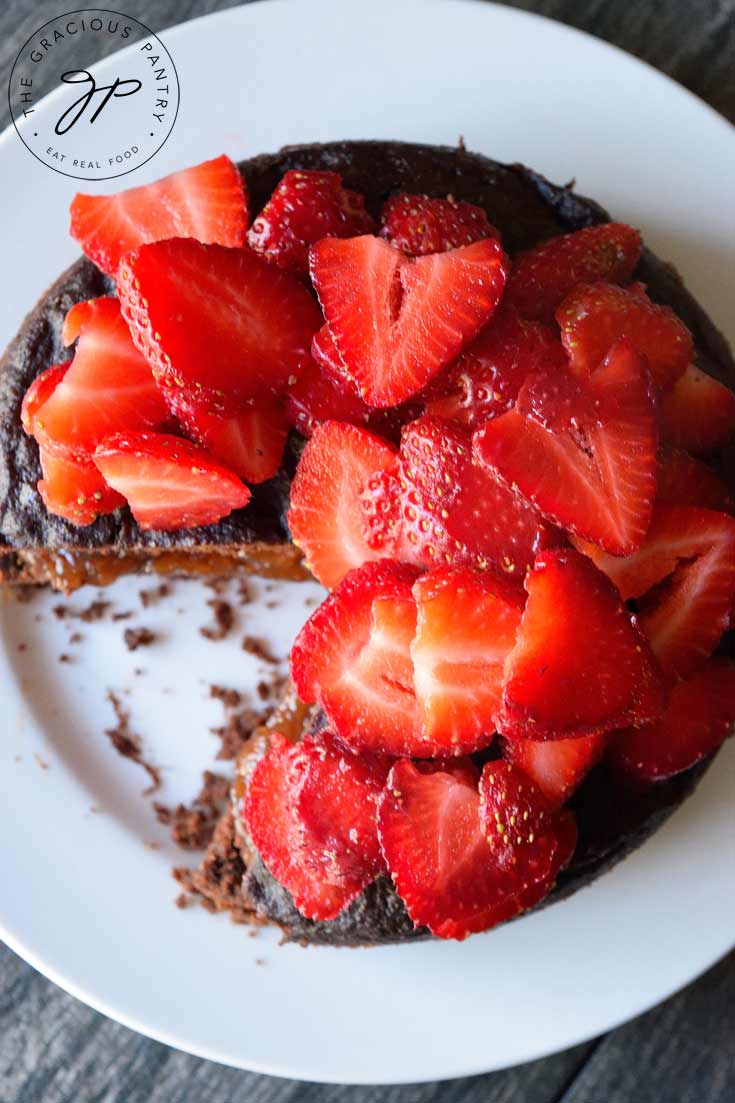
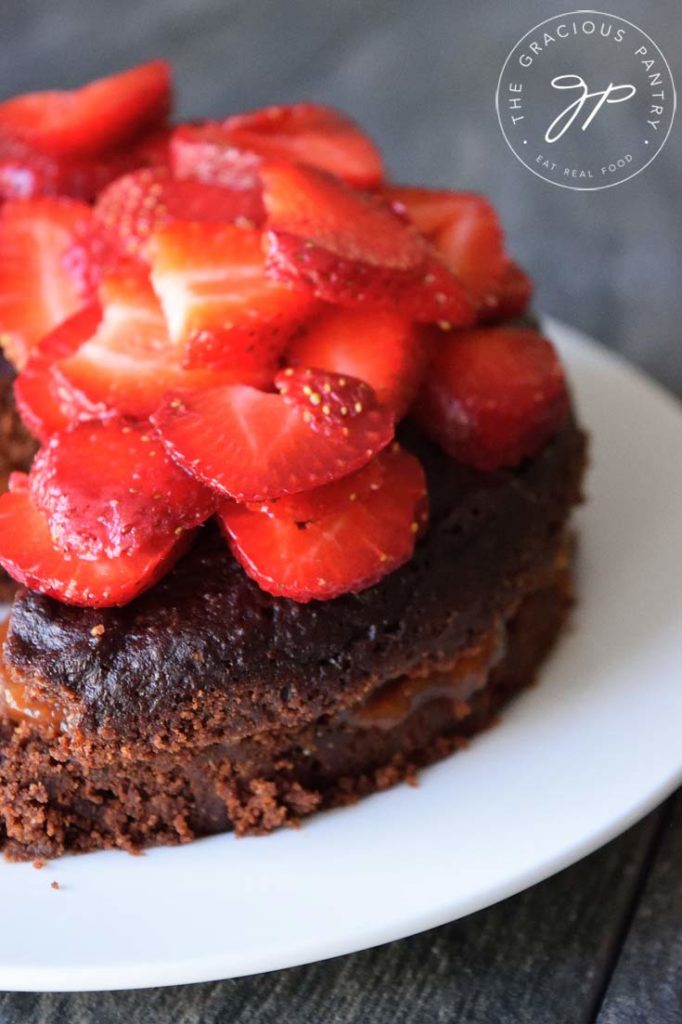
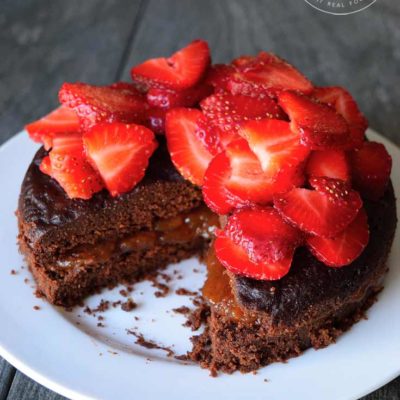
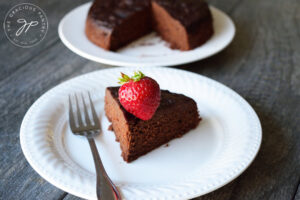
- Strawberries were excellent on this cake!
- Other berries will work too.
- Nut butter frosting.
- Make a simple chocolate ganache using coconut cream and dark chocolate chips in a double boiler.
Instant Pot Chocolate Cake Filling Ideas
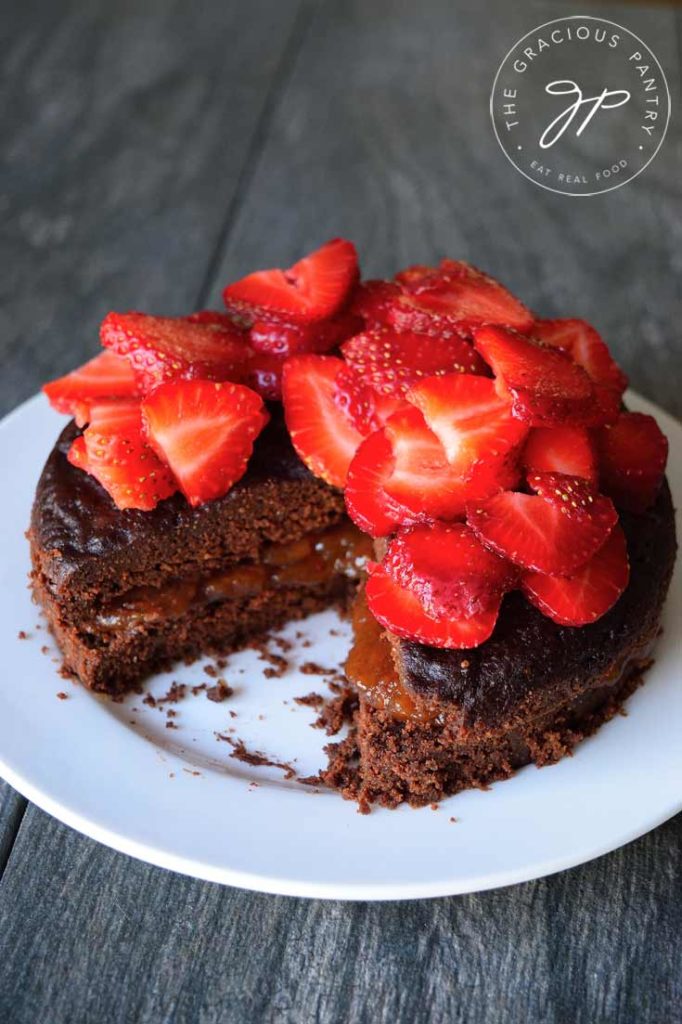
- 100% fruit spread (like jam).
- Homemade chocolate ganache using coconut cream and chocolate.
- Nut butter frosting.
- Coconut whipped cream.
- Regular whipped cream sweetened with honey.
- Apple butter
- Sweet potato butter
- Persimmon butter
- Fig butter
Ingredient Checklist
White whole wheat flour – You can also use whole wheat pastry flour.
Unprocessed sugar – see notes on what type to use, above.
Unsweetened cocoa powder – Use a ¼ cup if using maple syrup for sweetener.
Baking powder – Make sure it’s fresh. Old baking powder won’t work well here. Also, make sure it’s baking powder. Not baking soda.
Salt – I used pink Himalayan salt, but use whatever you would normally use in cooking or baking.
Unsweetened almond milk – + 2 tbsp. if necessary for consistency – Use ⅓ cup if using liquid sweetener.
Oil – Use any light-flavored oil. Grapeseed or safflower are good options. But any vegetable oil you are comfortable using will work.
Pure vanilla extract – Don’t use vanilla flavoring. You want real extract. Bourbon vanilla is my favorite.
Apple cider vinegar – I use the stuff labeled “with the mother”. But any type will work.
How To Make Instant Pot Chocolate Cake
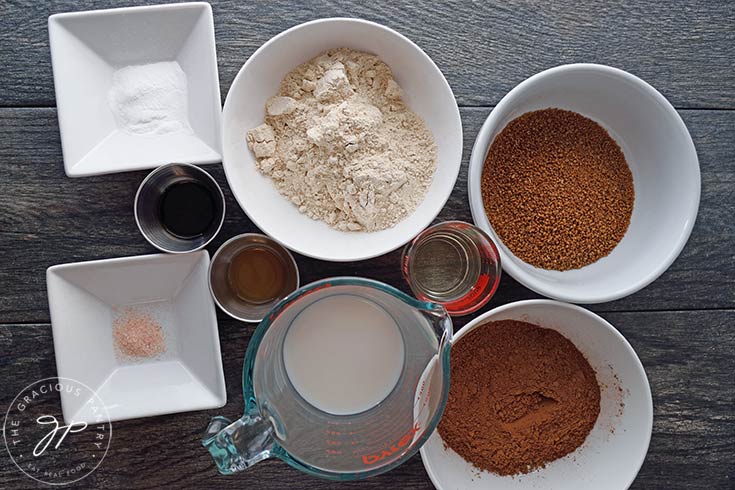
Gather All The Instant Pot Chocolate Cake Ingredients
This recipe goes quickest and easiest if you pre-measure everything and have it ready to go.
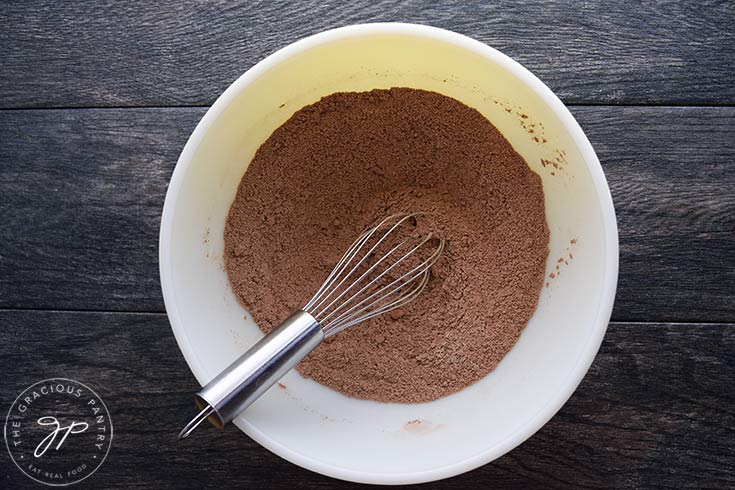
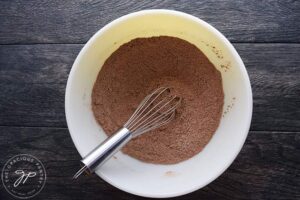
Combine The Dry Ingredients
Combine all dry ingredients. Whisk well to work out any clumps in the cocoa powder.
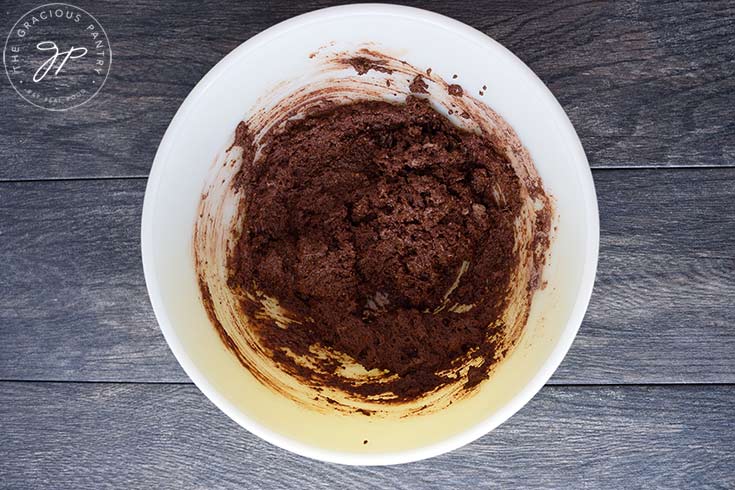
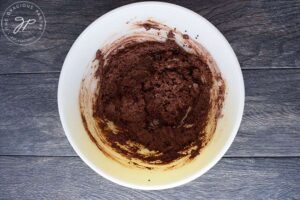
Stir In The Wet Ingredients
Add in the wet ingredients and stir with a wooden spoon until well combined. The batter will be on the thicker side.
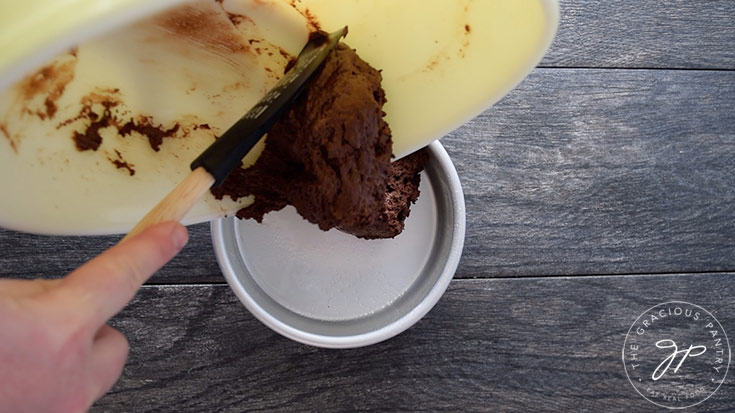
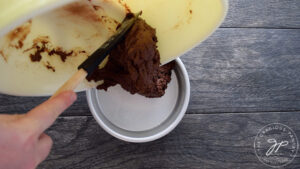
Pour The Cake Batter Into Your Cake Pan
Pour the mixture into a greased, 6-inch cake pan. It should have a minimum of 1-inch tall sides. More is better if you can find it.
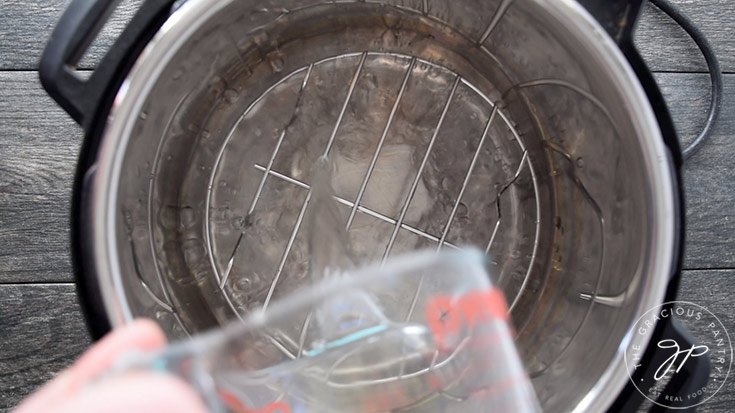
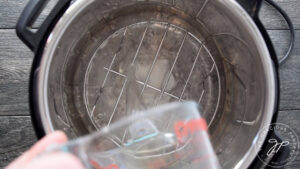
Place The Trivet & Pour The Water Into The Instant Pot
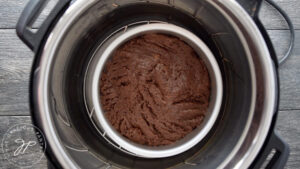
Place a trivet in the bottom of the pot (the Instant Pot insert) and then add 2 cups of water.
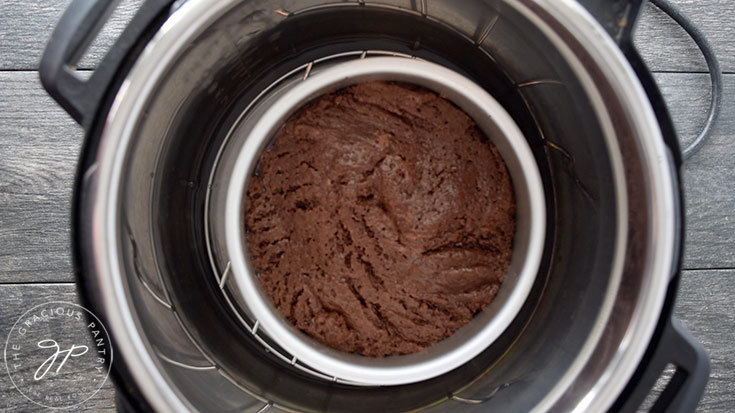
Bake The Cake In The Instant Pot
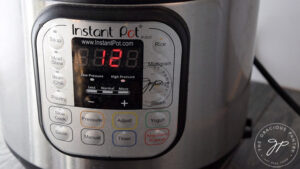
Place the cake pan on the trivet. Seal the lid and the vent. Press the Manual button and adjust the time to 12 minutes. Allow a 10-minute natural release after baking time is done. Release any remaining steam by opening the vent. Carefully remove the lid.
TIP: Hold the lid straight (horizontal) instead of tipping to avoid water on the lid dripping on your cake.
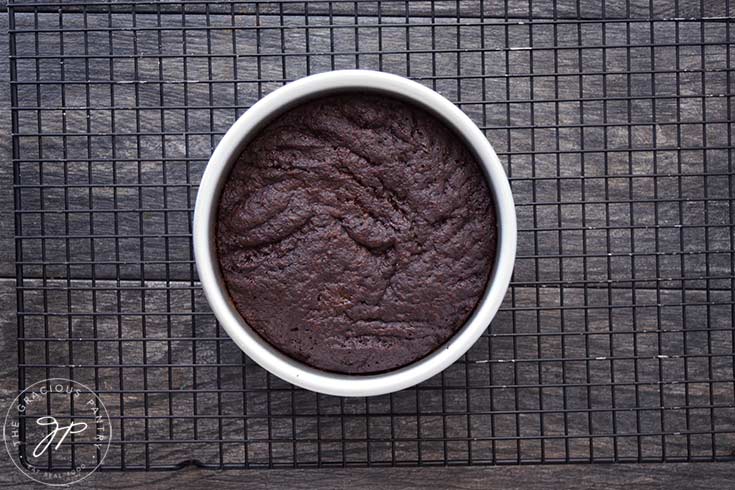
Cool The Cake
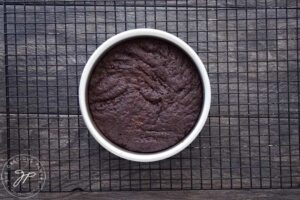
Lift the cake pan out and allow it to cool completely. A wire rack is your best option for this.
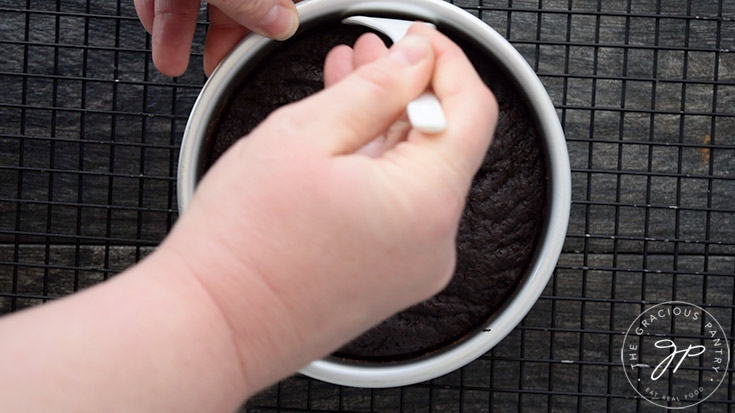
Release The Sides
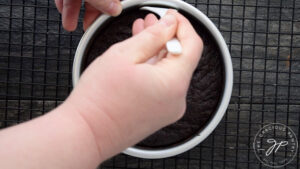
Run a spatula or plastic knife around the edge of the cake to release it from the pan and turn the cake out onto a platter or again, on the cooling rack.
Cut The Cake
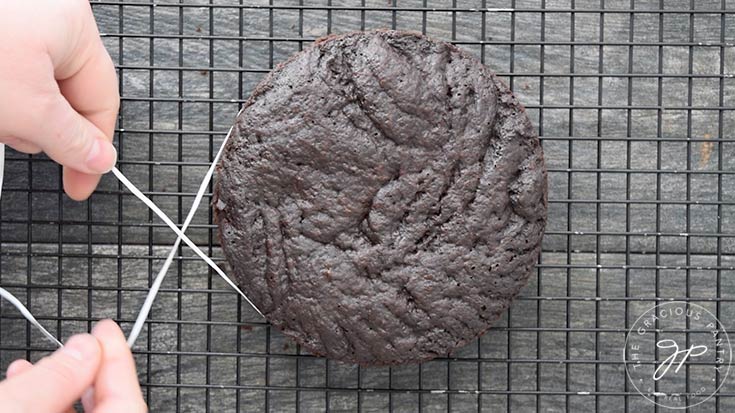
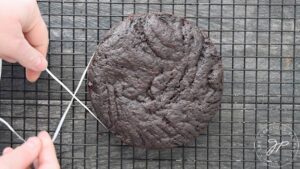
If you want to fill your cake, you’ll need to slice it. To do this quickly and easily, simply line up a long piece of dental floss at the middle of the cake. Cross over the end, and pull tight until the sting pulls all the way through the cake. You can see how this works in the video below.
Fill Or Frost The Cake
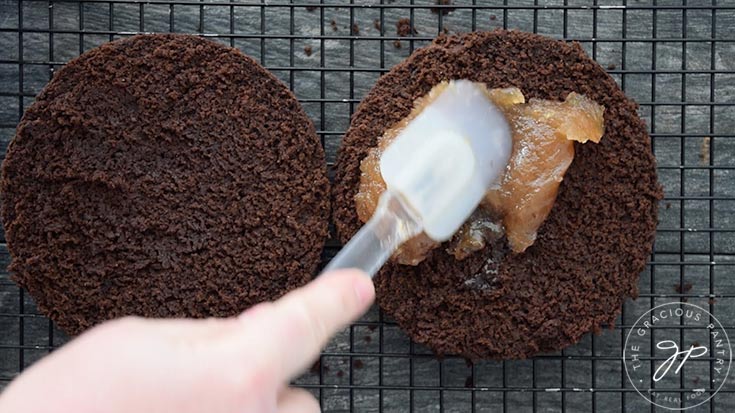
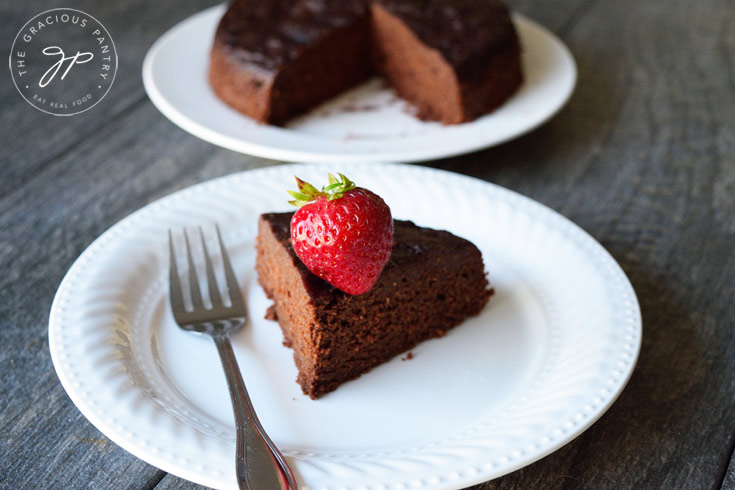
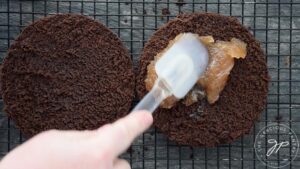
Slice and decorate as desired. I cut mine in half using dental floss to fill the cake with jam or frosting. Then I cut and serve.
How To Store Chocolate Cake
This cake is best stored in a cake container or some other airtight container. Keep this cake in the fridge once it’s cooled after baking. It will last up to about 3 or 4 days if stored in the fridge.
Can You Freeze Chocolate Cake?
This recipe freezes… okay. It’s not a great option for this recipe. It will definitely freeze, but if you do go that route, I don’t recommend freezing it for very long. Maybe a month at most.
How To Cut Cake With Dental Floss – Video
Tools For Making Cake In An Instant Pot
Need supplies for this Instant Pot chocolate cake? Here’s what I used:
More Healthy Cake Recipes
More Instant Pot Desserts
Instant Pot Chocolate Cake Recipe Card + Video
Recipe adapted from Carve Your Craving.

Instant Pot Chocolate Cake Recipe
CLICK TO WATCH THIS RECIPE IN ACTION!
Equipment
- 1 Instant Pot
Ingredients
- ¾ cup white whole wheat flour
- ½ cup unprocessed sugar (see notes above)
- ½ cup unsweetened cocoa powder ¼ cup if using maple syrup for sweetener)
- 2 tsp. baking powder
- ¼ tsp. salt
- ½ cup unsweetened almond milk (+ 2 tbsp. if necessary for consistency – Use ⅓ cup if using liquid sweetener)
- ¼ cup oil
- 2 tsp. pure vanilla extract
- 2 tsp. apple cider vinegar
Instructions
- Combine all dry ingredients, whisking well to work out any clumps in the cocoa powder.

- Add in the wet ingredients and stir with a wooden spoon until well combined. The batter will be on the thicker side.

- Oil a 6-inch cake pan.

- Pour the batter into the cake pan.

- Place a trivet in your Instant Pot insert and add 2 cups water.

- Place the cake pan on the trivet.

- Close the lid and the vent.

- Press the Manual button and adjust the timer to 12 minutes. Allow a 10-minute natural release after baking time is done. Release any remaining steam by opening the vent.TIP: Hold the lid straight (horizontal) instead of tipping to avoid water on the lid dripping on your cake.

- Lift the cake pan out and allow it to cool on a cooling rack.

- Run a spatula or plastic knife around the edge of the cake to release it from the pan and turn the cake out onto a platter or cooling rack.

- Slice and decorate as desired.

- Strawberry fruit spread (no sugar added) is really exceptional on this cake.

- Cut and serve!

Notes
Nutrition
Recipe from the Gracious Pantry® archives, originally posted 9/9/18.




Would adding an egg make it more fudge like?
Lynn – You could try it, but the “fudge effect” usually comes with added fat. While a yolk does have more fat, I’m not sure if that alone would do it. Worth a shot though! It certainly wouldn’t hurt it. 🙂
I liked this recipe for two reasons; one it’s a chocolate cake and the second it’s a short method to make in a jiffy. Must try thanks for the recipe.
Farhat.
Farhat – My pleasure! Glad you enjoyed it! 🙂