Dutch Oven Chili Recipe
Dutch oven chili is delicious and easy to make. It’s filling and will feed one person or an entire family. It freezes great and is easy to cut in half if you need to.
Brace yourself, there’s a lot of information on making chili in this post. To help you out, here are some quick links to get you to the sections you want a little faster.
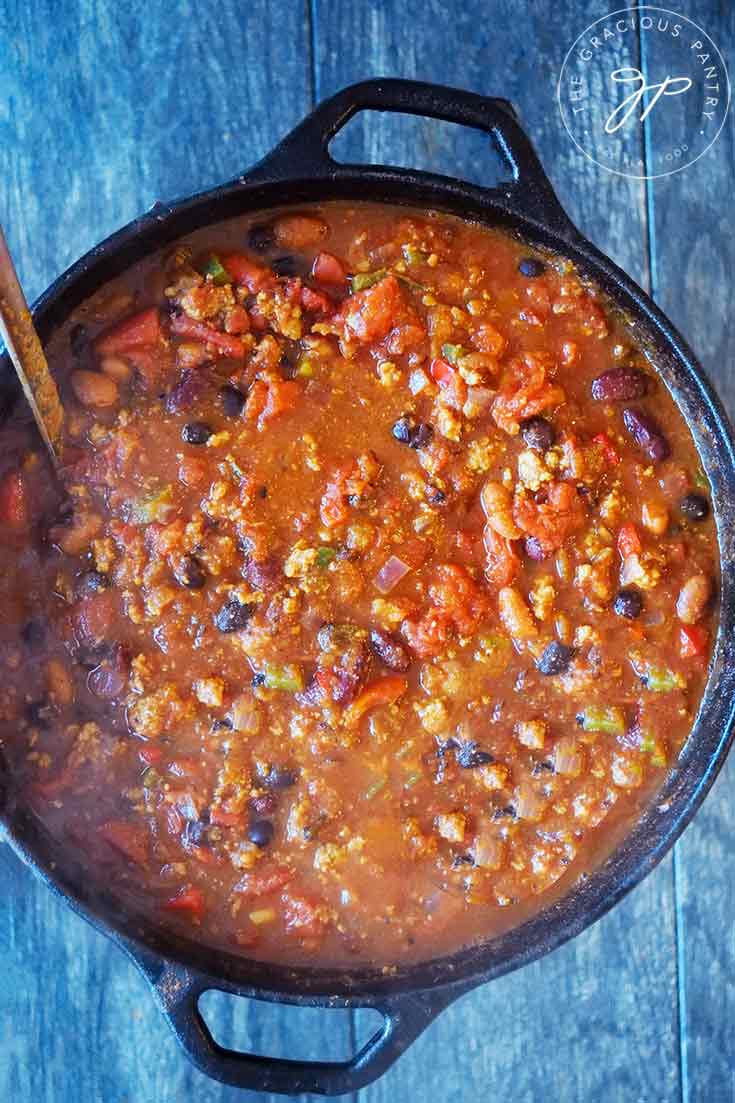
Dutch Oven Chili
This recipe for chili is deliciously made in a dutch oven. But that can mean a couple of different things to different people.
- It can mean a great stovetop dinner for some.
- It can mean a comforting campfire meal for others.
What Is A Dutch Oven?
Dutch ovens are pots that are either made of cast iron or are covered in enamel. They have a well-fitting lid made of the same material (which can also be used as a separate cooking pan in many cases.
They are great at either braising meats on high heat or cooking food at low temperatures over long periods of time. They have thick walls that distribute heat very evenly, which means the cooking process can be a bit more “intense”.
If you aren’t used to cooking in one, you’ll want to keep an eye on things the first few times you use one. Food like chili tends to cook a bit faster in a good dutch oven.
They are great for making dishes like whole roasted chicken or dutch oven bread. You could even use one to make a dutch baby for breakfast!
You can purchase dutch ovens that have handles specifically made for campfire cooking (or just for easy handling), or you can buy one without. Either way, they cook well on a campfire or a stovetop. All types do fabulously in an oven as well.
Types Of Dutch Ovens
- Cast Iron Dutch Oven – This is the type I have. Anything cast iron will require seasoning, even if it comes pre-seasoned. But I love cast iron, so I stick with it.
- Enamel Coated Dutch Oven – These tend to be a bit pricier, but do not require seasoning.
What’s The Best Size Dutch Oven For Chili?
This recipe needs a minimum of a 5-quart Dutch oven. If you are cooking for a few people, it’s best to opt for a 5 or 6-quart Dutch oven.
What Is Dutch Oven Chili?
Simply put, it’s chili cooked in a dutch oven. I feel like a dutch oven really helps flavors to meld and develop. I have no scientific proof of this, but there really is something special and different about cooking in a dutch oven.
How To Save A Pot Of Chili You Don’t Like
I’m no fool, I know everyone has their own idea of the perfect bowl of chili. Most chili lovers have very specific flavors they want to have in their chili.
I love this chili recipe. But I also understand that nobody wants to make chili and find out they don’t like it (or any other recipe, for that matter). So, where possible, I like to give suggestions for altering my recipes just in case you make it and it’s not your “cup of tea”.
In my experience, there are three things that can always save a pot of chili that is “less than” for your own personal tastes. What are they?
- Salsa – It might sound odd, but salsa can really save a pot of chili you don’t like. Add a little at a time
- Sweetener – The best type of sweetener for chili will always be a darker, more molasses-y type of sweetener. In this case, the healthiest choices are Sucanat, coconut sugar, or monk fruit. Sucanat is my favorite.
- Spices – This may sound like common sense, but switching up the spices (or the amount of spices used) can really change the flavor of any pot of chili. See the list of best options below
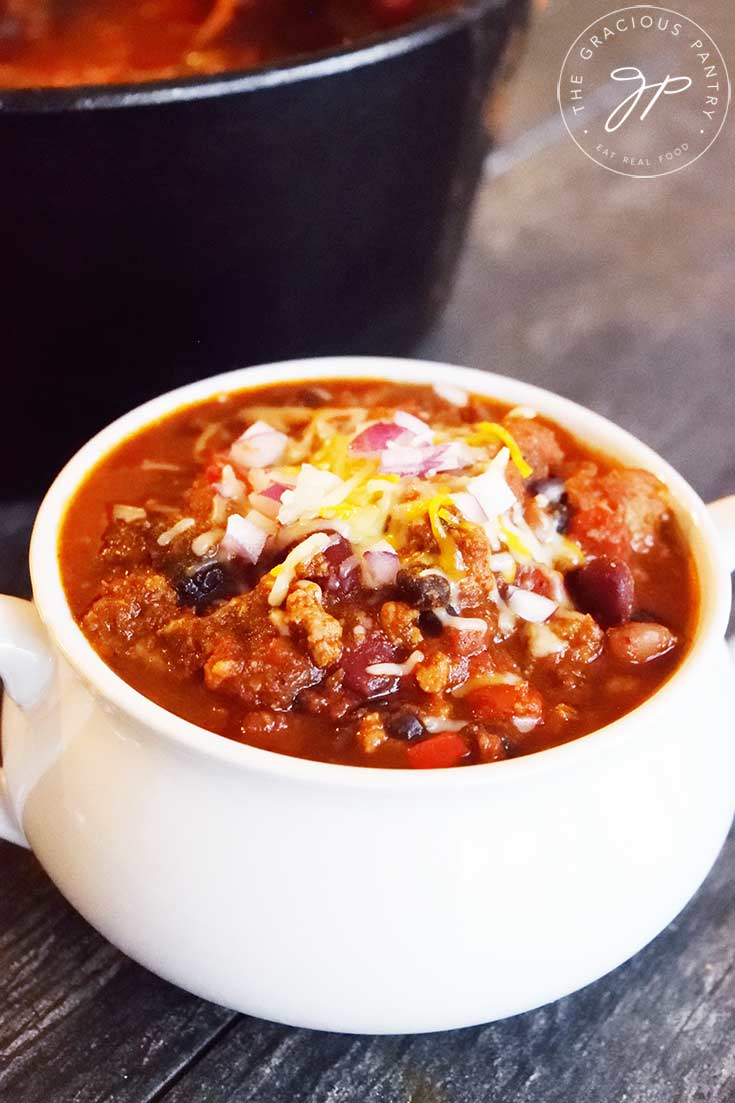
Topping Ideas For Chili
Toppings can also make or break a good bowl of chili. So here are some suggestions you may want to consider.
- Cheddar Cheese – sharp or mild, as you like
- Monterey Jack Cheese – A good milder option
- Pepper Jack Cheese – Will add a bit more “kick” to your chili
- Sour Cream – Or use Greek yogurt as a healthier substitute.
- Chopped onions – I like red onions best, but use whatever you enjoy most.
- Green onions – Slice them thin.
Best Beans For Chili
In this recipe, I use canned beans. So feel free to switch out what’s called for in the recipe with a can of whatever beans are your favorites.
- Kidney beans
- Black beans
- Pinto beans
- Cannellini beans
- Garbanzo beans (chickpeas)
Best Meats For Chili
People will argue over what meat is best for a great bowl of chili. But the truth is, whatever meat gives you the flavor you prefer is the one you should use. Here are some suggestions. They all work great in chili.
- Ground Beef
- Ground Turkey
- Ground Chicken
- Ground Pork
- Sliced sausage – Add this in addition to other meats.
Best Vegetables For Chili
You have pretty much an unlimited number of veggies you can use in a pot of chili. But some stand out more than others for creating a really great pot of chili.
- Bell peppers (any color you prefer)
- Tomatoes (fresh or canned)
- Corn (fresh or frozen)
- Carrots
- Zucchini
- Yellow squash
Best Spices For Chili
There are some pretty great spices out there for seasoning an epic pot of chili. But among all the spices on the market, are some that really shine. They are:
- Chili powder
- Cumin
- Coriander
- Cocoa powder
- Garlic powder
- Onion powder
- Oregano
- Paprika
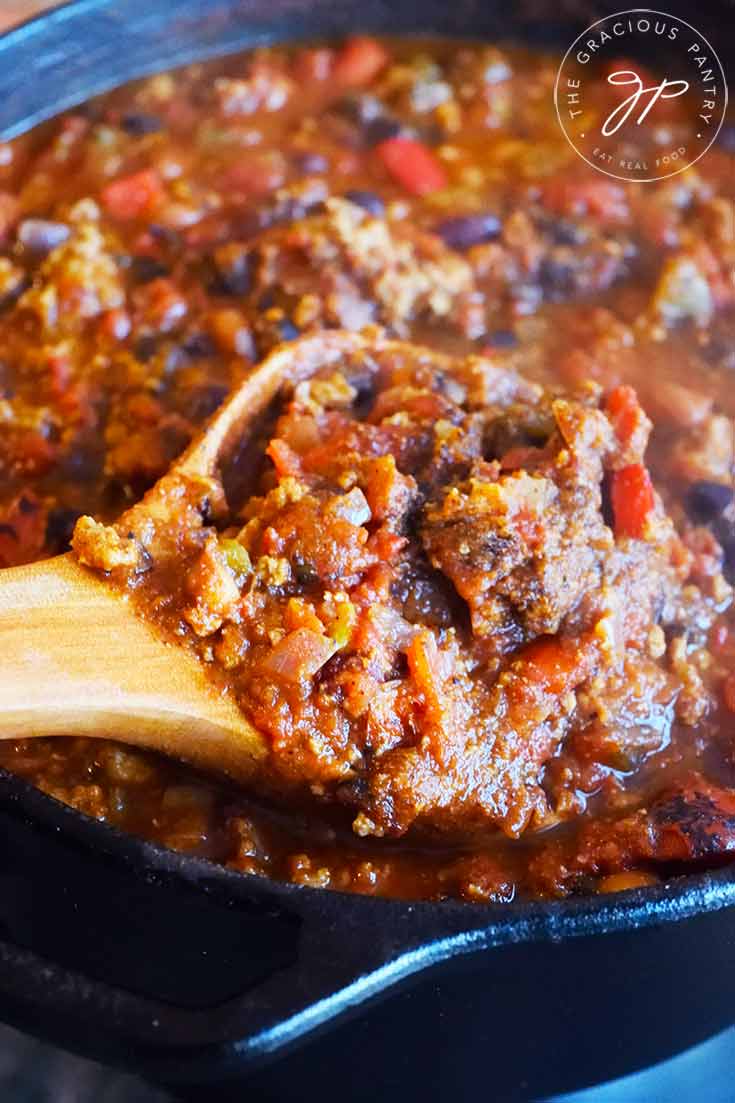
About The Ingredients
(Print the recipe from the recipe card below)
Oil – This can be any oil you usually use. My favorites are grapeseed oil, coconut oil, and avocado oil.
Red onion – You’ll want to chop this pretty fine unless you prefer the bigger chunks of onion. (Nothing wrong with that!)
Red bell pepper – You’ll want to chop this small. Feel free to choose a different color pepper to suit your preferences.
Green bell pepper – If you don’t like the “tang” or bitterness of green bell peppers, feel free to try yellow or orange peppers, or simply use an extra red pepper.
Jalapeño pepper – mince this as fine as you can get it to evenly distribute the heat in your chili better. This is totally optional. So, if you prefer your chili not to be spicy, simply leave it out.
Fire-roasted tomatoes – I used two 28 oz. cans. You can also use regular, canned, diced tomatoes or crushed tomatoes. The fire-roasted simply gives the flavor a bit more depth.
Chili powder – This amount will give you a “middle of the road” flavoring in the chili powder department. You can add more or use less depending on your tastes, or substitute it entirely with paprika. Smoked paprika would be good as well.
Ground cumin – Again, you can take it or leave it or adjust the amount to taste. I like the flavor of cumin, so I always use it in my chili.
Garlic powder – Feel free to substitute with fresh garlic if you like. If that is your preference, I recommend mincing an entire head of garlic. It’s delicious. If using fresh garlic, add it to the vegetables at the beginning of the recipe in the last minute or so of sautéing.
Onion powder – You can take this or leave it. I enjoy the flavor a lot, but some folks could find the combination of onions AND onion powder to be a bit much. You can always stir it in after cooking if you want to try it without first.
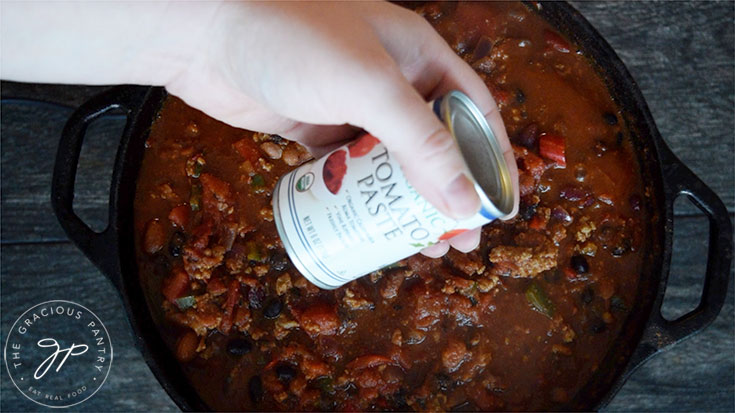
Tomato paste – This is optional. Add it if you want to thicken your chili a bit. It’s great for a smooth, chili texture. But again, it’s optional. You can stir it in at the end after cooking if you want to try it without first.
Ground turkey – Use whatever meat you prefer here. You can even use a combination of meats as long as it equals the 2 pounds. You can also use all ground beef if you prefer that.
Beans – Use the type you prefer, or mix and match as I did. I used pinto beans, black beans, and kidney beans. I used three, 15-ounce cans.
Chicken broth – This gives your chili a bit more “sauce”. This is another one of those ingredients you can stir in after cooking if you want to try it without first. I find that this recipe is pretty thick without it. So if you like that, give it a shot. You can always add the broth later if you want to. And if you are using ground beef, your best option here is to use beef broth instead of chicken broth.
Garnishes – Including salt and black pepper.
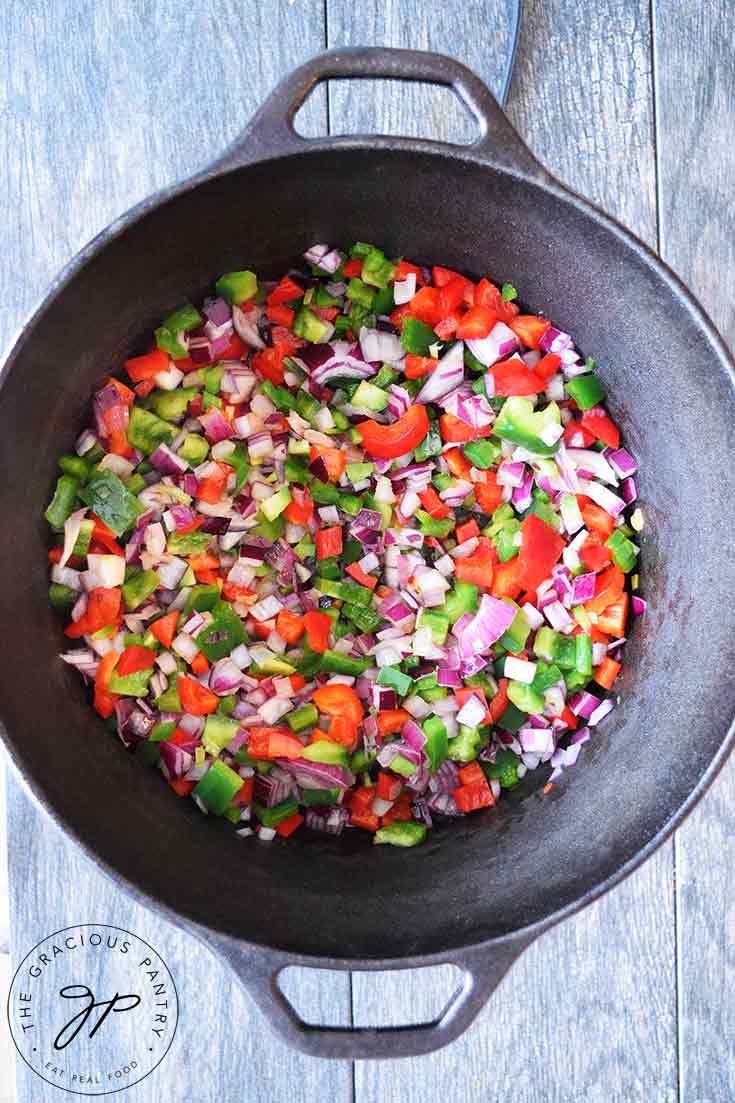
How To Make Chili In A Dutch Oven
The process is pretty simple. It’s just a matter of adding the ingredients in order so that everything cooks properly.
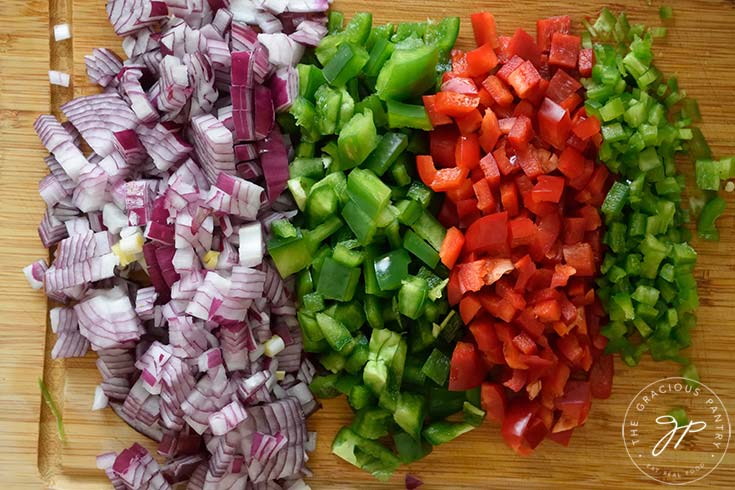
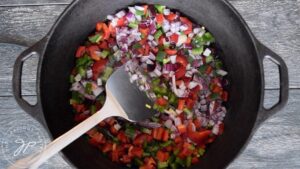
Chop all your veggies and garlic and sauté them in oil.
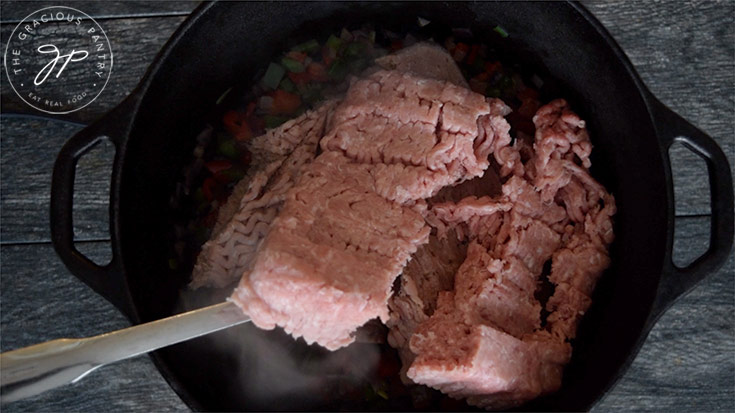
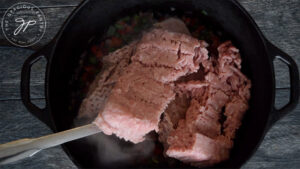
Add the meat and stir until it’s browned.
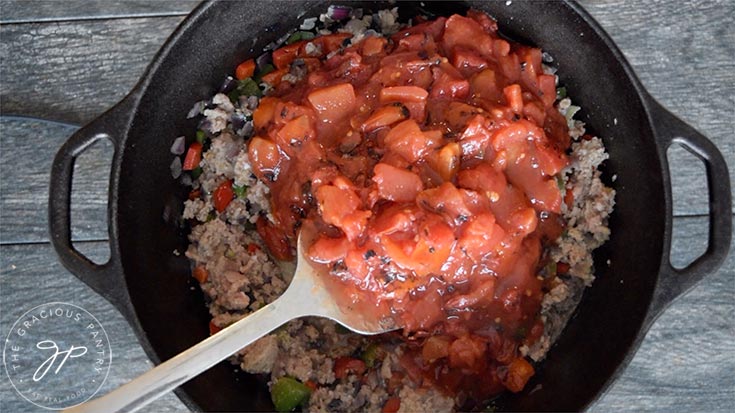
Stir in the canned tomatoes.
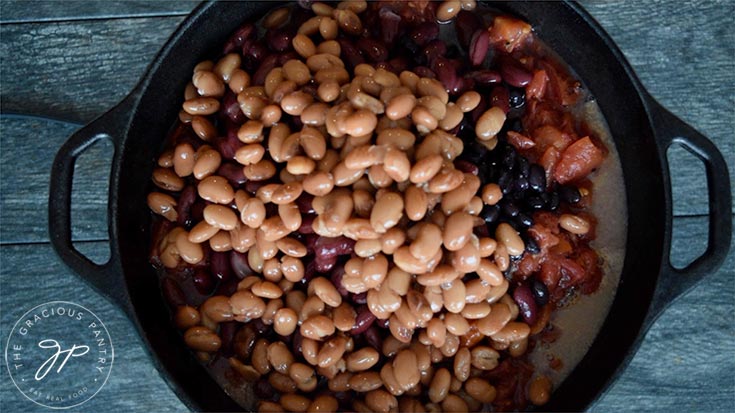
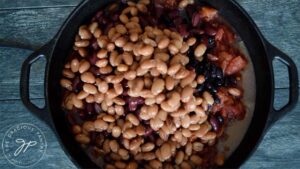
Add the beans.
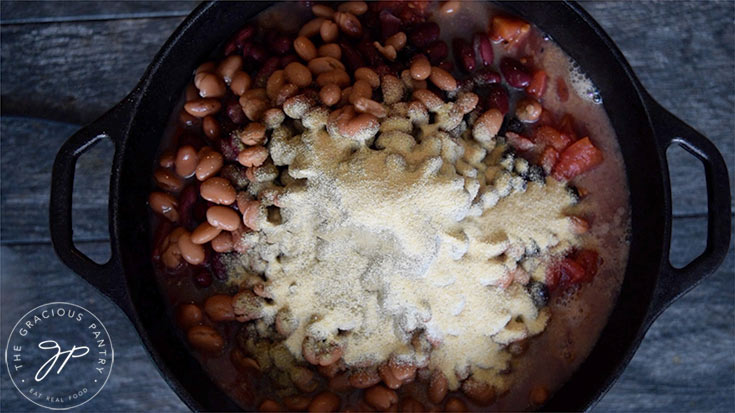
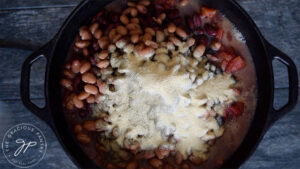
Then add the spices.
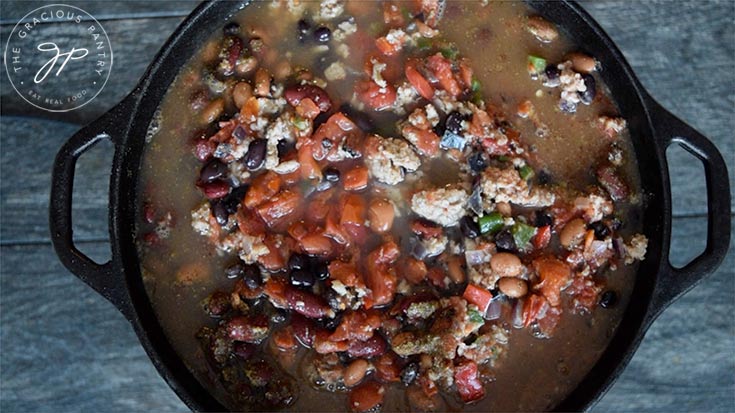
Lastly, add the optional broth and/or tomato paste to achieve the texture you prefer from your finished chili.
Making This Chili In A Slow Cooker
If you want to make this in a slow cooker, sauté the veggies as instructed, brown the meat, and then transfer everything to a slow cooker. Make sure to add both the tomato paste and the broth. Stir everything together and cook on low for 3-4 hours or until the chili reaches at least 165 F.
Making This Chili In An Instant Pot
Sauté the veggies in the Instant Pot on the Sauté setting. Add the meat and brown it. Add all other ingredients, including the tomato paste and broth. Adjust the manual setting to 12 minutes and cook at 400 F. on high pressure.
Campfire Dutch Oven Chili
You’ll have to prepare your coals first. Either make sure you have a safe way to handle them once hot or set them up in a circular form that is flat enough to hold the Dutch oven evenly.
Get them good and hot in your fire pit. Once they have heated and turned gray from the heat, you can set your Dutch oven directly on the hot coals. Then sauté the veggies, brown the meat, and add everything else to the pot, cooking until done.
How To Store Leftover Dutch Oven Chili
Pack this in an airtight container. Store it in the fridge for up to three days.
How To Freeze Chili
Here again, you’ll want to make sure this is in an air-tight container. You can use a plastic, food-safe, zipper-top bag. Press out as much of the air as you can as you close it up. But if you use a plastic bag, it’s best to lay it flat on a cookie sheet and freeze it that way so it will fit into the freezer on its own, easier than a clump of frozen chili.
Freezing this in individual portion sizes is a good idea unless you are feeding many people.
How To Use Up Leftover Dutch Oven Chili
If you have leftovers, here are some fun ways to make new dishes to use it up.
- Chili dogs
- Chili nachos
- Empanadas
- Chili mac – Stir together with pasta and some parmesan cheese.
- Shepherd’s pie – Use this in place of the ground meat you usually use. Top with veggies and mashed potatoes.
- Burritos – Use in place of refried beans.
- Chili dip – mix with cream cheese and a little milk for consistency and serve with corn chips.
- Chili queso – add the chili to your favorite queso dip.
More Chili Recipes
- Beef Chili
- Quinoa Chili
- Cincinnati Chili
- Mexican Black Bean Chili
- Pumpkin Turkey Chili
- Curried Turkey Chili
- White Chicken Chili
- 4 Bean Chili
SUBSCRIBE
Remember to subscribe to my free newsletter to receive all my latest recipes in your inbox. Click here to sign up!
Dutch Oven Chili Recipe Card + Video

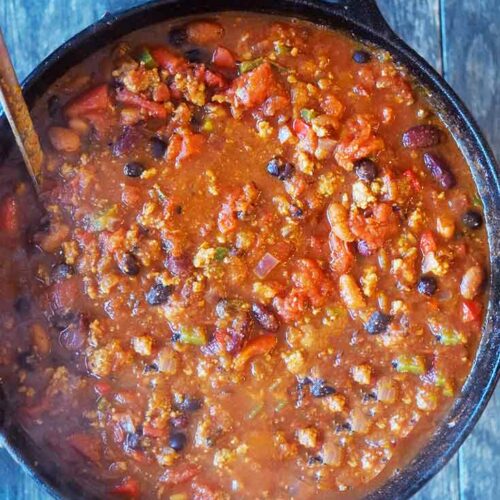
Dutch Oven Chili
CLICK TO WATCH THIS RECIPE IN ACTION!
Equipment
- Dutch Oven
Ingredients
- 2 tbsp. oil
- 1 medium red onion (chopped)
- 1 medium red bell pepper (chopped)
- 1 medium green bell pepper (chopped)
- 1 medium jalapeno pepper (minced)
- 2 lb. ground turkey (or beef)
- 56 oz. fire roasted tomatoes (I used two 28 oz. cans)
- 1 tbsp. chili powder
- 2 tbsp. ground cumin
- 3 tbsp. garlic powder
- 2 tbsp. onion powder
- 45 oz. canned beans (see recommendations above – 3 cans)
- 1 cup chicken broth
- 6 oz. can tomato paste (Optional if you want thicker consistency)
Instructions
- Chop all your veggies and garlic and sauté them in oil.

- Add the meat and stir until it's browned.

- Stir in the canned tomatoes.

- Add the beans.

- Then add the spices.

- Lastly add the optional broth and/or tomato paste to achieve the texture you prefer from your finished chili. Total cooking time is approximately 30 minutes. but cook until done to your liking. It should be a minimum of 165 F. when done. 185 F. is better.

Notes
Nutrition
Recipe from the Gracious Pantry archives, originally posted 1/10/21.





The ingredients list does not list garlic or beans, but they are included in the instructions. Would you please provide the amount for each? I realize you recommended a head of garlic in the instructions, and that you listed a selection of beans to choose from in another area. It would just be much easier to follow the recipe if the items and amounts are listed in the ingredients. Thank you.
Suzanna – Thanks for pointing that out. I’ve added the beans as well as some notes on the garlic. The recipe calls for garlic powder because that’s what I used. Please see the added notes in the ingredient descriptions above the recipe. Thanks again! 🙂
Thank you for your quick response! So, you added the garlic powder with the veggies at the beginning? Also, I clicked on the print button, and your edits were not included in the print version of the recipe. I only tell you this to be helpful. I look forward to trying this recipe.
Suzanna – No. You only add FRESH garlic with the veggies to start. Garlic powder is added with other spices. Just depends on which one you want to use. It printed okay for me. Can you try pulling it up again?
Did I miss how long to cook it for?
Liz – It’s at the top, but I added it again to the bottom. Hope that helps. 🙂