Easy Chocolate Pie Recipe From Scratch
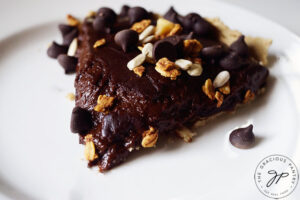
This easy chocolate pie is a wonderfully tasty and easy dessert for special occasions. And best of all, it’s made from scratch!
Chocolate pie is basically a chocolate pudding pie, and it’s one of my favorite things. I mean, who wouldn’t like chocolate pudding in a pie crust with a little whipped cream on top?
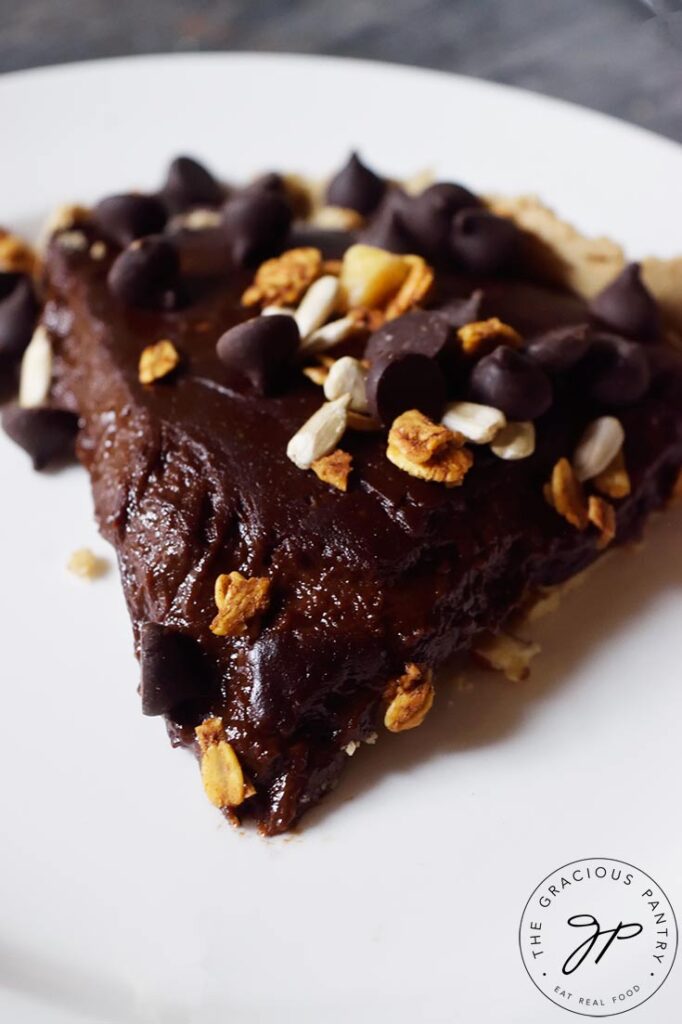
Pies of any kind always make a wonderful dessert option. This pie has a nice, rich, chocolate flavor and creamy texture that everyone will enjoy. The hardest part is waiting for it to chill!
Easy Chocolate Pie
A chocolate pie is a thing of beauty. Simply whip up a few ingredients, bake briefly just to warm the filling, and chill the whole thing in the fridge.
Traditionally, a chocolate pie might get served with a little bit of whipped cream if you want to be fancy, but it’s usually eaten plain, just pie crust and a delicious, chocolate pudding type of filling.
What makes this pie so easy? You don’t need to make an elaborate mixture with a million steps or complicated instructions. You won’t be baking this in the oven and you definitely don’t need to use an electric mixer. You’ll just need a pot or saucepan and a whisk to make the chocolate pudding filling, and a pie pan to pour it into!
Homemade Chocolate Cream Pie
Most people will enjoy a classic chocolate cream pie recipe. Chocolate pie and whipped cream go perfectly together! So in this case, you would simply pipe a bunch of whipped cream over the top of the pie after it has fully cooled. It’s decorative and delicious.
Chocolate Meringue Pie
If you prefer chocolate meringue pie, save some egg whites and follow the meringue directions in my coconut meringue pie recipe here.
Vegan Chocolate Pie
This pie can easily be made vegan. Simply substitute the egg yolks for a vegan egg substitute.
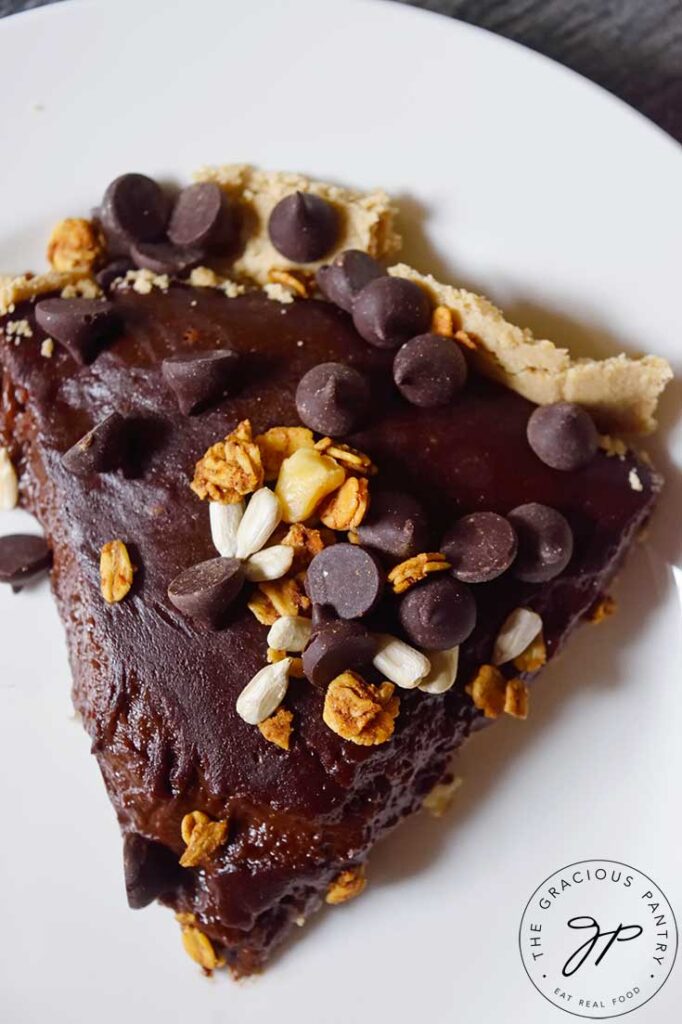
How Long Will Homemade Chocolate Pie Last In The Fridge?
This particular pie will last about 4-5 days in the fridge. You can wrap it with plastic wrap or place it in a cake or pie storage container and then put that in the fridge. Do not keep this pie at room temperature. It must remain cold and in the fridge.
Can You Freeze Chocolate Cream Pie?
Generally, it’s not a good idea to freeze a cream pie of any kind. But if you have to, don’t freeze it with any whipped cream on top, and do not freeze for longer than 2 months
To thaw, keep in the fridge overnight or longer. The texture may change slightly, but it will still be quite good.
Milk Options
For this recipe, you really have two options.
- Full fat canned coconut milk – not the stuff from the refrigerator section at the store. This must be the canned variety. (Dairy free option)
- Heavy cream – (Dairy option)
Sweetener Options
I used xylitol because that’s what works best for my blood sugar. But to keep things in line with clean eating, you’ll want to use an unprocessed sweetener. Here are some suggestions:
- Sucanat
- Coconut sugar
- Monk fruit
- Maple sugar
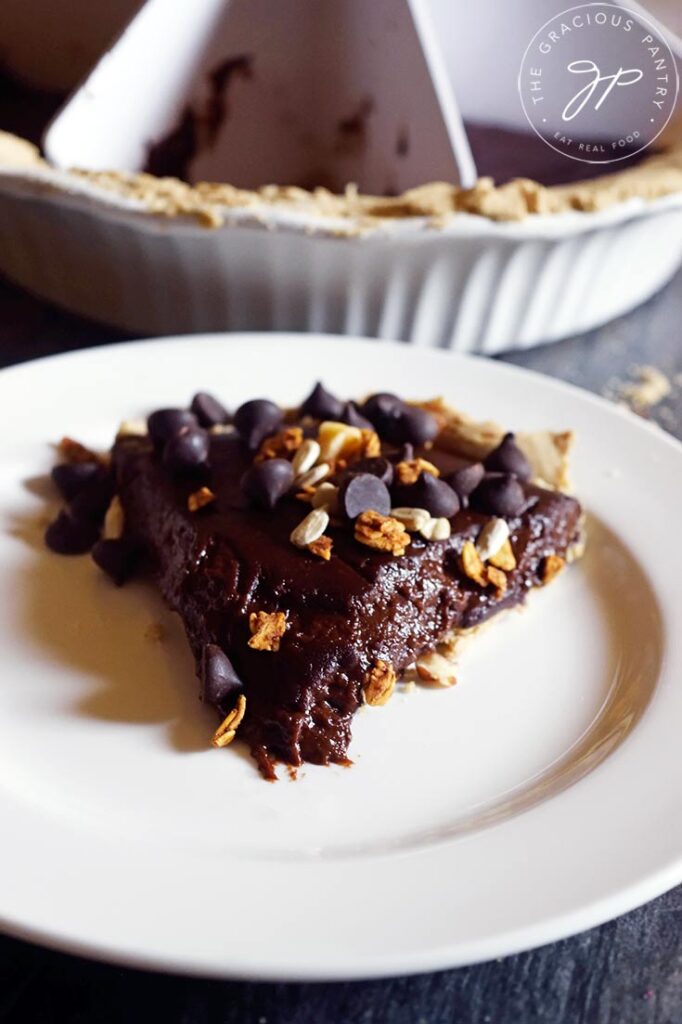
Homemade Pie Crust Options
Note that for the oat crust and the whole wheat crust, you may need some pie weights. They aren’t essential, but they sure do help. These recipes won’t give you that “flaky crust” that many are used to, but they are delicious nonetheless and definitely get the job done. You’ll also want to roll these out on parchment paper to make it easier to get them into the pie pan.
- Oat flour pie crust (gluten free)
- Chocolate pie crust (gluten free)
- Whole wheat pie crust
- Graham cracker crust – Get some whole wheat, honey sweetened graham crackers from a health food store to keep it healthy.
Important Notes
- The recipe below makes about half the filling needed for a full, standard pie. I did this on purpose for those who wish to make smaller portions of dessert. For those wanting to make a full, standard pie, you will want to double the recipe.
- This pie is formulated to be mildly sweet. I don’t enjoy overly sweet stuff. Once the pie filling has thickened on the stove, you can taste a little and see if you want more sweetener. If you do, stir it in while the pie filling is still hot so it dissolves.
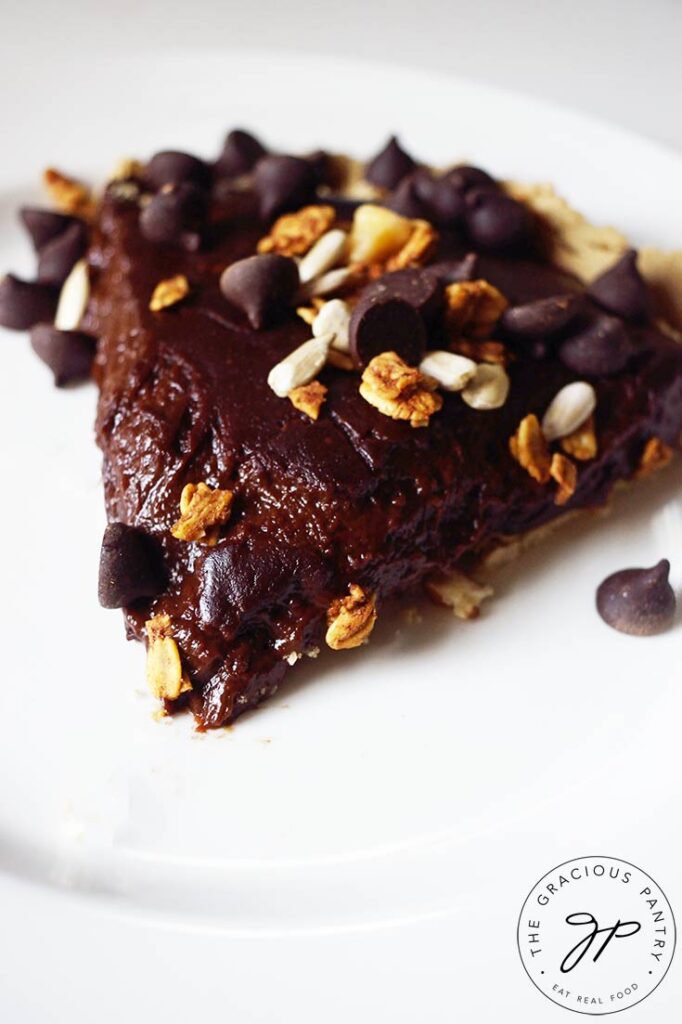
What You’ll Need To Make This Chocolate Pie
Remember, for a completely full, standard pie crust, you’ll want to double this filling recipe. Especially if you’ll be serving this to guests. Most people would consider this enough filling for half a pie. I kept my filling smaller for portion control purposes.
1 standard pie shell – Make the one mentioned above for a gluten-free pie crust. You can also use a standard, whole wheat, 8″ pie crust from the store.
½ cup unsweetened cocoa powder – Make sure this is not a hot chocolate mix.
¾ cup granular sweetener – see notes above
⅓ cup arrowroot powder – You can use cornstarch if you prefer. This helps add structure to the pie filling.
¼ tsp. salt – I used pink Himalayan salt. But use whatever you normally use when cooking or baking.
15 oz. can full-fat coconut milk – Make sure to NOT use the stuff from the refrigerator section at the grocery store. Only use full fat, canned coconut milk here. If you prefer dairy, you can use heavy cream instead. Do not use whole milk.
5 large egg yolks – These can be room temp or just out of the fridge.
2 tsp. pure vanilla extract – This is optional. I didn’t use it, but it would be a nice addition.
Optional Additions
While I didn’t add any of these to mine, they would all be wonderful additions.
- 1 cup chocolate chips – I use Lilly’s brand or the 365 Sugar-Free brand from Whole Foods.
- 1 cup chopped pecans
- 1 cup chopped walnuts
- ¼ cup natural peanut butter – spread over the bottom of the pie crust before pouring the batter in. This will give you a peanut butter cup flavor with a peanut butter and chocolate layer. You can also fill the crust half way, drizzle in some peanut butter and then finish filling the pie.
How To Make Easy Chocolate Pie
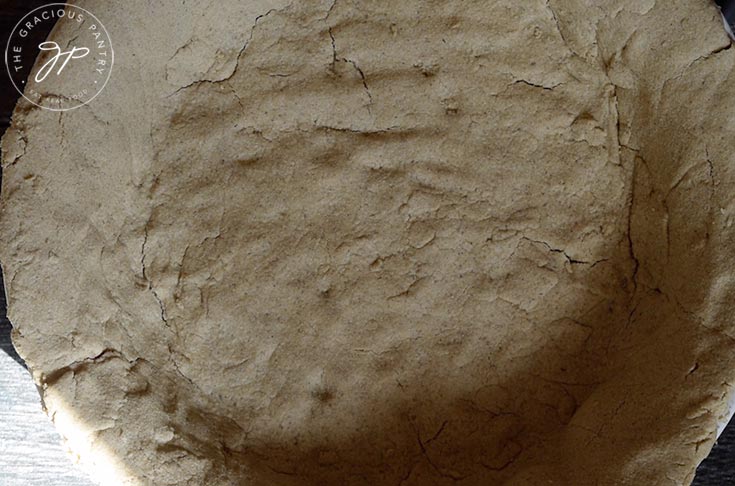
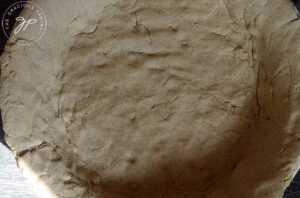
Make your pie crust and bake it if it’s bakeable to either package or recipe directions, then cool fully.
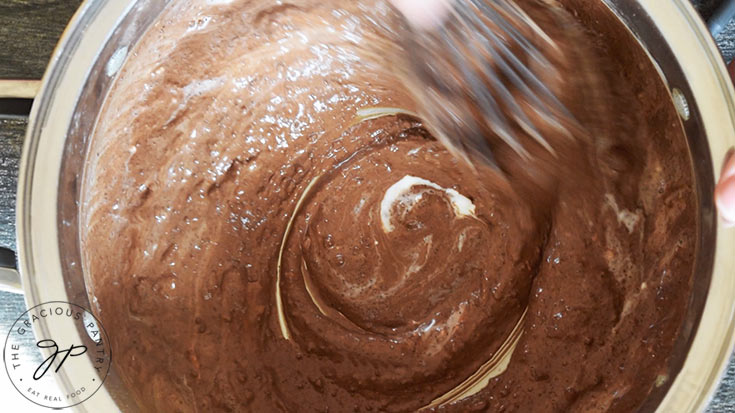
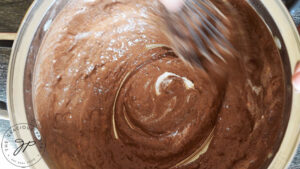
Whisk together all the pie filling ingredients in a large pot. Then set the pot on the stove and turn heat to either low, medium-low, or medium heat. You’ll get a feel for how this needs to cook on your own stove. But never, never warm this on high heat or the filling will burn. You can adjust between the three levels of heat as needed.
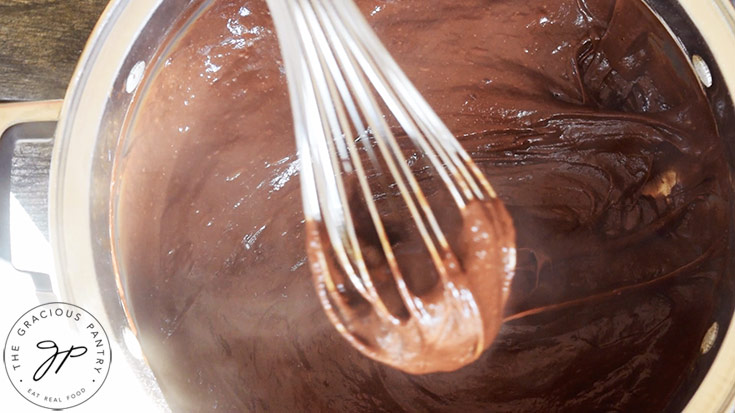
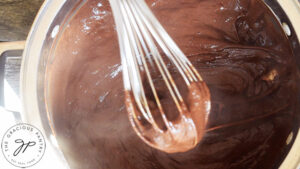
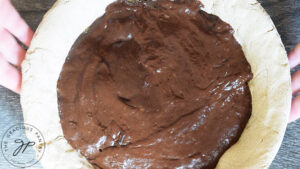
Stir constantly. It will take approximately 5 minutes for it to start gelling, maybe a little more if your heat is too low. Once the filling has fully thickened, turn off the heat and pour the chocolate pie filling into the baked pie crust.
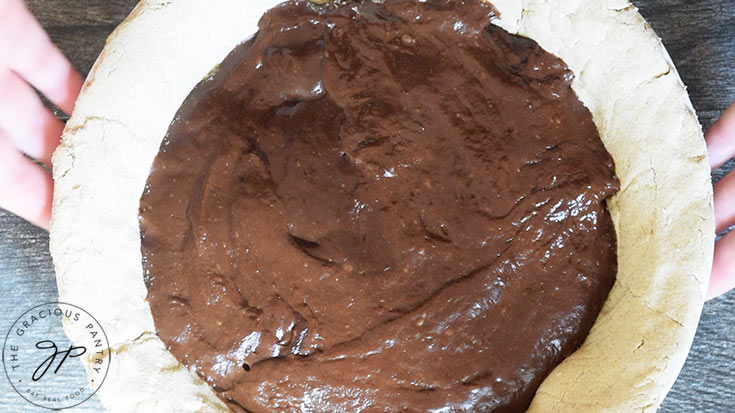
Set the pie in the fridge chill in the fridge for 2 hours to overnight. 2 hours is the minimum for this to cool down completely.
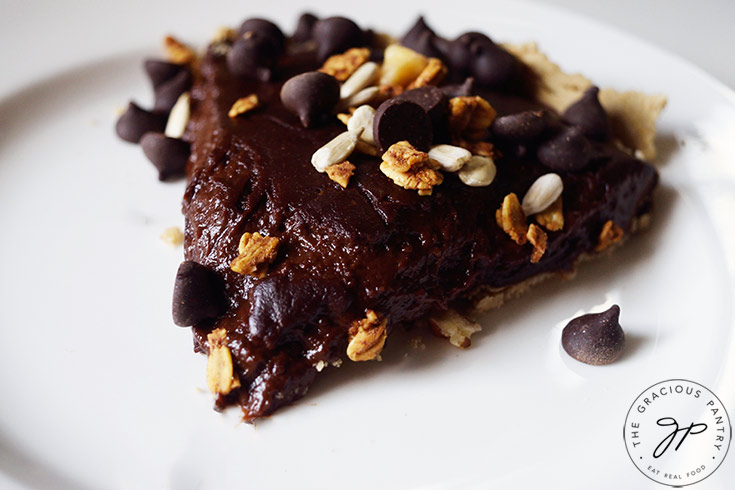
Once fully cooled, cut with a pie cutter or knife, and serve with some whipped cream or your favorite garnish.
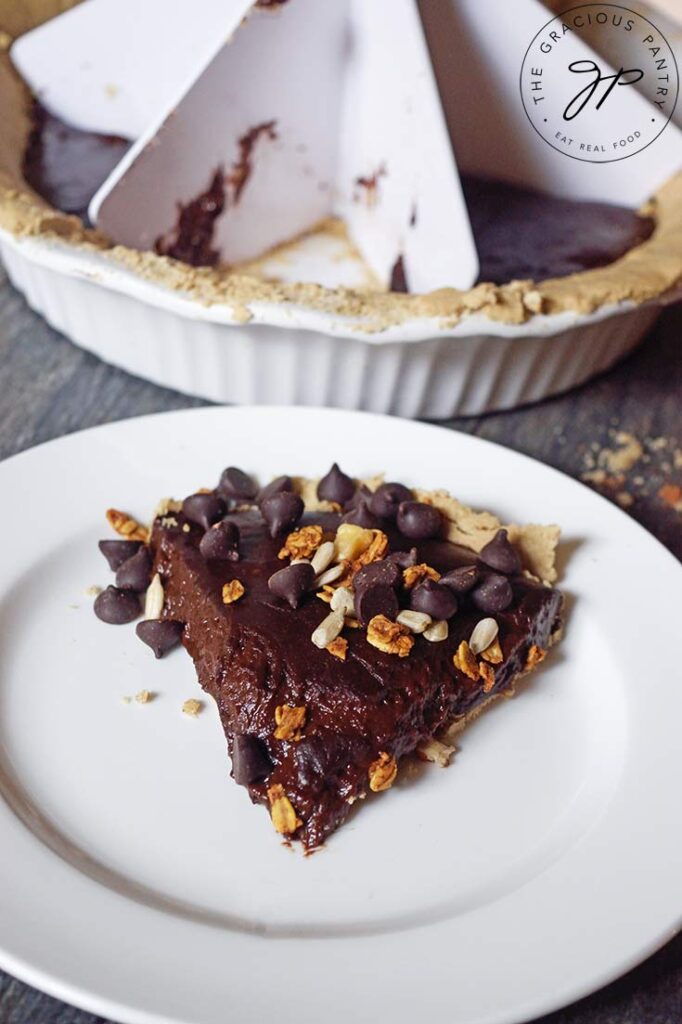
Garnishing A Chocolate Pie
If you aren’t using whipped cream but still want to make your pie look pretty for guests, chocolate shavings or “curls” are your best option. Simple take a hard bar of chocolate and using a vegetable peeler, shave off some curls of chocolate onto your pie. It makes a great presentation!
You can also use any of the above suggested Optional Additions and sprinkle them over the top instead of stirring them into the filling.
How To Store Chocolate Pie
If you don’t have a cake container, simply use plastic wrap, wrap the pie well and store it in the fridge for up to four days.
Need Supplies?
This post may contain affiliate links which won’t change your price but will share some commission.
More Homemade Pie Recipes
If your favorite desserts are usually pie, I have a ton of recipes for you to try!
SUBSCRIBE
Remember to subscribe to my free newsletter to receive all my latest recipes in your inbox. Click here to sign up!
Easy Chocolate Pie Recipe

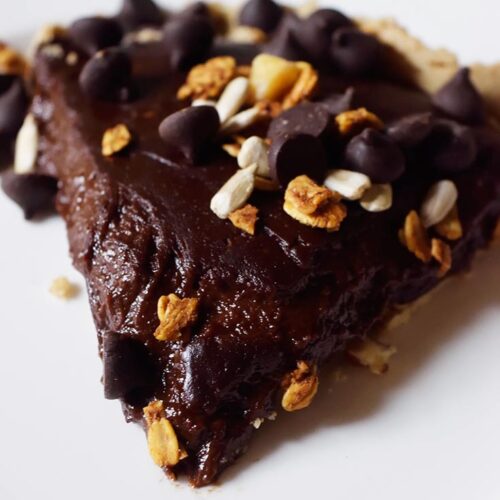
Easy Chocolate Pie
CLICK TO WATCH THIS RECIPE IN ACTION!
Equipment
- 9" pie pan
Ingredients
- 1 standard pie crust (Make the one mentioned above for gluten free. You can also use a standard, 8" pie crust from the store)
- ¾ cup granular sweetener (See notes above)
- ½ cup unsweetened cocoa powder (Not a hot chocolate mix.)
- ⅓ cup arrowroot powder (Or cornstarch)
- ¼ tsp. salt
- 15 oz. can full-fat coconut milk (Canned, not a carton from the fridge section of the store)
- 5 large egg yolks
- 2 tsp. pure vanilla extract (Optional)
Instructions
- Make your pie crust and bake it if it's bakeable to either package or recipe directions, then cool fully.

- Whisk together all the pie filling ingredients in a large pot. Then set the pot on the stove and turn heat to either low, medium-low, or medium heat. You'll get a feel for how this needs to cook on your own stove. But never, never warm this on high heat or the filling will burn. You can adjust between the three levels of heat as needed.

- Stir constantly. It will take approximately 5 minutes for it to start gelling, maybe a little more if your heat is too low. Once the filling has fully thickened, turn off the heat and pour the chocolate pie filling into the baked pie crust.

- Set the pie in the fridge chill in the fridge for 2 hours to overnight. 2 hours is the minimum for this to cool down completely.

- Once fully cooled, cut with a pie cutter or knife, and serve with some whipped cream or your favorite garnish.




I’m confused by the eggs used in this. You list 5 large egg yolks then you say use whole eggs not just yolks. Then in the recipe is says 4 eggs. Do we use the whole egg or just the yolks? Is it 4 or 5? I love chocolate pie and would love to make this but want to make sure I do it correctly.
Thanks.
Melissa – Sorry for the confusion! It’s all updated now. My apologies.