Oat Flour Pie Crust Recipe
This oat flour pie crust is slightly flakey, gluten free and easy to make. You can use it baked or un-baked and even make a few in advance for the freezer.
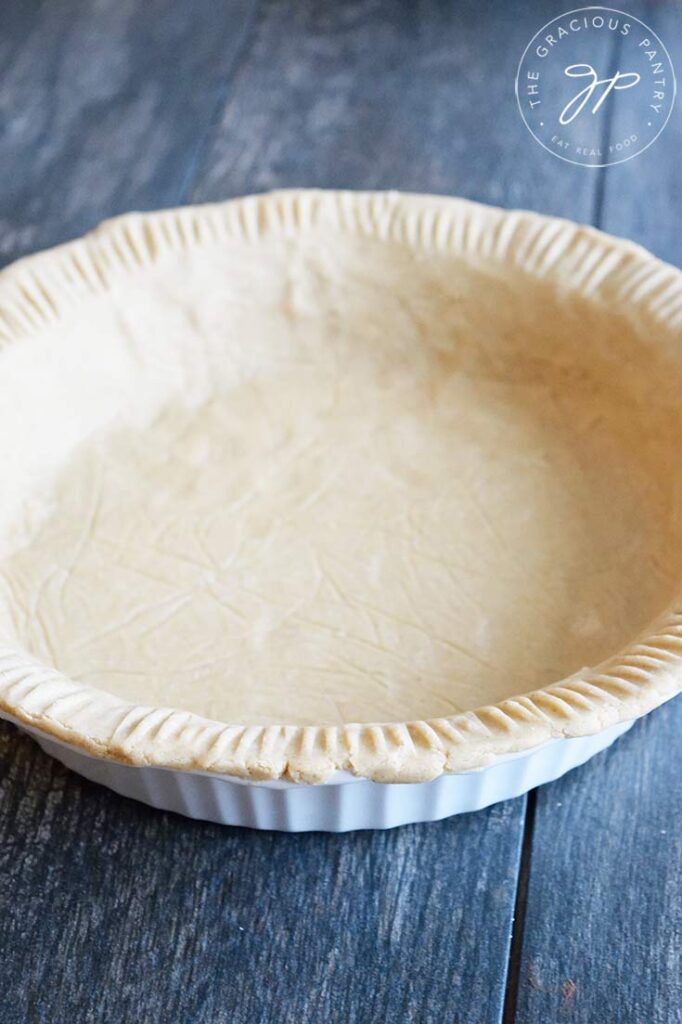
Oat Flour Pie Crust
The finished dough for this pie crust should be relatively soft to the touch, but firm at the same time. Because this dough will still be somewhat firm when done, you will need to work it a bit to get it to evenly cover your pie pan with no breaks.
If using it raw for a no-bake pie, the outer edge does tend to fall apart a bit, but it adheres nicely to the pie filling. So the rest of it won’t break up any more than what happens when you eat the pie.
The crust area, however, will fall apart because it has nothing to hold onto. So if you want to avoid this, simply build the crust up just high enough on the sides of the pie pan to be enough for the filling. Don’t build it up over the edge of the pie pan.
If you are baking this, you will end up with a slightly flakey, crumbly crust that also adheres well to the pie filling.
I’ve used this for both a no-bake chocolate pie and a baked apple pie. It worked well on both. The baked crust still has a somewhat firm texture, but also flakes and crumbles nicely like any pie crust would.
Gluten-Free Pie Crust
If this crust has to be gluten-free, make sure you purchase gluten-free oat flour. Oats can be highly contaminated with gluten if they are not processed separately from wheat. So if this matters, find oat flour (or oats if you grind them yourself) that are labeled gluten-free.
About The Ingredients
Oat flour – If it’s important that this pie crust be gluten-free, you’ll want to be sure you use oat flour labeled as gluten-free.
Salt – I used Himalayan pink salt, but you can use whichever salt you happen to have on hand. Just don’t use coarse salt. The finer the grind, the better.
Virgin coconut oil – The main idea here is to use coconut oil that is solid at room temperature. This crust needs something to help hold it together due to there being no gluten. The coconut oil will help with this.
Cold water – There is a bit of wiggle room with this measurement. You want to use enough water to get a good consistency in your dough. But be aware that with oat flour, you have to knead it really well before adding more water. It takes a few minutes for the water to fully absorb. So add 1 tablespoon at a time (beyond the ¼ cup), and knead for several minutes in between each one. You want a nice soft dough that is slightly firm.
How To Make Pie Crust With Oat Flour
The basic idea is simple. Knead all the ingredients together in a mixing bowl and add water, a little at a time, until the dough is soft and tender to the touch with a firm density.
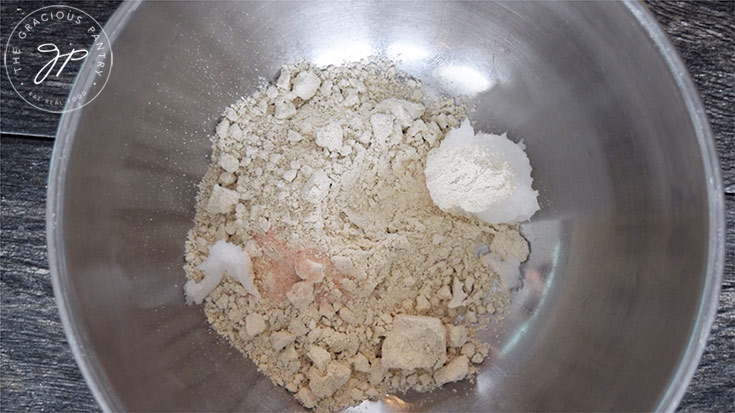
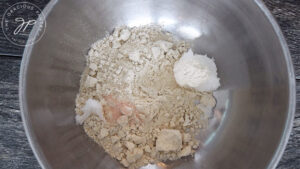
Add the oat flour, salt and coconut oil to a large mixing bowl. You can sift the flour if you prefer, but it’s not necessary here.
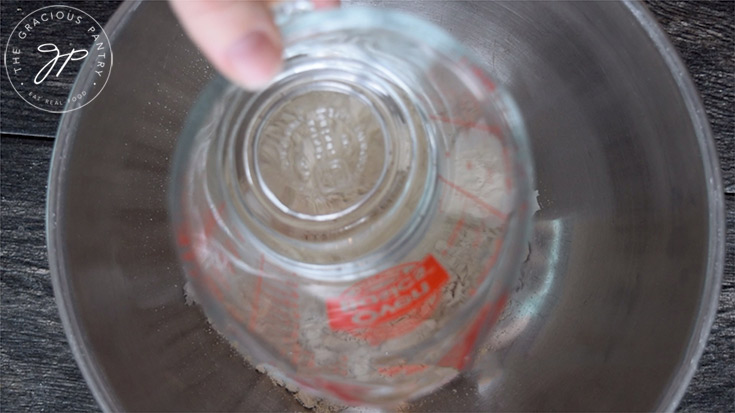
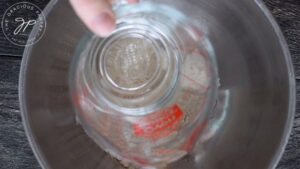
Add in the water and knead. It will be a bit sticky at first, and will seem a bit too crumbly. Have some patience with the kneading.
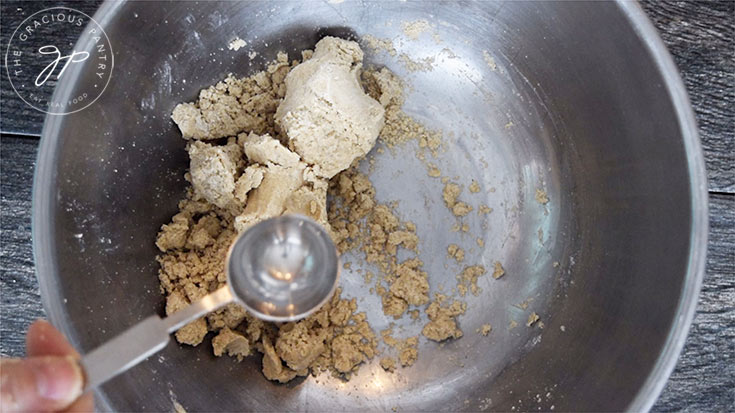
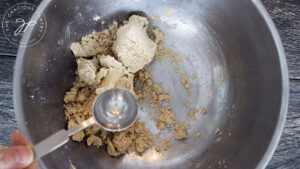
If after about 5 minutes of kneading, if the dough is still crumbling, add 1 tbsp. of water and knead again for several minutes. You can repeat this until you have a good dough.
I found that more than 1 tbsp. wasn’t necessary. But if you need it, use it. Just don’t create a sticky dough that doesn’t firm up. If you add too much water, you can add in 1 tbsp. of extra oat flour and knead for another 5 minutes before making any more adjustments.
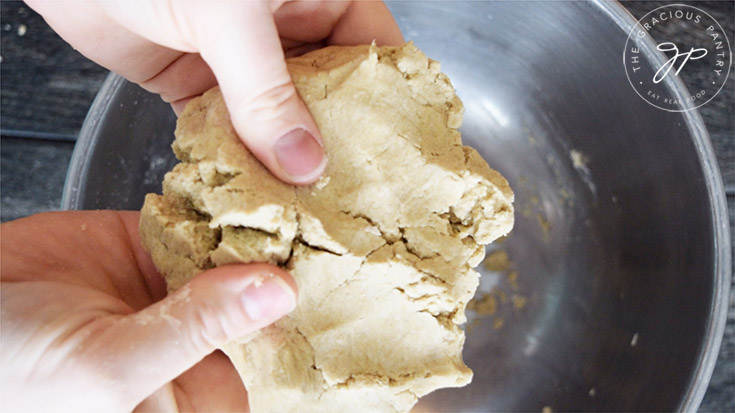
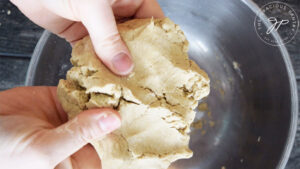
When done, the dough will be somewhat smooth and soft to the touch but have a firm density. While it might take a little work, it should roll pretty well.
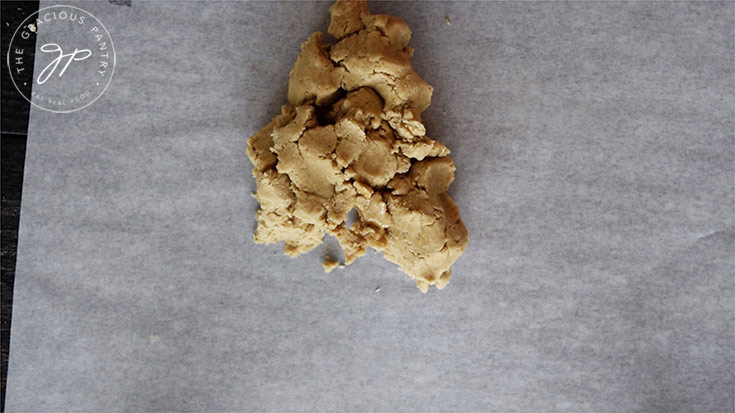
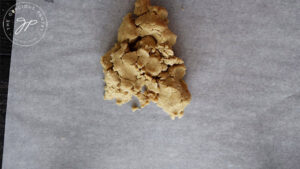
Place the dough on a piece of parchment paper.
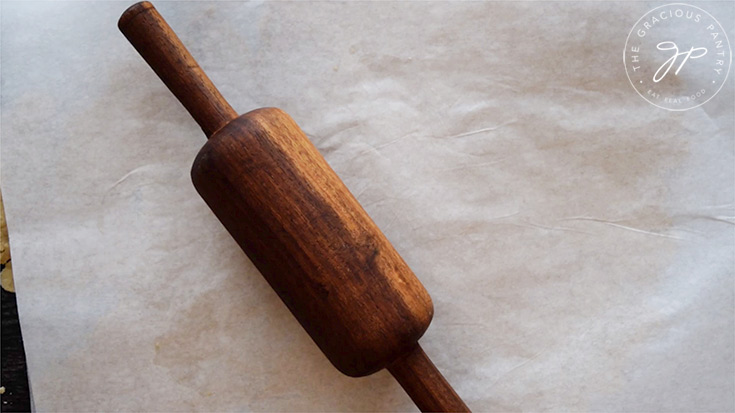
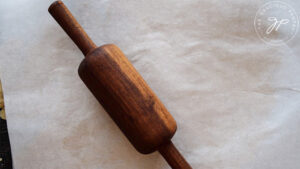
Add another piece of parchment over the dough and roll flat to about a ¼ inch thickness.
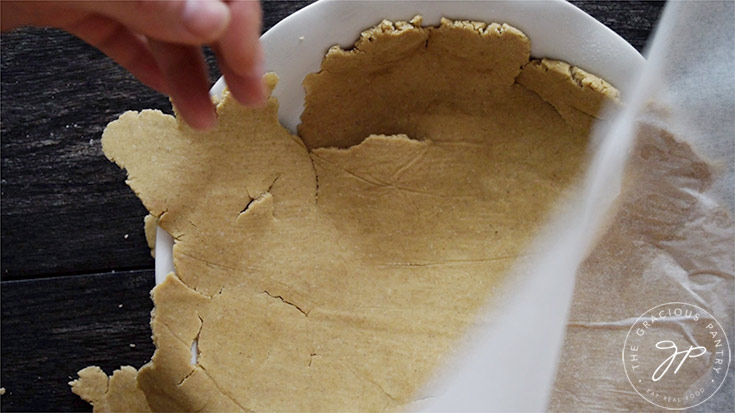
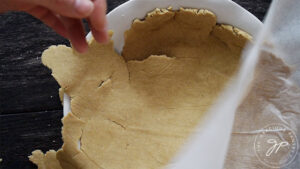
Carefully, remove the top layer of parchment, and turn the dough over into your pie pan. Then gently peel off the second piece of parchment. The dough will crack and break a bit. That’s okay. Gluten-free dough is a little more challenging but nowhere near impossible. Just have some patience with it.
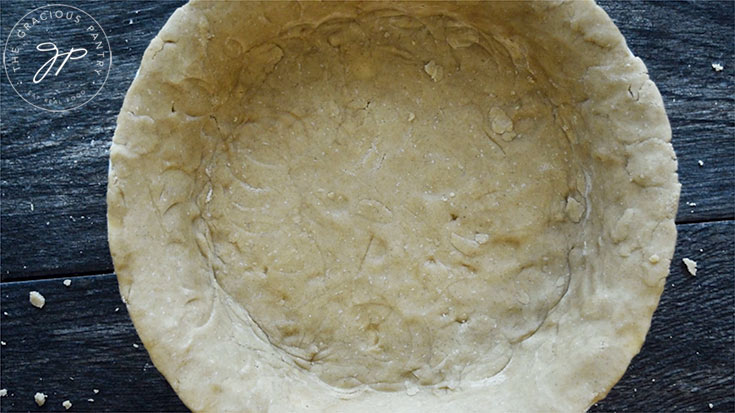
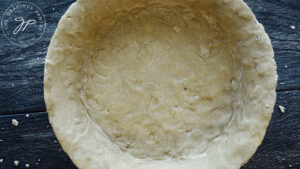
Press the dough into the pie pan, working it with your fingers until you have nice, even coverage over your pie pan. This can take a few minutes, so just keep working the dough.
If you wish, press a fork into the edge when done, or don’t create an edge at all if using this crust raw for a no-bake pie.
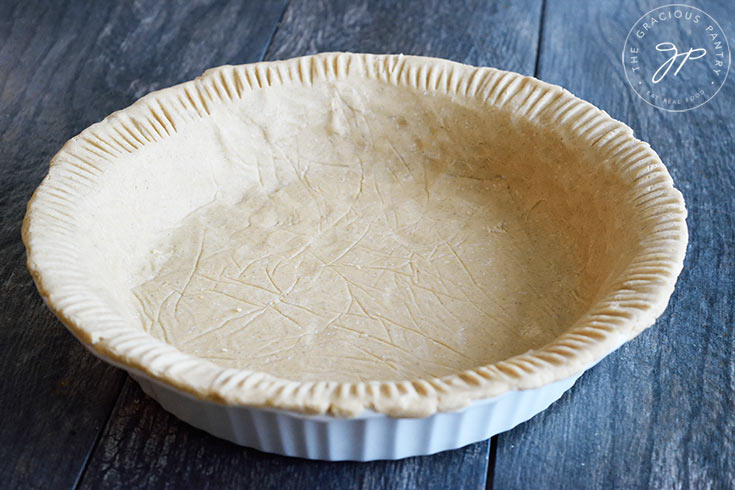
Use raw for no-bake pies, or bake in the oven at 350 F. for about 15 minutes just to get a light toast. Do not overbake this if you’ll be baking it again with filling.
Adjusting The Dough
Different climates will require different amounts of water. If your dough is truly too difficult to work with, always add more water. Never more oil. And after adding the water, make sure you do a thorough job of kneading it all in. Oat flour is slower to absorb the water, but when it does, it really does.
Can You Freeze Oat Flour Pie Crust?
Yes, but you have to do it correctly. Never freeze this as a ball of dough. Always roll the dough out, put it into your pie pan, and freeze it in the pie pan. I highly recommend those thin, disposable, aluminum pie pans for this.
Once in the pie pan, you’ll want to make sure this is well packaged. Plastic wrap is fine for the short term (2 to 3 days), but beyond that, you’ll want to slide this into a zipper-top, food-safe, plastic bag that you can squeeze at least a little bit of the air out of while closing up the bag.
If you are making multiple pie crusts, you can stack them, one inside the other, so long as you put parchment paper in between each one and still find a way to store them as airtight as you can. Here again, a large, zipper top, plastic bag will do the trick. Gently press some of the air out as you close it up.
To use a frozen crust (particularly raw ones), make sure you give these plenty of time to thaw. A few hours on your kitchen counter should do the trick, or you can thaw it in the fridge overnight and then let it come to room temperature on your counter the next day.
Freeze Cooked Or Raw?
To freeze this pie crust, you can pack it up before or after baking. Either will work.
However, if you bake it first, you’ll want to freeze each crust separately. Do not stack them, as the crust is somewhat delicate and will break.
How Long Will Oat Flour Pie Crust Last?
- Raw – this dough will last about 4-5 days in the fridge.
- Baked – this dough will last about 5-6 days in the fridge.
- Frozen Raw – freeze for up to 3 months.
- Frozen Baked – freeze for up to 1 month.
Do You Have To Bake This Pie Crust?
Unlike wheat, oat flour is typically safe to consume raw (Muesli, anyone?) So you do not have to bake this oat flour pie crust.
That being said, you should choose carefully whether to bake your crust or not. As a general rule of thumb:
- Use this crust unbaked or baked for no-bake pies.
- Pre-bake this crust for pies you’ll bake.
Baking Oat Flour Pie Crust
You don’t have to worry too much about undercooking this crust. But you do want to watch that you don’t overcook it.
If you’ve baked your crust first and then need to put it back into the oven to bake the pie, you’ll want to do two things.
- Use an egg wash on the top crust (if you have one) and/or edges.
- Keep an eye on it and have a piece of foil at the ready in case it starts to get a little too brown for your liking. I’ve never had a problem with it, but every oven bakes differently.
More Pie Crust Recipes

Oat Flour Pie Crust
CLICK TO WATCH THIS RECIPE IN ACTION!
Equipment
- Pie pan
- Mixing Bowl
Ingredients
- 1 ½ cups gluten free oat flour
- ½ tsp. salt
- ¼ cup virgin coconut oil (or any coconut oil that is solid at room temp)
- ¼ cup cold water
Instructions
- Add the oat flour, salt and coconut oil to a large mixing bowl.

- Add in the water and knead.

- If your dough is still too crumbly, add more water, 1 tbsp. at a time, kneading well between each addition of water.

- When done, the dough will be somewhat smooth and soft to the touch but have a firm density.

- Place the dough on a piece of parchment paper.

- Add another piece of parchment over the dough and roll flat.

- Remove the top layer of parchment, and turn the dough over into your pie pan. Then carefully peel off the second piece of parchment.

- Press the dough into the pie pan, working it with your fingers until you have nice, even coverage over your pie pan.

- Use raw for pre-baked or no-bake pies, or bake in the oven at 350 F. for about 15 minutes just to get a light toast, for pies you'll bake. Do not over-bake this if you'll be baking it again with filling.


Hello, would this work with butter instead of coconut oil? Thank you
CorneliaM – In theory, yes. It should. I haven’t tried it myself because I can’t have dairy any longer. But there’s no reason for it not to work. You might have to play around a bit with the amount, however. Let me know how it goes!
We found Earth balance soy free butter which is dairy and soy free. It’s ingredients is vegetable oil made out of canola and Sapphire and flax oils. Palm oil, water, contains 2% or less assault natural flavor, pea protein, sunflower luncheon, olive oil, lactic acid, and annatto extract.
I’ve used it in regular dairy-free/vegan pie crust, but this is out of my own dietary need do I need to go gluten free.. have you sat on this product yet or something like it and tried it with it? Thank you!
Rachel – I have no way of knowing if you need to be gluten-free. That’s a conversation you need to have with your doctor. I have never used that because it’s pretty unhealthy overall. Plus, I don’t tolerate pea protein very well. But palm oil and canola oil are not great oils as far as health goes. I’ve only made this pie crust as the recipe states. I don’t know much about those substitute butters, I’m sorry I can’t be more help.
This turned out fantastic! I used it for a sausage and cheese quiche and WOW! I didn’t pre-cook it since it would be cooking for 45 min. I would absolutely use this for pies too. Thank you!!
Lindsey – Fantastic!!! I’m so happy you liked it so much! 😀 It’s definitely a fav around here. I make it all the time. Enjoy!
The overall making of the dough was super easy, I did mix the oil and flour first before adding the water, and didn’t need extra. I did find that it was pretty thin on a 9-inch pan, wish the recipe would have clarified the size it made it for.
Ashley – I’m glad it was easy! 🙂 There wouldn’t be that much difference between the coverage for 8 or 9 inches though. For this crust, it’s best if it’s a bit on the thin side, thought it shouldn’t have been paper thin either. I’m wondering if mixing the oil and flour before adding water might have changed something, but I’d have to try it to see. I hope you enjoy the flavor. Let me know how it turns out.