Healthy Fried Chicken Recipe
This healthy fried chicken will give you all the flavor of regular fried chicken, without all the added fat!
So I have to say… it’s really hard to make chicken look attractive. Don’t you think? I mean, I see all those magazines around Thanksgiving that show those amazing looking turkeys on the cover and I think to myself… that HAS to be fake. It just has to be!
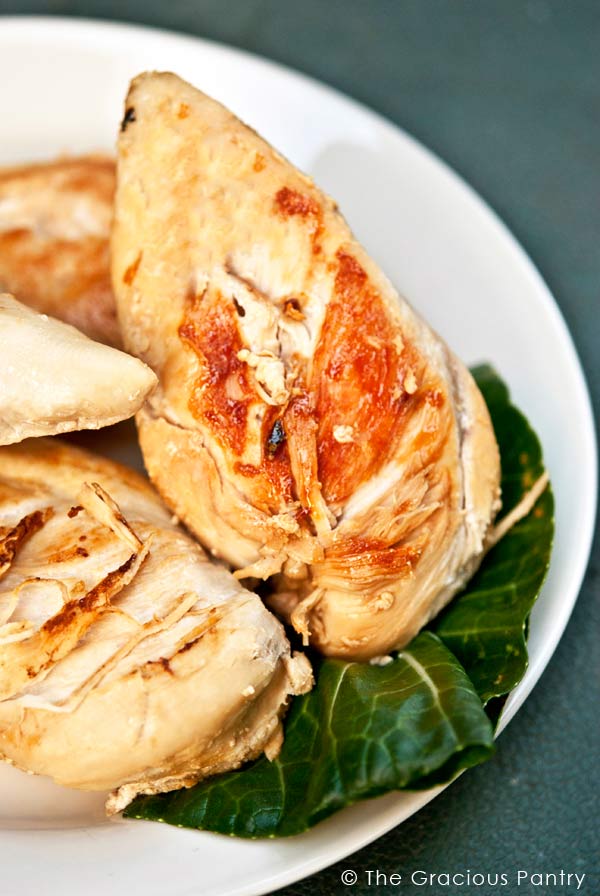
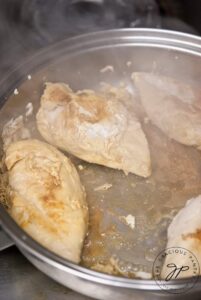
I tried so many different ways to photograph this chicken, and this was the best I could come up with. So you’ll just have to take my word for it when I say that this is some darned good and tender chicken!
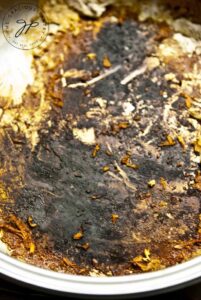
I will also say, that this recipe is a fantastic way to burn a frying pan like never before! But don’t panic…
…because there is no oil or fat used in this recipe, the clean up is actually pretty quick and easy! Promise! Would I lie to you??
Note: Due to the fact that all cookware can vary, I cannot guarantee that your pan will clean up as well as mine did. Please use an old pan you don’t care about the first time you try this recipe. You MUST use a stainless steel pan and a copper or metal scrubber. The clean up would be awful with anything else.
Also, if you do not mind having a softer “crust” on the chicken, you do not have to burn the pan this way. Just add a bit more chicken broth before it gets to this point.
MORE CHICKEN RECIPES:
- Chicken Pot Pie
- Chicken Stock (from scratch)

HEALTHY FRIED CHICKEN RECIPE:
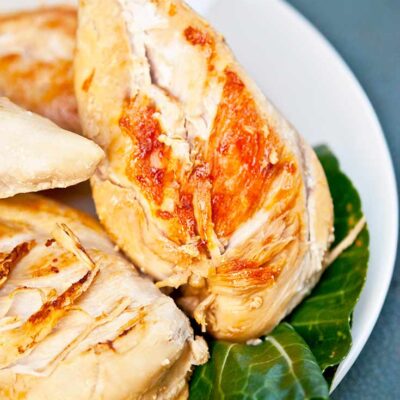
Healthy Fried Chicken
Equipment
- Stainless Steel Skillet
Ingredients
- 2 lb. boneless, skinless chicken breasts (4 breasts)
- 1 cup chicken broth (approximate. You may need more)
Instructions
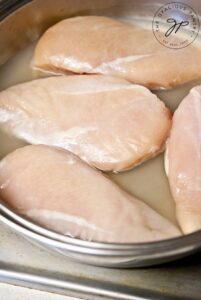
- Place 1/2 the both and all the chicken into a stainless steel frying pan. (Sorry, non stick won't get the browning effect). Turn heat on high to bring the liquid to a boil. Cook the chicken as if you were frying it in oil, turning often. You want to start the browning process on the outside.

- When the liquid has cooked out and you have a little brown on your chicken, add the other 1/2 of the broth.

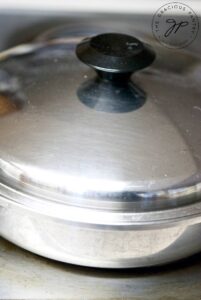
- Put the lid on. Cook for approximately 15-20 minutes to cook the inside of the chicken. Remove the lid. Your chicken should read about 155 degrees F. with a thermometer when the time is up.

- You should have some liquid in the bottom of the pan.
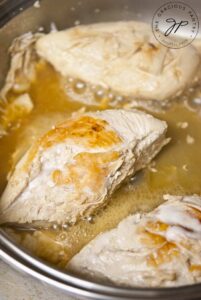
- Let the liquid cook down. Turn your chicken every so often. You'll find that the liquid gives the chicken a brownish color. But the real browning takes place when the liquid had cooked down. (This is also where your pan will start to burn. Again… don't panic. As long as you used a stainless steel pan, I'll get you through the clean up quickly and easily.)

- When the chicken is browned enough for your liking, remove it from the pan and allow to cool.

THE CLEAN UP
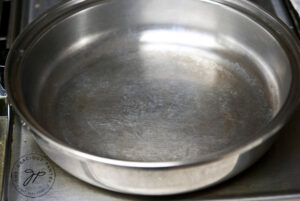
- So now that your pan looks like it will never recover, all you have to do is put it in the sink and soak it for 10-15 minutes. In fact, if you let it soak while you eat dinner, you'll be amazed at how easily it comes off with a copper or steel scrubber. It'll be a breeze. Just wait and see. See?! This is my pan AFTER I made the chicken. Good as it ever was, and it took me less than 3 minutes to get it back to normal!


I wonder how this would cook up in a cast iron frying pan? Probably pretty good!
Cindy – It could work in cast iron, though I can’t make any guarantees. I haven’t tried it.
Another quick clean up tip. Take a used dryer sheet, fill the pan up with water, put in the used dryer sheet and let sit overnight. It rinses out clean!
Cool!
luv it<3, you are too cute Tiffany. We have'nt had fried chicken in sooo long. looking foward to adding this to my list of great recipes and inspirations i've gotten from you..lolz
Desiree – I know you’ll love it!
mmmmm. i have cooked chicken this way many times, it is so good!
Janetha – Oh good! I’m not the only one. So good! It’s really the only way I want to cook chicken anymore!
So what’s wrong with a little Olive Oil for that chicken?? I understand that if the pan is heated and then a small amount of oil is added then you add your chicken when the oil just starts to smoke you get a really good crust on the chicken as well as those delicious pieces in the pan that make gravy, if you are so inclined. Also if the pan and the oil are heated properly then the chicken does not stick. Oh and make sure the chicken is patted dry before adding to the oil and do not crowd the pan. I just learned this myself and thought of your scrubbing that pan! Love your recipes!!! Thanks for the great ideas!!
Ali – Thanks for thinking of me! I don’t use any oil because, 1) I find the clean up is easier for me and 2) I find that meat is high enough in fat without adding more.
That said, your idea would work well, and I’m sure it would be very tasty!
Actually – for a quick clean-up – pour water into the HOT pan (after removing the chicken of course!) and clean the pan that way – or if it is not “burnt” add a small amount of chicken stock to get that “gravy” and small bits that Ali was referring to. (Also known as “de-glazing”).
Lorri – I tried the hot water, and it didn’t work for me. But I like the chicken stock idea. I’ll give that a try. Thanks!
We all enjoyed the chicken! My son said it was, “Awesome!”
Lynn – Yay! That’s wonderful! Thanks for trying my recipes! (You’re a brave woman! lol)
I’ve made this recipe twice now and it is absolutely fantastic!! Both my husband and 2 picky eater sons sing its praises, which says a lot.
Oh and I made it in a cast-iron skillet too. 🙂 Thanks so much!
Lucinda – Fantastic!! I’m glad everyone enjoyed it!
JoAnna – Fantastic! Thanks for sharing that!
Awesome! I’m so happy you enjoyed it!
I laughed so hard now! I get teased a lot…I love cooking but kind of still suck at it and I am an absolute champion in burning pans beyond recognition! Now I can tell my friends and fiance there are indeed cases where the pam has to resemble a kitchen nightmares episode 🙂 thanks, love your blog
Nadia – Haha!! Happy I could help!!! 😀