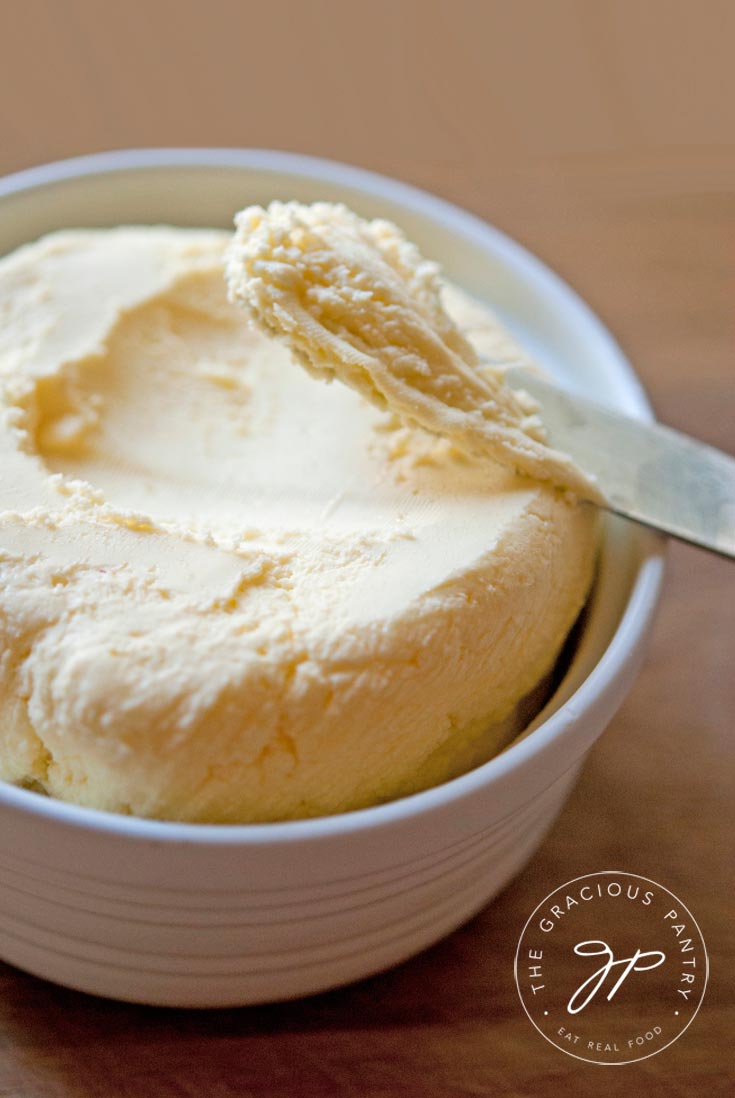
How To Make Butter
Ever wonder how to make butter at home? Here’s how it’s done!
I have a confession. It’s something I have never talked about here on my blog or any of my social media accounts (until recently). In fact, it’s something I hid this entire time. It’s a very simple thing that you can most likely identify well with.
I love butter.
I do. In all it’s golden, glorious creaminess. It adds flavor to dishes like nothing else can. So why did I avoid mentioning my love for real butter?

I’ve been eating clean for 4 years now, and at some point early on, I got it in my head that clean eating meant low fat eating. Nothing could be further from the truth. Healthy fats are vital in clean eating and I have now fully made the switch to full fat dairy products when I use them. But I was never able to give up butter, even when I was doing the low-fat thing.
Good, healthy, pastured, organic butter is the way I roll these days, and I’m so happy to finally be able to talk about it here! In fact, I even made this video so you can see the process for yourself. This is a great way to make flavored butters as well! Can we say honey butter? Garlic and chive butter? Onion butter? YUM!!
And the best part for me personally is that the brand of cream I use (Organic Valley) is a local dairy here in Sonoma County! So I’m blessed to have the good stuff and have it be local as well. You just cannot beat that!
Note that if you want the butter to last longer, you’ll need to rinse it. Simply run it under cool, running water for a few seconds. Then set in a bowl of cool water for a few minutes. When the water is cloudy, pour it out and refill the bowl with fresh water. Repeat until the water stays clean. Make sure the water is cold for this.
YOU MIGHT ALSO ENJOY THESE CLEAN EATING RECIPES:

How To Make Butter
CLICK TO WATCH THIS RECIPE IN ACTION!
Equipment
- Food processor
Ingredients
- 1 pint heavy whipping cream
- 1 pinch salt (optional for salted butter)
Instructions
- Pour cream into a blender, food processor, or large, empty jar with a tight fitting lid.
- Secure the lid, and turn the processor on at it’s low setting.
- It will only take a minute or two before you have whipping cream. If you want salted butter, stop your processor and add it. Just a pinch or two will do the trick, but you should taste it to be sure.
- Secure the lid again, and continue to blend on low. In another minute or two, you will start to see a lot of liquid. Once you have this liquid, you’re done!
- Take a large cup, or bowl and place some cheese cloth, a paper coffee filter or a small, fine-meshed sieve in it. Pour the butter into the cloth and let it drain.
- Now carefully squeeze out some of the remaining buttermilk, gently unwrap the cheese cloth, and transfer the butter to your butter dish.
- Important note: You must be sure to remove all the butter milk from the butter. If you don't churn the butter enough, the buttermilk that remains in the butter will sour and spoil your butter. Feel free to blend a second time in the processor or hang the butter to drip off any residual butter milk in the cheese cloth for a couple hours.


This is amazing!!! I can’t wait to make it!!!!! I am a butter lover as well!!!!
Ashlie – I hope you enjoy it! 🙂
With the amount of Butter/Margarine i go through each week here, this recipe would be perfect for me! Time to get a cheese cloth and some new ingredients!
Kamiko – I hope you enjoy it!
Hi!
If you’re feeling adventurous, and want to make flavored butters (with herbs, etc.), would you add those things when you add the salt, or could it be done after draining the buttermilk?
I’m hoping it’s the latter bc I’m wanting to make multiple flavors out of one batch. I like options for my toast 🙂
Amanda – Either way will work. As long as you get all the liquid out of the butter. It tends to go sour very quickly if you didn’t get enough of the liquid out. But you can stir in the herbs and spices whenever you like. Enjoy!
Question, is this easily spreadable? Is there a way to make it spreadable while still keeping clean? I am new to the clean eating, and I really love your site!
Laurie – It’s just butter. So it behaves like any butter would. It’s more spreadable with soft.
You need to rinse the butter in cold water several times to clean out all the buttermilk. There are videos on you tube if you are interested. It should last as long as store bought butter and can also be frozen if rinsed properly.
Karen – Interesting! Never heard of that. I will definitely check it out.
So I’ve never made this before, and would like to add honey and cinnamon, how much would I add?
Alayna – It’s really a personal choice. I would start with 1/4 tsp. cinnamon and 1 tbsp. honey, and move up from there to taste.
I’ve used the buttermilk for fresh milled grain bread. I also find that if you’re a small family, butter freezes well. I have a heart shaped muffin tin so I put my last batch in there. When it had sat in the fridge for a few hours I just popped them out and put them in a freezer bag. So cute!
Tory – What a fun idea!
I don’t seem to get the liquid using a blender….am I doin something wrong?
Stacey – Hmmm… Any chance you can use a food processor? The blender may not be doing a sufficient job. Also, what type of cream did you use?
Love this! I use to make butter with my kindergarten class by putting heavy whipping cream in a jar with a marble. The kids took turns shaking it up until we had butter. They loved it! I didn’t even think about doing this now for my clean eating diet. I have been fretting over not having butter too! Thanks so much for this recipe and memory jog! 🙂
Karla – My pleasure! But good, organic butter at the store is clean as well. You just need to have it in moderation. Enjoy!
Hi there.. I wonder if I can use whipping cream made from coconut milk? Will it turn to butter too? Because here the price of whipping cream is not normal. Haha
Bella – I don’t think it’s the same. Usually coconut butter is made from the coconut flesh. But if you try it, let me know how it turns out!
I have been this for quite some time now and I’m so glad you shared. I always add the salt at the last step. This way I have fresh “buttermilk” to use in my cereal, make biscuits, or eat with an Oreo 🙂
Diana – Yum!!!
Stacey – I just used my blender with a mason jar. The whipping cream whipped up very quickly then shook down the whipped cream from the sides of the jar (tap it down every few seconds) and pulsed (tap/pulse) until the liquid starts to flow out of the butter. Then I whipped it until there was lots of liquid and the butter looked like Tiffany’s.
Ohhhh!! Can I make this with a hand mixer? So, I love love making fresh whipped cream. I usually whip it with a hand mixer. One time I whipped too long and it got all clumpy and started to separate and was “ruined.” From reading this, I’m assuming I almost had butter?!?! How awesome! Should have kept whipping rather than throwing it away!
Rama – I suppose it’s possible, but I don’t think you would get all the buttermilk out. At that point, it’s best to put it in a jar with a screw on lid and just shake until you have butter.
I recently switched to clean eating. One for overall health but also for the possibility as the trigger for my chronic headaches. It’s a little early to tell about the headache side of things, my doctor wants me to lose weight too.
Thank for all the information! I was wondering how I was going to cook with no store bought clean butter! Going to the store today to buy heavy whipping, amongst other clean items!
Rachel – If you don’t want to make it, Kerry Gold butte is an excellent brand to buy. 🙂
Subject: Clean Eatting Butter
Does the butter need to be rinsed?
Angela – I don’t rinse mine. But you do have to all of the buttermilk removed so things don’t turn sour.