
Easy Gimbap Recipe
This post may contain affiliate links. If you make a purchase through links on this site, I may earn a commission.
Read my Privacy Policy.
This easy Gimbap recipe (also known as Kimbap) is one of those really great recipes to keep in your back pocket for those days where you just don’t have much time to be in the kitchen.
Most Asian cooking has a lot of ritual and meaning to it. But bring it over to the USA, and it gets Americanized and looses much of the tradition behind it.
I’ll be the first to say that I’m sure this is a very boiled down version of traditional Korean Kimbap.
This was something I learned to make when I was a nanny for a family that had a Korean mom. The grandfather came up with this for the grandkids and she had made it for them ever since. So when I came along, I had to learn to make it too. Thankfully, it was super easy!
It’s one of those recipes that is totally universal. Kids and adults will love it.
What Is Gimbap?
Kimbap is basically the Korean version of sushi.
But one of the two main differences is that the rice for Kimbap has sesame oil added. I like to stir this in last since I make my rice in a rice cooker. I usually add a teaspoon or so to a full pot of sticky rice and just stir it in.
The second main difference between sushi and Kimbap is that sushi tends to focus on using raw seafood, while Kimbap tends to focus on using cooked meats.
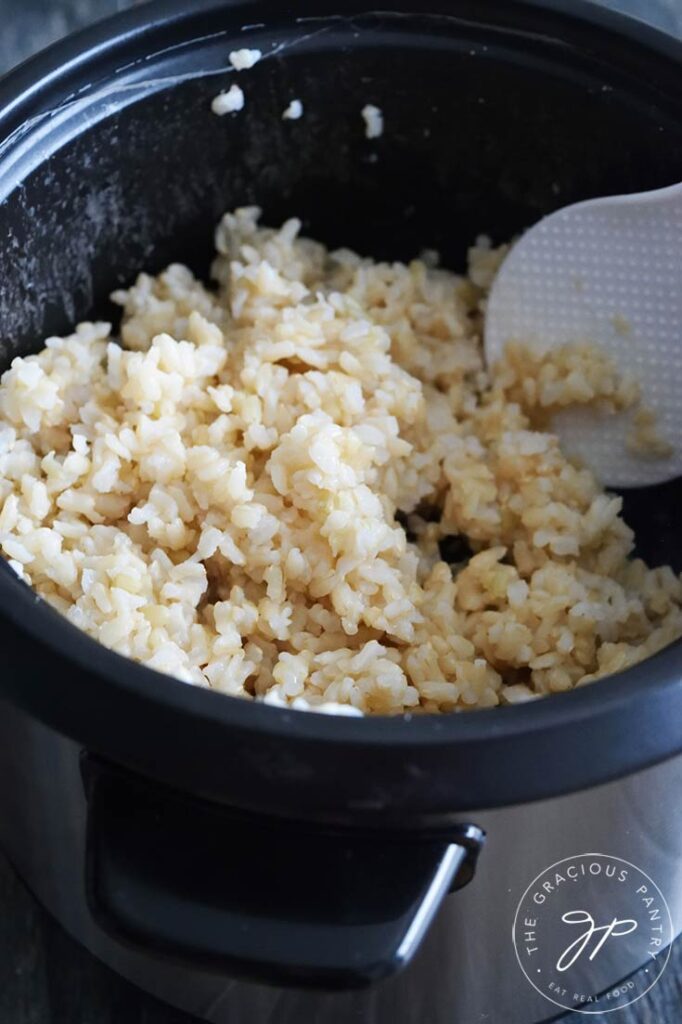
Rice For Gimbap
Typically, the best rice for this sort of dish will be a short grain rice. I always just use what I have on hand, but even I have to admit that short grain rice works best here.
I always make my rice into a sticky rice, which involves using a bit more water. But I’ve also read that you should actually make your rice with a bit less water for Gimbap. I leave that up to you. But from personal experience, sticky rice is just easier when you are rolling it in nori.
How To Make Gimbap
The process for making Kimbap is basically the same as making sushi.
Now, I don’t claim to be an expert sushi maker, so please excuse the irreverence when I tell you to “roll it up like a carpet”, I mean no disrespect. I’m just sharing the way I personally learned to make it. If you know of a more proper way to do so, I’d love to hear about it in a comment below.

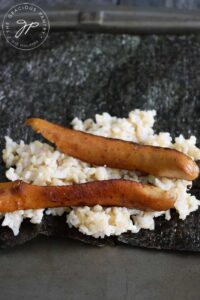
So you’ll want to spread as much sticky rice on the nori (seaweed wrap) as you like. Then lay down the meat.
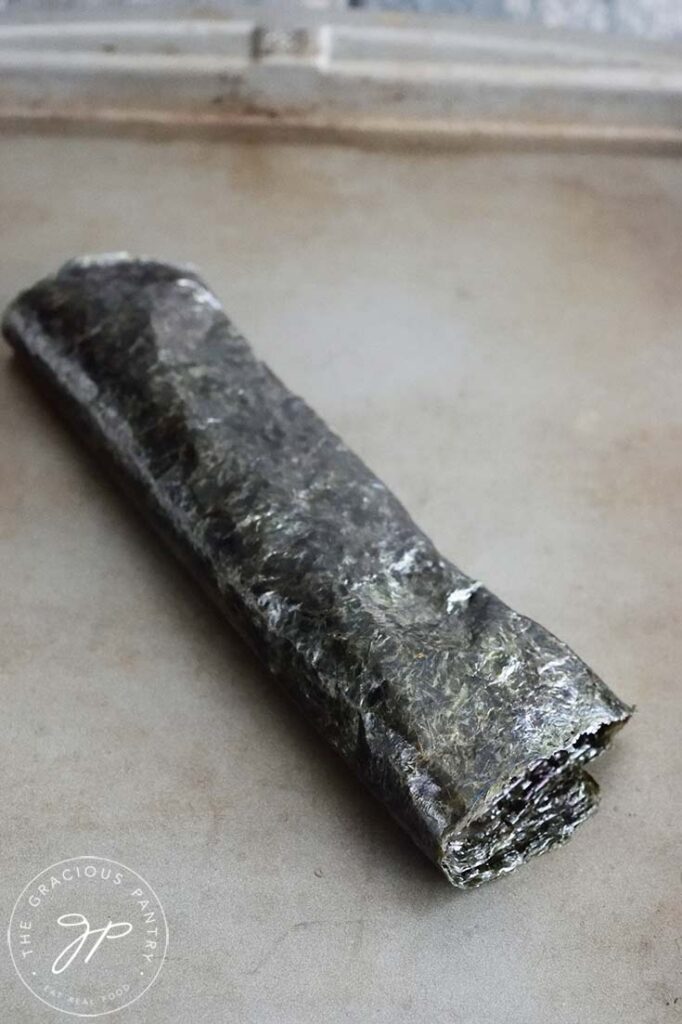
How To Roll Kimbap
As mentioned earlier, I just layer on the rice and meat and then roll it up like a carpet. I’m sure there are far more traditional ways to do this, but as a busy, work-at-home mom with a kid doing remote learning, rolling it up like a carpet seems like the efficient way to do it. If you have a better approach, please share in a comment below!
If you roll up the Kimbap and the nori doesn’t want to stick at the end to close it off (it usually sticks pretty well if the rice is hot), just wet your finger with some water and run a few drops with your finger over the end of the nori. Press the end onto the roll and it should cling just fine.
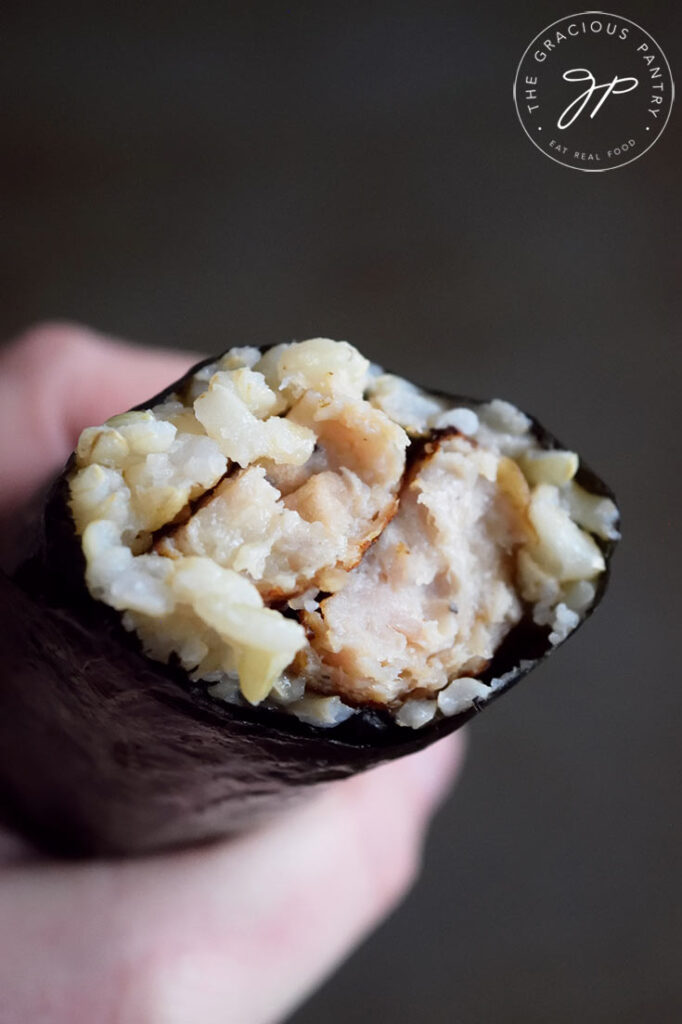
Once rolled, slice it like sushi. Here is another area where I part with tradition. We eat it like a burrito. Slicing it is great for serving company, but particularly for kids, it’s often easier to handle when it’s whole.
Popular Types Of Kimbap
These types of kimbap are far more traditional and widely used. So if my version is too insulting or lacking, here are some ideas for you.
- Vegetable Kimbap – This is made with just veggies. Typically things like cucumber, or radishes.
- Tuna Kimbap – Made with cooked tuna and some select vegetables
- Rice Kimbap – You can roll up just the rice and serve these with a little soy sauce for dipping on the side.
- Ham Kimbap – This is most often made with ham and crab meat together along with a few veggies like cucumbers or radishes.
- Pork Kimap – The standard is usually a cooked pork cutlet that is sliced to size for rolling. Also often paired with a few veggies.
You actually don’t have to use sticky rice at all. If you have plain rice in the fridge, you can simply stir a bit of sesame oil into that to get the proper flavor. But in my experience, rolling anything in Nori will be easier if the rice sticks.
How To Store Gimbap
If you plan on making this ahead of time, your best bet is to leave it unsliced. Wrap it well and keep it in the fridge whole. Then you can slice it just before serving. If you try to store it when sliced, it tends to dry out.
Can You Freeze Gimbap?
You can certainly freeze the rice, but freezing the prepared Kimbap is not recommended.
Need Supplies?


Gimbap Recipe
Ingredients
- 1 sheet nori
- ½ cup brown rice
- 1 standard sausage (you can use a hot dog too!)
Instructions
- Lay down the nori, spread the rice on and add the meat.

- Roll it up like a carpet and serve sliced or whole.

Notes
Nutrition

I will admit that I clicked on this recipe because I had never heard of it before 😉 I am glad that I did though because these little guys are amazing and super quick. I batch them and use them as an “emergency” whole food when my day gets super busy. Thank you!
Griff – My pleasure! So glad you’re enjoying them! 😀