Sticky Brown Rice Recipe
Here’s how to easily make sticky brown rice with just about any type of brown rice you have on hand. This will work with white rice too, but I like to avoid white rice. So here’s how to do it with brown rice instead!
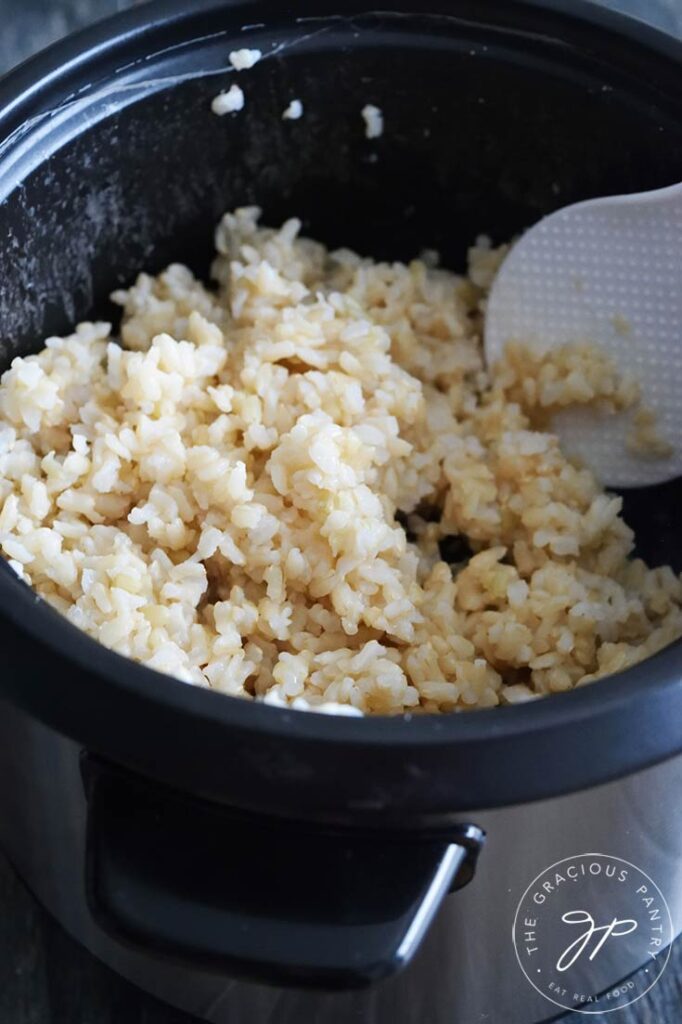
I was a nanny for a Korean family years ago, and the mother taught me how to make rice like this.
I was all too eager to learn, as I had never been able to figure out the technique, coming from a German family and cooking background. So I paid close attention, and I’ve been making sticky rice ever since!
Types Of Rice For Sticky Rice
Traditionally, sticky rice is made with short-grain white rice. This works best for things like sushi. But if you are focusing on eating more whole grains, you’ll be happy to know that this works just as well with brown rice!
And to take it one step further, this technique, though not traditional with other types of rice, will work well on any type of rice you happen to have.
How To Store Sticky Rice
Sticky rice of any kind will keep in an air-tight container in the fridge for up to six days. So it’s a great side dish to prep on the weekends for the weekday meals ahead.
How To Freeze Sticky Rice
Sticky rice of any kind will freeze well for about 6 to 8 months. However, to avoid freezing a huge “block” of rice, it’s best to spread it over a parchment-lined cookie sheet in a single layer. Freeze and then break apart. Then transfer it to an air-tight container and return it to the freezer.
You can also freeze rice in ice cube trays if you will be using smaller amounts of rice.
About The Ingredients
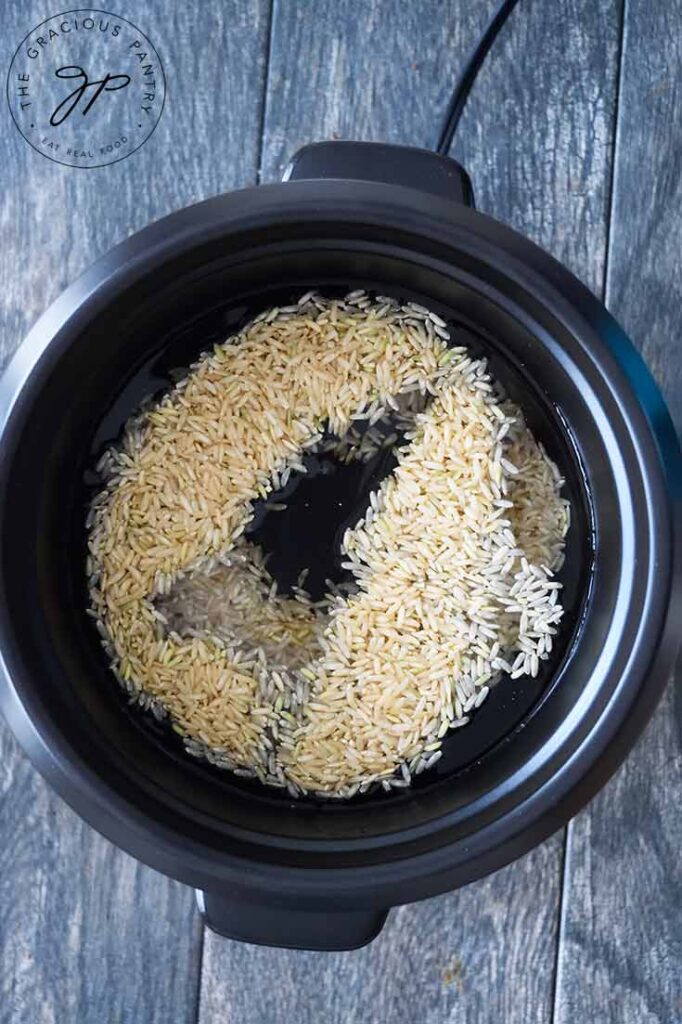
Brown rice – While short-grain rice is traditional and best for sushi, you can use any type of rice you have on hand (other than wild rice).
Rice vinegar – You can also use white wine vinegar, but rice vinegar gives a more authentic flavor.
Sweetener – I used xylitol because that works best for my blood sugar, but you can try Sucanat, monk fruit, honey, or maple syrup. Maple syrup is particularly well suited for this, believe it or not, as long as it’s the real stuff.
Salt – I used pink Himalayan salt, but any find-grind salt will work here.
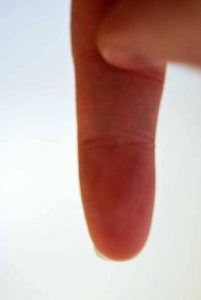
Water – Place the tip of your pinking finger (or ring finger if your pinky is very small) on the top of the rice (not the bottom of the bowl). Add enough water to reach your second knuckle.
How To Make Sticky Brown Rice
Click the video in the recipe card below to see this recipe in action!
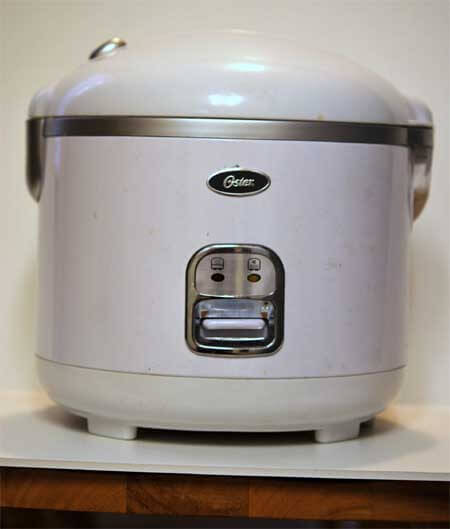
Find a heat-resistant surface to let your rice cooker cook on.
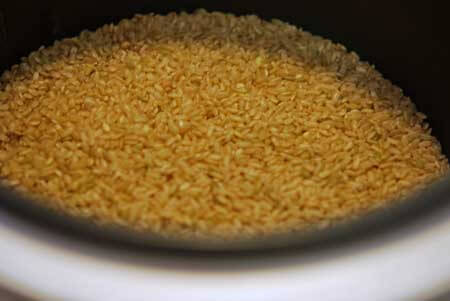
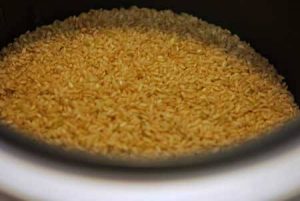
Pour as much rice into the rice cooker removable bowl as you’d like to make. Keep in mind the rice will turn into a little more than double the amount you initially put in. I give you measurements for the purpose of nutrition data or multiplying the recipe. But you can use as much as you like.
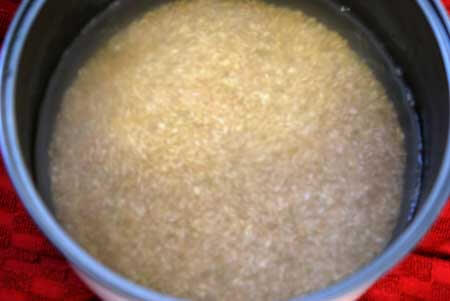
Using tap water, at the warmest temperature you can stand to stick your entire hand into (please don’t burn yourself!), and wash the rice by swirling it around in the bowl. You will notice the water is cloudy. Drain the water and repeat until the water runs clear when you strain it.
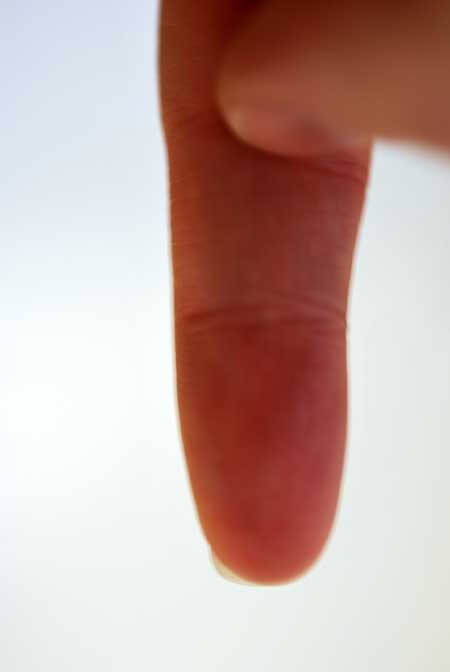
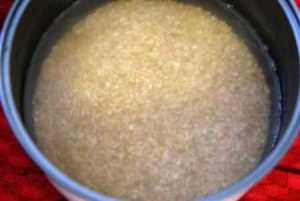
Using your little finger as a guide (unless you have a really tiny pinkie finger, then use your ring finger), fill up the drained rice in the rice cooker bowl with water until it hits your second knuckle on your pinkie finger. Funny, I know. But it works every time.Important! – When you measure the water using the “finger method”, you want the tip of your little finger touching the surface of the rice, NOT the bottom of the bowl. Measure from there.Add the vinegar, sweetener and salt.
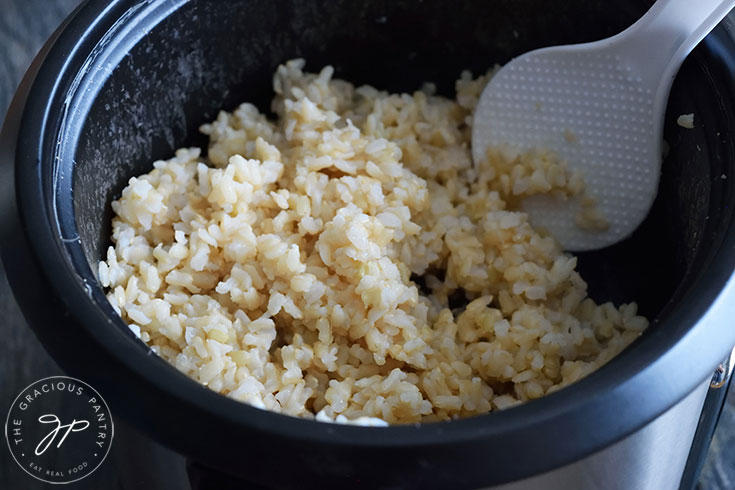
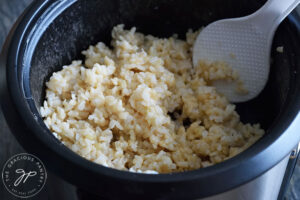
Make sure your rice cooker bowl is dry on the outside, and place it into your rice cooker. Hit the start button, and you’ll have lots of wonderful sticky rice when you are finished!
Recipe Supplies
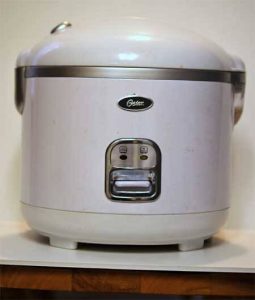
Any electric rice cooker will work for making sticky brown rice. If you need a rice cooker, here are two that work well. If you click on either image, it will take you to that product on Amazon. (Affiliate links)
More Healthy Asian Recipes
Sticky Brown Rice Recipe Card

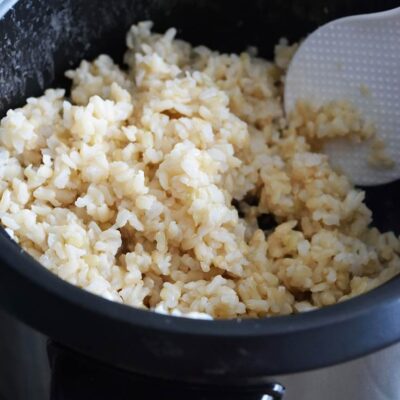
Rice Cooker Sticky Brown Rice Recipe
Equipment
- Rice cooker
Ingredients
- 1 cup brown rice
- 2 tbsp. rice vinegar
- 1 tbsp. sweetener (try Sucanat, monk fruit, honey or maple syrup)
- ¼ tsp. salt
- water (see instructions)
Instructions
- Find a heat resistant surface to let your rice cooker cook on.

- Pour as much rice into the rice cooker removable bowl as you'd like to make. Keep in mind the rice will turn into a little more than double the amount you initially put in. I give you measurements for the purpose of nutrition data or multiplying the recipe. But you can use as much as you like.

- Using tap water, at the warmest temperature you can stand to stick your entire hand into (please don't burn yourself!), wash the rice by swirling it around in the bowl. You will notice the water is cloudy. Drain the water and repeat until the water runs clear when you strain it.

- Using your little finger as a guide (unless you have a really tiny pinkie finger, then use your ring finger), fill up the drained rice in the rice cooker bowl with water until it hits your second knuckle on your pinkie finger. Funny, I know. But it works every time.Important! – When you measure the water using the "finger method", you want the tip of your little finger touching the surface of the rice, NOT the bottom of the bowl. Measure from there.Add the vinegar, sweetener and salt.

- Make sure your rice cooker bowl is dry on the outside, and place into your rice cooker. Hit the start button, and you’ll have lots of wonderful sticky rice when you are finished!


I love me some sticky rice! I’ve been practicing, too, and find the best results w/long grain? What kind of brown rice did you use?
Lisa
How funny. I’ve found the best results with short grain. I guess it’s all in the technique?
Hi Tiffany, I just found these directions and I am looking forward to trying this, because our rice cooker doesn’t really tell how to cook brown rice and it always comes out a little too dry and crusty on the very bottom. My question though, is why distilled water? As opposed to tap water (if your area has good water) or filtered water?
Lynn – Many rice cookers (an other appliances) require only distilled water. When you cook the rice in a cooker, there is a ton of steam. This can attach any gunk in your water to your machine, and it will break much faster. Plus, we don’t have good water here, so I always buy distilled anyway.
Mmm… I’ve been buying the Annie Chun’s brand of packaged precooked sticky rice ($3-$5 per 2-serving bowl!), and your way is waaay more economical. Another pre-packaged food item I love is Amy’s Organic Bowls Teriyaki with brown rice, stir-fried veggies and a scant amount of cubed tofu with a little teriyaki sauce ($4-$6 per single-serving bowl). With your sticky brown rice recipe, I think I can make my own version of this waaay-yummo bowl myself.
Thank you for taking the time to do all your “culinary experimentations” in clean cooking and clean eating. 🙂
Charlena – You’re welcome! I’m so happy you can use my recipes!
Awesome! I can make sushi with this!!! You’ve just made my weekend!
Mandie – Yes you can! And here’s a recipe for clean eating sushi! https://www.thegraciouspantry.com/clean-eating-sushi/
This is an odd question you may not know the answer to. I have a rice cooker for the microwave (from Pampered Chef). Do you think this technique would work? I usually cook it (standard) for 5 minutes on high and 15 minutes at 50%.
Fadra – The essential element in sticky rice is extra water. So I would imagine it would work that way too. Worth a shot! 😉
I always do my rice on the stove so this method would work on the stove as well? Does it take as long to cook as the ‘normal’ way or do rice cookers take longer or shorter to cook?
Do I need any Rice Vinegar to make this work?
Regina – Nope!
I would be interested in hearing how to cook o stove too when someone gives it a try
Sally – I haven’t tried it on the stove, but maybe I will!
Just tried this method and my rice came out very mushy. When using my rice cooker previously, I always used the one knuckle rule. Maybe I’ll just try one and a half to get the sticky consistency.
Kathryn – It’s possible that it could be a difference in rice cookers. I never really thought about that, so I’m glad you brought it up!
A bit confused about this! Instructions say to use your finger to measure the drained rice — got it. But then #6 indicates that you measure the water by placing the tip of your finger on the surface of the rice that is now in your rice cooker bowl. But where should the water come to now? The same place on your finger as when you measured the rice? So: You measure the RICE by placing your finger on the bottom of the bowl and filling until it reaches your knuckle, then move your finger and fill the bowl with WATER until it reaches your knuckle again? Sorry — maybe I’m just missing something, but I think some clarity would be helpful. 🙂
Thanks!
Thea – No, you put in as much dry rice as you want keeping in mind that it will double when it’s done. Then, you touch the top of the rice with your finger and fill the container with enough water to make it up to your first knuckle. Does that help?
I’m confused too, I don’t see anywhere where it says to add the water for cooking. Is there a step missing?
Nari – Step 5 and 6. 🙂
Your recipe says the second knuckle, but then you say the first knuckle here. I’m confused 🙁
Claire – Follow the recipe. The recipe is correct.
This was so good! I used it as a sub for sticky rice in a coconut thia mango desert. I was nervous about the finger measurement. Used 2 cups long grain brown rice soaked in 2 1/4 cups water for four hours. Added a can of coconut milk to the rice/water. A pinch of salt, some honey and half a lemon as a sub for the vinegar and 22 minutes on manual. So sticky! Thanks for all the leg work!
Candi – I’m so happy you enjoyed it! 😀
Hi! Thanks for the recipe! Just a quick comment on your website. You may want to change the configuration, as the facebook/pinterest/twitter tabs on the left actually make it kind of difficult to read the recipe. You may want to shift them to the right hand side of the screen if possible. 🙂
Maria – Are you on a phone or desk/lap top?
Hi, I’m also confused with how much water to use. Does the water level go the the first or second knuckle on the pinky finger?
Thanks!
Donna – It’s the second. The one closest to your hand.
I tried this with brown rice in my rice maker and it came out goopy and super wet. It also took forever to cook. I then tried another blogs idea and used the prescribed amount of water indicated by the rice maker, but I soaked the rice for a half hour before turning the cooker on. It came out perfect.
Rob – I’m sorry it didn’t work for you! My guess would be a difference in either rice or rice cookers. I’ll have to try it again, but I’ve done it many times without fail with these directions. So I’m not sure where the hiccup is. Glad you found something that works for you though!
Do you know how the cook time might translate to an instant pot?
Rachel – I’m afraid I do not. I’m sorry. I did find this article, but it uses white rice. Maybe you could ask them about brown rice. https://www.pressurecookrecipes.com/instant-pot-sticky-rice/
Tried it twice. I measured to the second knuckle. Totally mushy. Second try, measured to the first knuckle and let sit for 30 minutes before cooking. Mushy again. Will just try a recipe that gives the cup measures for the water. I was making sushi for a party, and had to go with plan B. Sigh.
Virginia – Did you try rinsing the rice? I’m not sure what letting it sit was for. If it was mushy, you would want to cook it right away. Not let it sit. Sounds like something isn’t quite right there. I’ve done this multiple times with many types of rice, and it comes out just fine. Maybe you can give me more details on what you are doing? Thanks!