Homemade Cinnamon Rolls Recipe
This homemade cinnamon rolls recipe is the perfect alternative to store-bought!
Nothing beats warm cinnamon rolls out of the oven on Christmas morning. Cinnamon buns are an American classic for special occasions. But they don’t have to be a complete nutritional disaster full of powdered sugar, saturated fat, and processed all-purpose flour. On the contrary! They can be just as good made with healthy ingredients.
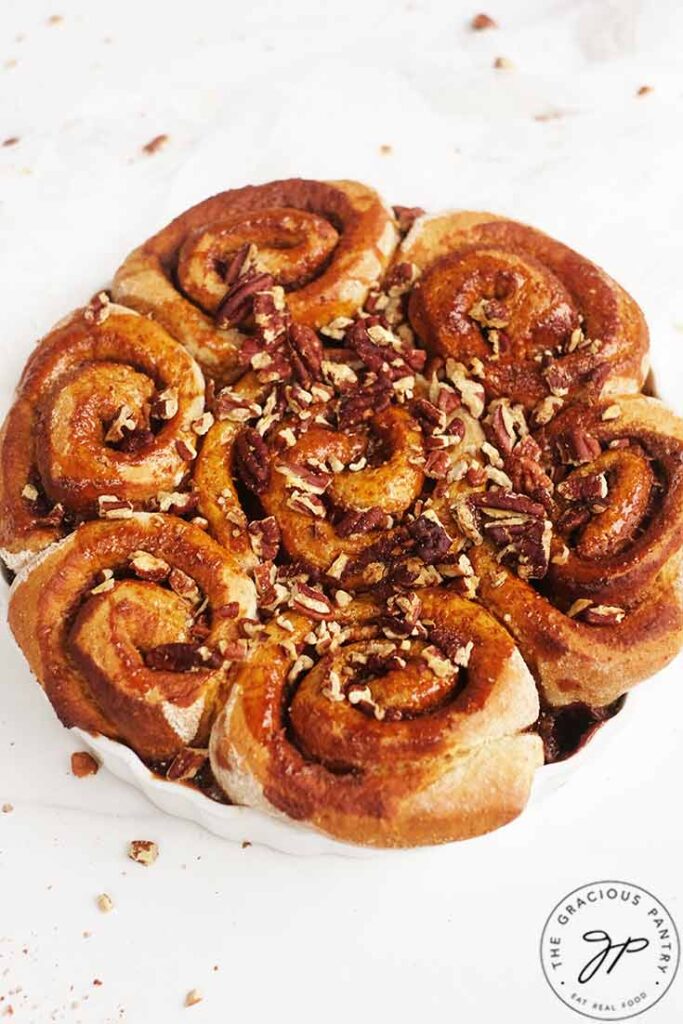
While these cinnamon rolls don’t have cream cheese icing, what they do have is a delicious honey glaze. But if you really prefer the cream cheese, you can mix cream cheese into the glaze recipe in any amount you like. You will probably have to adjust the sweetener amount, and it’s best to smear half the icing on top after baking. You will probably also want to whisk in enough milk to make it more spreadable, but not pourable. Basically, you’ll have to play around with it a bit as I haven’t tried making cream cheese frosting myself.
What Does Pouring Milk Over Cinnamon Rolls Do?
Actually, you don’t want to pour it over the rolls. You want to pour it into the bottom of the pan and add just enough to cover the bottom of the pan. You don’t want to saturate the rolls and keep them from baking properly.
While this recipe does not call for it, many people enjoy pouring milk into the pan of their cinnamon rolls just before baking. The idea is that they will become much softer and fluffier. I haven’t tried this myself, so if you want to try it, do so at your own risk with this recipe.
Can I Use A Stand Mixer To Make This?
While I made this by hand, a stand mixer could certainly be used. Simply use a dough hook on your mixer to knead the dough.
About The Texture
Yes, these are fluffy cinnamon rolls. But as with most things that are whole grain, they are also a bit heartier and denser. However, for a healthy cinnamon roll, these are the best cinnamon rolls you’ll make.
Recipe Variations
You can add vanilla extract if you wish. I didn’t find it to be necessary here, but it’s an option. Add about 2 teaspoons if you want to use it.
If you are concerned about the texture and have a non-stick surface you can roll the dough on, you can use a lightly floured surface instead so you don’t end up adding too much flour. But you will need some because the cinnamon roll dough is sticky. Adjust based on your work area.
Ingredients For This Cinnamon Roll Recipe
Active dry yeast – Make sure it’s fresh so that the bread rises properly.
Honey – Any type will work.
Warm water – Use filtered water that does not taste like chlorine.
Unsweetened almond milk – Regular milk works too. Lightly warm milk works best, but chilled will work too.
Salt – I used pink Himalayan salt. But use whatever you normally bake with.
Olive oil – Or any light flavored oil. In a pinch, you can use softened butter instead.
Egg – Room temperature works best.
Whole wheat pastry flour – If you can’t find it, white whole wheat flour is the next best thing. Regular whole wheat flour won’t work here.
Molasses – Blackstrap molasses is what I used, but pretty much any molasses will work here.
Cinnamon – Just cinnamon, not cinnamon sugar.
Pecans – Optional, but tasty. You can also use walnuts or any nuts you prefer.
How To Make Homemade Cinnamon Rolls
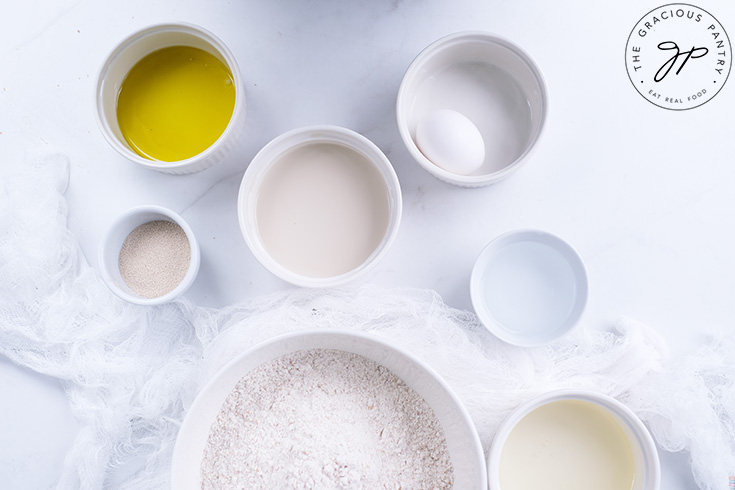
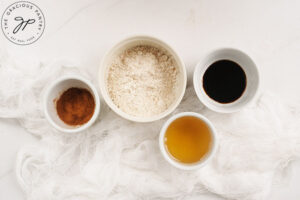
Gather and measure all your ingredients.
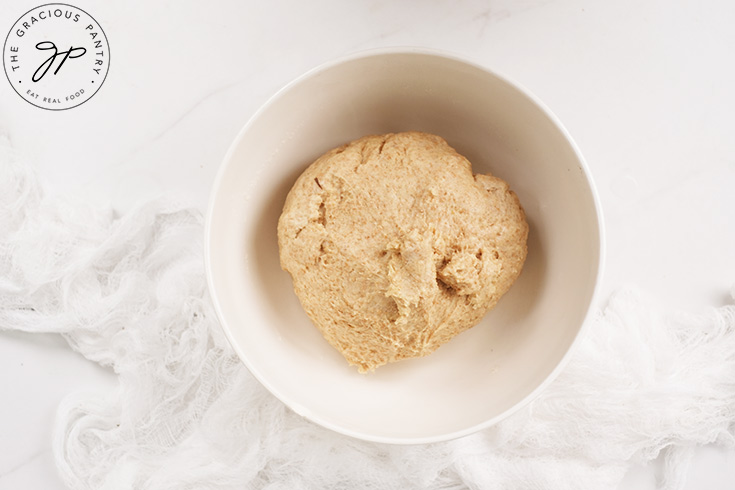
In a large bowl, pour the yeast into the bowl and mix in the warm water (105℉) and the ½ teaspoon honey. Let sit for 5 minutes. Now, add the almond milk, ¼ cup honey, salt olive oil, and eggs to the yeast mixture. Whisk gently until combined. Then stir in the flour until you have to continue kneading with your hands to get a smooth dough. You will knead for about 10-15 minutes.
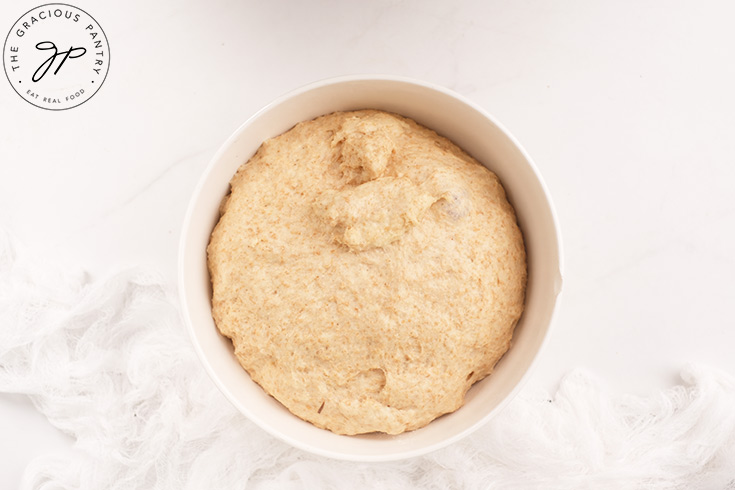
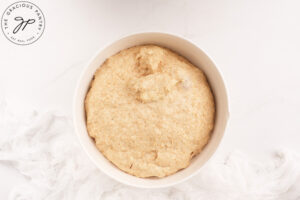
Coat the ball of dough in a thin layer of olive oil and set back in the bowl. Cover with a towel and let stand for 1 hour to rise. Punch down the dough, and cover again. Let it sit for another hour. Punch down the dough one last time, cover, and let sit for 10 minutes while you prepare the filling.
The Glaze
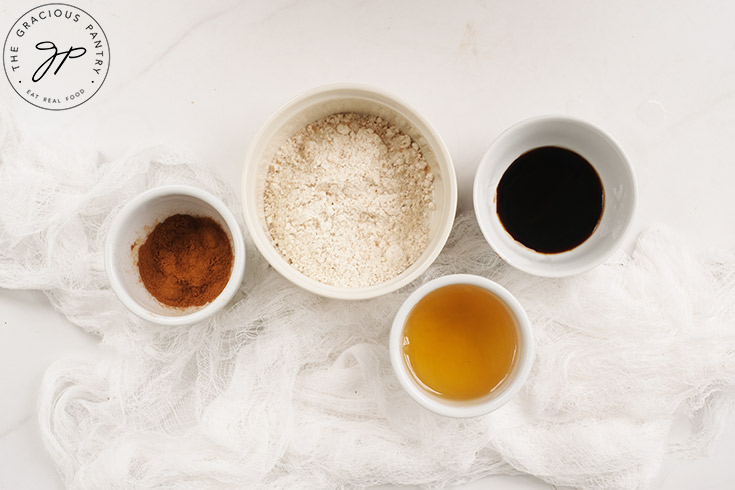
In a medium mixing bowl, blend all your glaze ingredients together. You should have a nice, thick, molasses-like filling when you are done mixing.
Putting It All Together
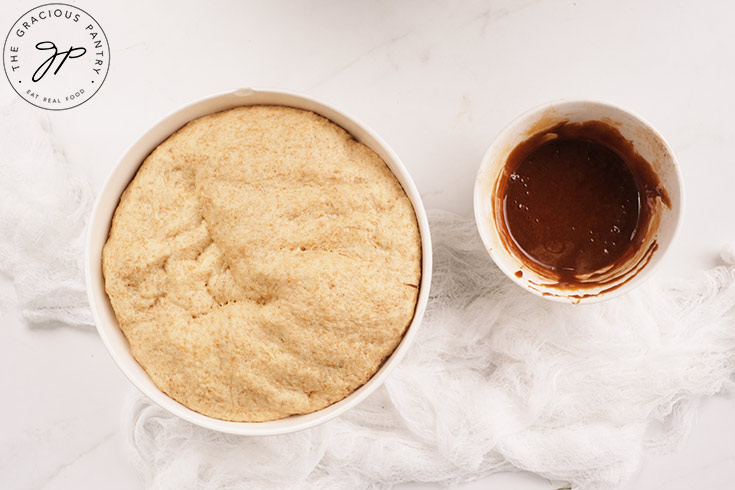
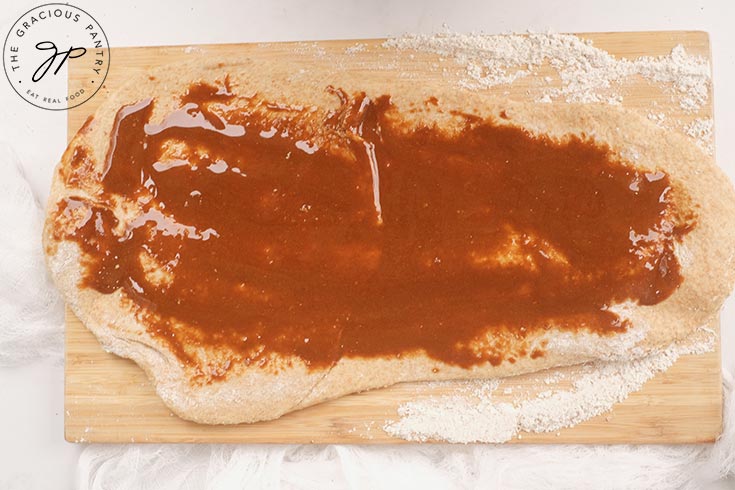
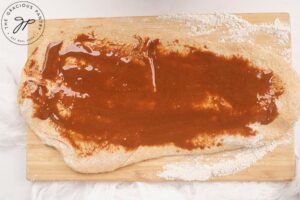
On a generously floured surface, roll out your dough. Again, be generous with the flour. If you are not, the dough will stick to your counter making the rolling process a real chore. Roll the dough into a rectangle. Cut with a knife if necessary and place the cut-offs in the center of the dough to be rolled back in with the rolling pin (no wasting good dough here!). Pour the honey mixture onto the middle of your rolled dough. Smear on your filling. Make sure it only touches 3 of the four sides of your rectangle.
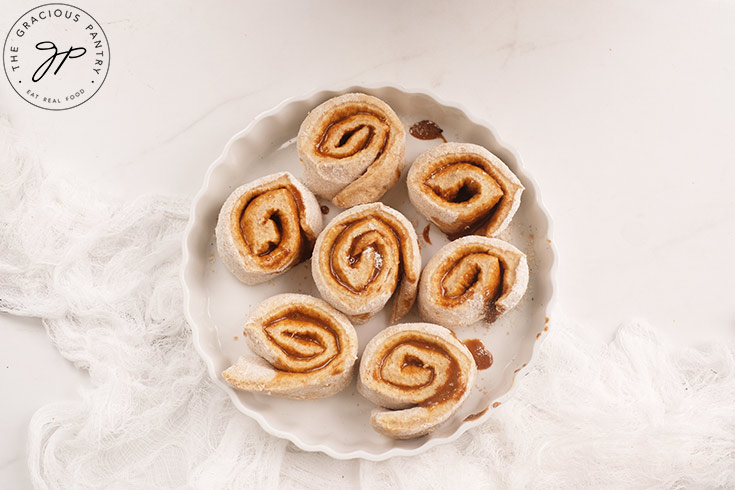
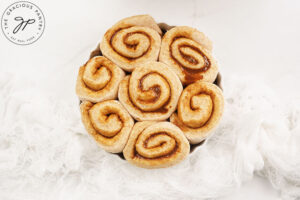
Roll the dough, starting with the side that has the honey mixture up to the edge. When you get it rolled almost all the way, use your fingers to “paint” some water onto the edge of the dough that does not have any honey mixture on it. Give the dough one final roll so the dough will be “glued shut” by the water. Cut the roll into approximately 1-inch strips, and place each strip in an oiled baking dish or casserole dish. You want the dish to be too big for all your rolls as they will still need room for rising and baking. But don’t go overboard, or your filling will seep out during baking. Better to have them fit snuggly after they have risen than still have too much room. Gauge accordingly.
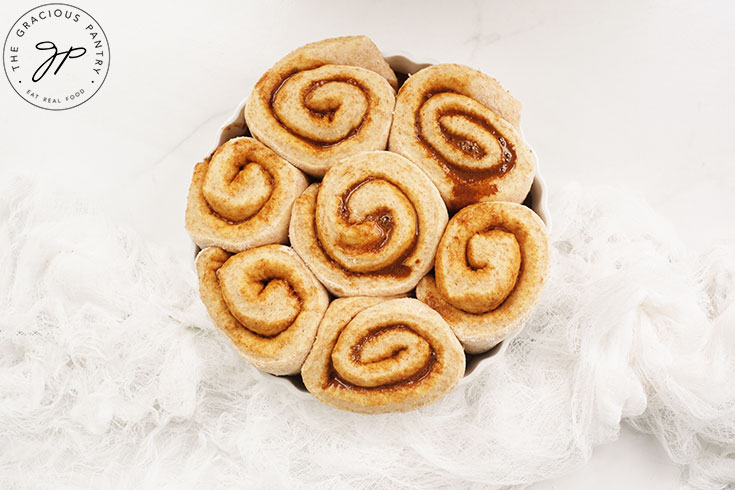
Cover the dish with a towel and let the dough rise, one last time, for 1 hour.
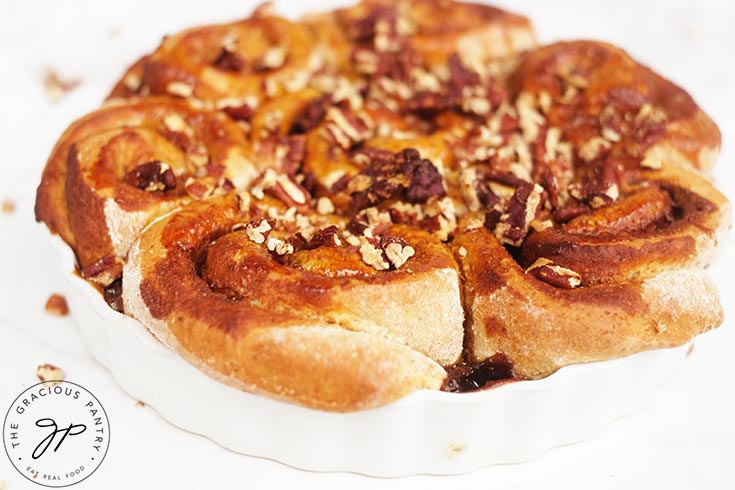
Preheat your oven to 375° F. If using the pecans, sprinkle them on now. Place rolls in the oven and bake for 15-18 minutes or until they are golden brown. Allow to cool and squeeze some honey over the top of the rolls.
How To Store Homemade Cinnamon Rolls
Store these in an airtight container in the fridge for up to 4 days.
Can You Freeze Homemade Cinnamon Rolls?
Yes, these will freeze well if wrapped well. Wrapped them in plastic wrap, and then place them in a freezer-safe container in the freezer for up to 3 months.
Reheating Homemade Cinnamon Rolls
Thaw in the fridge if frozen.
Reheat in the microwave or in the oven at 325 F.
More Health Treats
SUBSCRIBE
Remember to subscribe to my free newsletter to receive all my latest recipes in your inbox. Click here to sign up!
Homemade Cinnamon Rolls Recipe Card

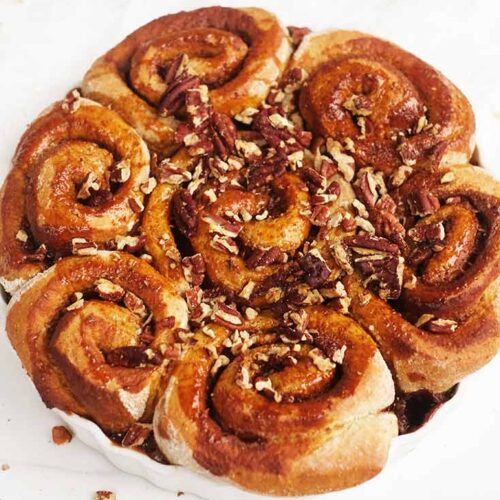
Homemade Cinnamon Rolls Recipe
Ingredients
Cinnamon Roll Ingredients
- 1 packet active dry yeast
- ½ tsp. honey
- ⅛ cup warm water (100-115 degrees F)
- 1 cup unsweetened almond milk (regular milk works too)
- ¼ cup honey
- ¼ tsp. salt
- 2 tbsp. olive oil + extra on reserve
- 1 large egg
- 3½ cups whole wheat pastry flour (affiliate link)
Cinnamon Filling Ingredients
- 1 cup honey
- 1 tbsp. molasses
- ¼ cup whole wheat pastry flour (affiliate link)
- 2 tbsp. cinnamon
Topping Ingredients
- 1 cup chopped pecans
Instructions
The Rolls
- Gather and measure all your ingredients.

- In a large mixing bowl, pour the yeast into the bowl and mix in the warm water (105℉) and the ½ teaspoon honey. Let sit for 5 minutes.Now, add the almond milk, ¼ cup honey, salt olive oil, and eggs to the yeast mixture. Whisk gently until combined. Then stir in the flour until you have to continue kneading with your hands to get a smooth dough. You will knead for about 10-15 minutes.

- Coat the ball of dough in a thin layer of olive oil and set back in the bowl. Cover with a towel and let stand for 1 hour to rise.Punch down the dough, and cover again. Let it sit for another hour.Punch down the dough one last time, cover, and let sit for 10 minutes while you prepare the filling.

The Glaze
- In a medium mixing bowl, blend all your glaze ingredients together. You should have a nice, thick, molasses-like filling when you are done mixing.

Putting It All Together
- On a generously floured surface, roll out your dough. Again, be generous with the flour. If you are not, the dough will stick to your counter making the rolling process a real chore. Roll the dough into a rectangle. Cut with a knife if necessary and place the cut-offs in the center of the dough to be rolled back in with the rolling pin (no wasting good dough here!)Pour the honey mixture onto the middle of your rolled dough.Smear on your filling. Make sure it only touches 3 of the four sides of your rectangle.

- Roll the dough, starting with the side that has the honey mixture up to the edge.When you get it rolled almost all the way, use your fingers to "paint" some water onto the edge of the dough that does not have any honey mixture on it. Give the dough one final roll so the dough will be "glued shut" by the water.Cut the roll into approximately 1-inch strips, and place each strip in an oiled baking pan or casserole dish. You want the dish to be too big for all your rolls as they will still need room for rising and baking. But don't go overboard, or your filling will seep out during baking. Better to have them fit snuggly after they have risen than still have too much room. Gauge accordingly.

- Cover the dish with a towel and let the dough rise, one last time, for 1 hour.

- Preheat your oven to 375° F.If using the pecans, sprinkle them on now. Place rolls in the oven and bake for 15-18 minutes.Allow to cool and squeeze some honey over the top of the rolls.





Amanda – That sounds crazy good!!!
You are AMAZING!! Thank you for sharing all of your WONDERFUL recipes!!! 🙂
MommyOf2Boys – You’re welcome! I hope you enjoy these!
RhiAnnon – Any milk you normally use will be fine.
Stacey – I’m sorry, but I know nothing about gluten free cooking/baking. Try Elana’s Pantry. She’s great with that kind of thing.
Jessica – I highly recommend it. But WHITE whole wheat flour may work as well.
Hahaha!!! Ya, they are pretty messy to make. I hope you enjoy them though!
Oh no!!!!!! I’m so sorry!
Sounds like a plan! And yes, a change in flour will affect how sticky the dough is. Glad you enjoyed them!
You can try, but you may have to make a slight adjustment to the liquid content. Whole wheat flour soaks up a lot more liquid than white flour.
Awesome! So glad you enjoyed them!
You can’t make regular whole wheat flour into whole wheat pastry flour. They are two different types of wheat and have different gluten levels. The pastry variety is also a finer “grind”. If you can’t find it, the next best thing is WHITE whole wheat flour.
Just leave the molasses out if you don’t want to use it. No subs.
can you make the rolls and refrigerate overnight before baking? I would like to make them and have them ready to bake for breakfast in the morning.
You could try it. I haven’t tried it myself, but it should work.
They look wonderful, but do you know that your printer friendly version prints all the photos? That’s a lot of ink and a lot of wasted paper.
Not if you click on the photos. Anything you click on after clicking the print butter will delete so you don’t have to print it. 🙂
Yum! I have to try these soon! Can you freeze the leftovers?? (if there are any left… 😉
Sure!
Has anyone tried using the bread machine for this recipe? I have a cinnamon roll recipe that you use the bread machine for the first rise. So curious if it would work for this one too! That would be awesome!
I want to try these and I’m going to try them in my bread machine. I make non-clean ones and use the bread machine. My idea is to sub one cup of white whole wheat and do the rest whole wheat pastry. The white whole wheat should add a good amount of gluten. I’ll have to try these soon. I’ve got to buy some honey though, as my honey is raw and I hate to use raw honey in a recipe that’s cooked. Seems like a waste.
I made these- so yummy! Thank you!
I did make some alterations though! To make this more like the recipe my mom makes I wanted to use a sweetener closer to brown sugar. For my filling I used coconut oil mixed with coconut palm sugar and cinnamon. I smeared it on the dough and proceeded with the recipe. Much less messy as there was no liquid pouring out of my dough!
I also mixed maple syrup with greek yogurt as a glaze for my buns (got the idea from your pop tart recipe)!
Meagan – That’s awesome! So glad you enjoyed them. 🙂
Can you let these rise longer (overnight?) or is that too long? I want to make them for breakfast, but am afraid of the 3 hour wait period. Thoughts?? Love your website! Thank you for all your hard work!
Lydia – I have had people put them in the fridge AFTER they let them rise, and they said it turned out okay. I don’t know for sure though as I’ve never done it myself. I believe there is some info in comments below.
I wanted to try these tonight as a trial for Christmas. I tried another clean recipe and they turned out crunchy and hard. Are these fluffy or hard?
Heidi – These are more bready. Not hard or fluffy.
I can’t wait to try these! My husband is trying to do the clean eating thing so I think these will be a hit!
Oh and another thing…i have that same spatula! 🙂
Tina – Haha! Awesome! Let me know how he likes them!