Stupid Simple Rotisserie Chicken Recipe
I’ve got a crazy, easy recipe for you today! This stupid simple rotisserie chicken recipe is so easy to make that I just like to call it “stupid simple.” Know what I mean? So simple that it’s almost stupid to talk about it. But talk about it, I shall!!
Kitchen gadgets excite me. Kitchen supply stores are my favorite places on the planet. It’s just so fun to find new toys for the kitchen!! But this girl is on a budget, so I can’t just go buying appliances for every single thing I’d like to do in the kitchen. So I was overjoyed to discover that the toaster oven I purchased last year (affiliate link) has a rotisserie function!! I could hardly believe my eyes!! (And no, I obviously didn’t read the user manual.)

And it just so happened I had defrosted a whole chicken! So the timing of this discovery could not have been more perfect. I think I may have actually skipped from the toaster oven to the refrigerator. But we’ll keep that between you and me, mmmkay? Anyhoooooo…..
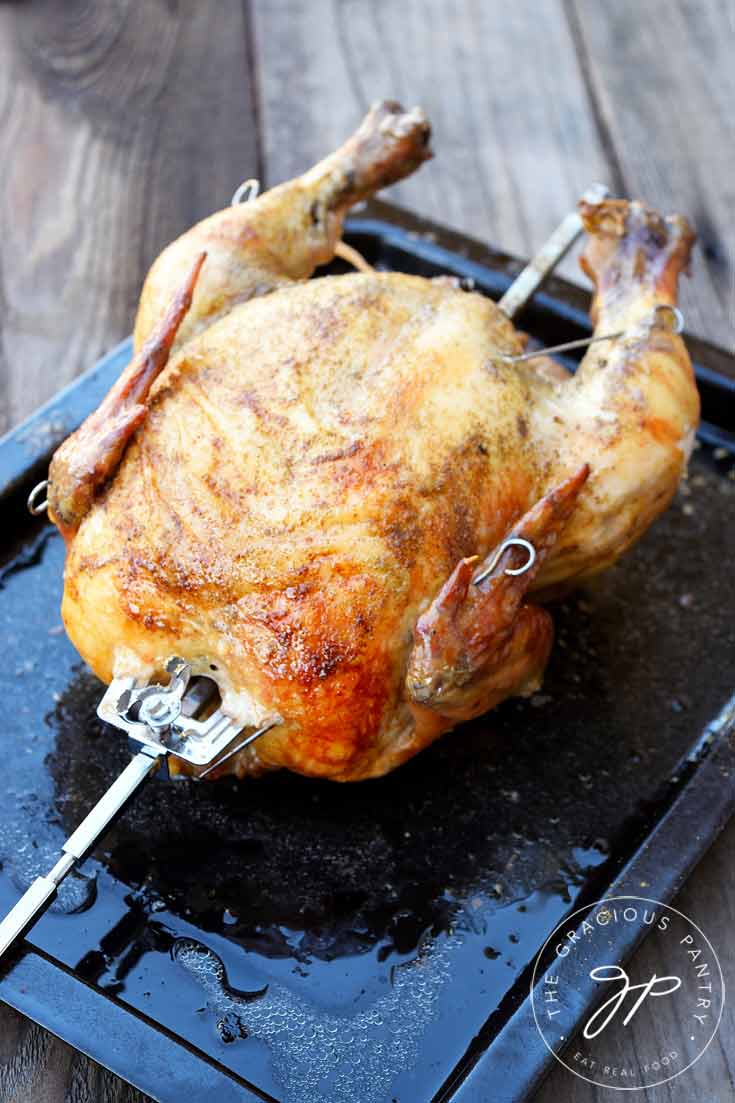
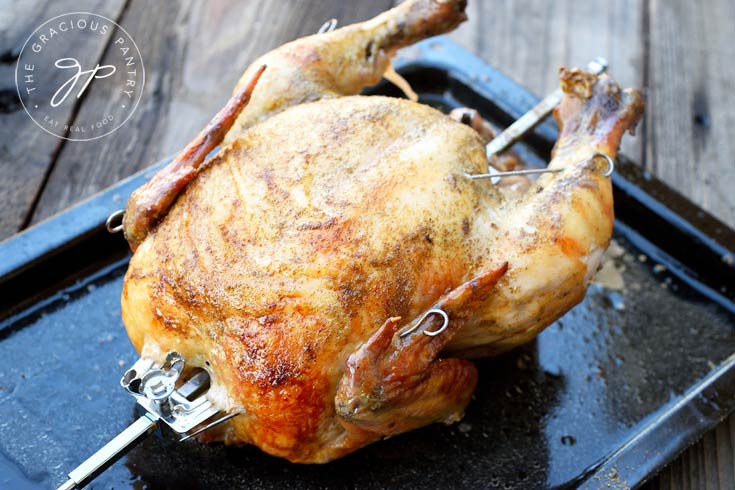
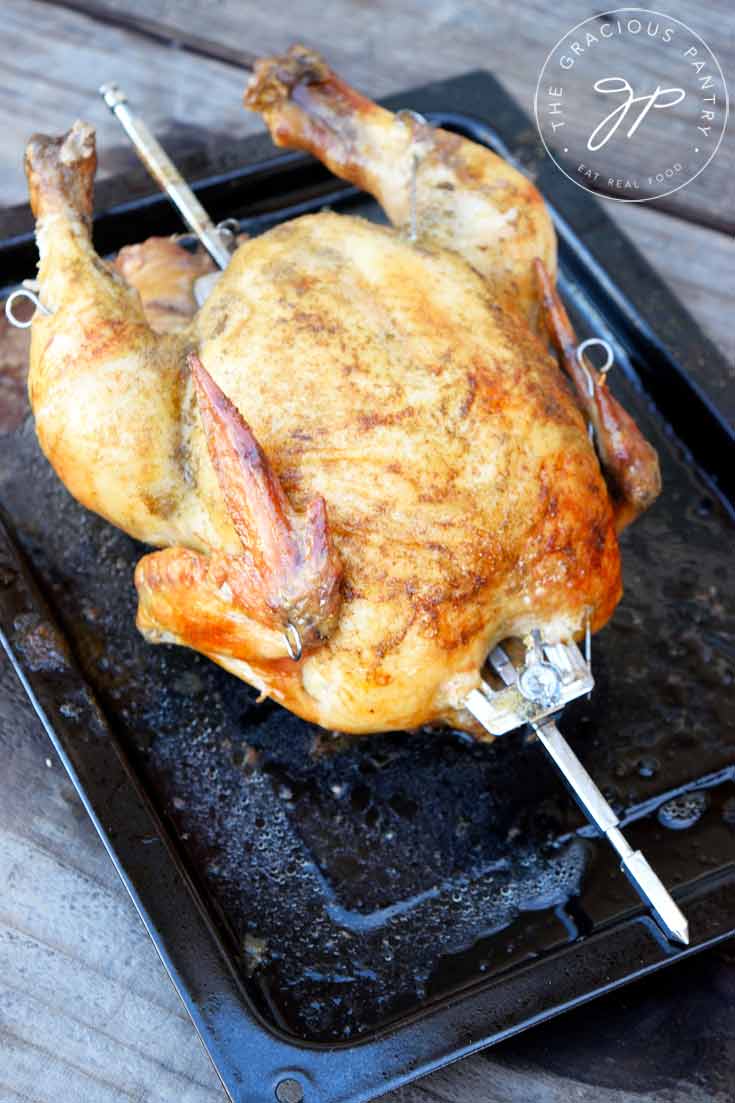
Since this was really my first time cooking a rotisserie chicken myself, I had to figure out a few things. Like how to get the chicken on the skewer and how to secure it there so it would rotate. I also had to figure out how to pin the chicken so that the legs didn’t flop all over the place while the chicken rotated in the rotisserie. It was a little adventure on a bright, sunny Saturday morning. But I was up for it!

I kept the recipe stupid simple simply because it was my first time. In fact, I kept it so simple that a recipe really isn’t needed. But I’m going to give you one anyway because that’s what I do here. So please don’t expect a mile-long list of ingredients because you won’t get one. In fact, I did this with two ingredients. Two.
Told you it was simple!!
More Healthy Chicken Recipes
Stupid Simple Rotisserie Chicken Recipe Card


Easy Rotisserie Chicken Recipe
Ingredients
- 1 medium whole chicken (make sure the size fits your rotisserie!)
- dried, ground rosemary
Instructions
- Take your chicken out of it’s packaging. I like to rinse mine off in a slow stream of water (to avoid spraying chicken juice everywhere), but you don’t have to do this. It’s optional and some people advocate against it. The choice is yours.
- Remove the neck and giblets from the center of the chicken if your chicken came with it. You can either discard them or make gravy with them.
- Insert the skewer through the neck and butt of your chicken and attach the clamps that hold the chicken in place.
- Using as much dried, ground rosemary as you like, rub it all over the chicken on both sides.
- Place the chicken in the rotisserie and cook at 350 F. for about 1½ to 2 hours. The chicken is done when a meat thermometer inserted into the meaty part of the chicken leg reads at least 165 F. (I like to check with the thermometer in a few places just to make sure it's fully cooked everywhere.)
- Remove the chicken from the rotisserie and place on a platter or flat work surface.
- Remove the skewer and allow the bird to sit for about 10 minutes.
- Carve as needed.
- HINT: Save the carcass for making homemade chicken broth. If you can’t do it immediacy or within the next 3 days, transfer the cooled chicken carcass to a zipper-top bag and freeze for up to 2 months.
Notes


I used to rinse chickens and turkeys in the kitchen sink but it came to me a couple of years ago that taking the bird still in its wrapper plus a large bowl to the bathroom and putting the bird in the bowl after unwrapping it there made a whole lot more sense to me. I set the bowl on the shower floor, unwrap the bird from its packaging, put it in the bowl, turn the shower on to where it dribbles for several minutes in the bowl while doing other preparations for the meal, retrieve the bird and it’s ready to bake or fry. Dry on a rack set on the shower floor before baking or frying if you prefer. You can simply rinse the large bowl and the shower out and then spray with an organic cleaner and rinse again to clean the area and the bowl before returning the bowl to the kitchen. A whole lot simpler and safer from my perspective.
Carrie – Interesting method!
Thanks for sharing this recipe. Sometimes simple is better. 🙂
What did you use to hold the legs & wings?
Dawn – My pleasure! I used those metal pins you buy for making Thanksgiving turkey.
Oh yum!! This is going into my meal rotation. Thanks so much! Looks amazing!
Maritza – Awesome! I hope you enjoy it! 🙂