Homemade Granola Bars Recipe
Homemade granola bars are a great snack that is kid-friendly and perfect for packing into a lunchbox. Because the recipe uses all-natural ingredients, you can feel good knowing that your kids will be snacking well, and they’ll be happy they have this delicious snack.
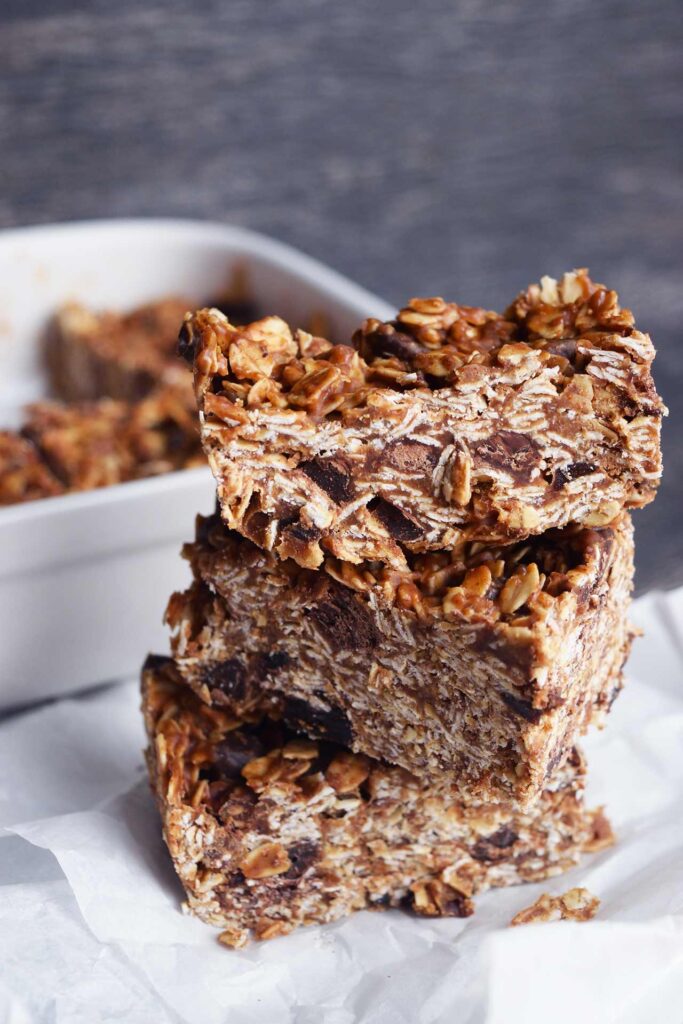
The kids are heading back to school, and moms everywhere are facing the “what to pack in their lunch” dilemma. The truth is, kids just want a lunch that tastes good and makes them feel like they are “part of the crowd” in the lunch room. This no-bake healthy snack does exactly that.
Healthy Lunchbox Snacks
Having healthy snack recipes on hand is an important part of the parental to-do list. This is an easy recipe that makes quick snacks or a quick breakfast using healthy ingredients. It uses cocoa nibs, though you could replace those with chocolate chips if you prefer.
Recipe Options
With this healthy granola bar recipe, you have two choices: quick oats or traditional oats. Depending on what you use, you will get a different texture.
Quick oats – This will give you a finer, chewier texture that is less toothsome. It will be more like a commercial granola bar.
Traditional oats – These will give you a chunkier bar because it will be more of a chunky granola mixture that gets pressed together.
You can also choose what type of nut butter you use. Try creamy peanut butter, roasted almond butter, or even sun butter.
But no matter how you make them, they are a great snack for school lunches and much better than anything you can pick up at the grocery store.
How To Adjust Homemade Granola Bars
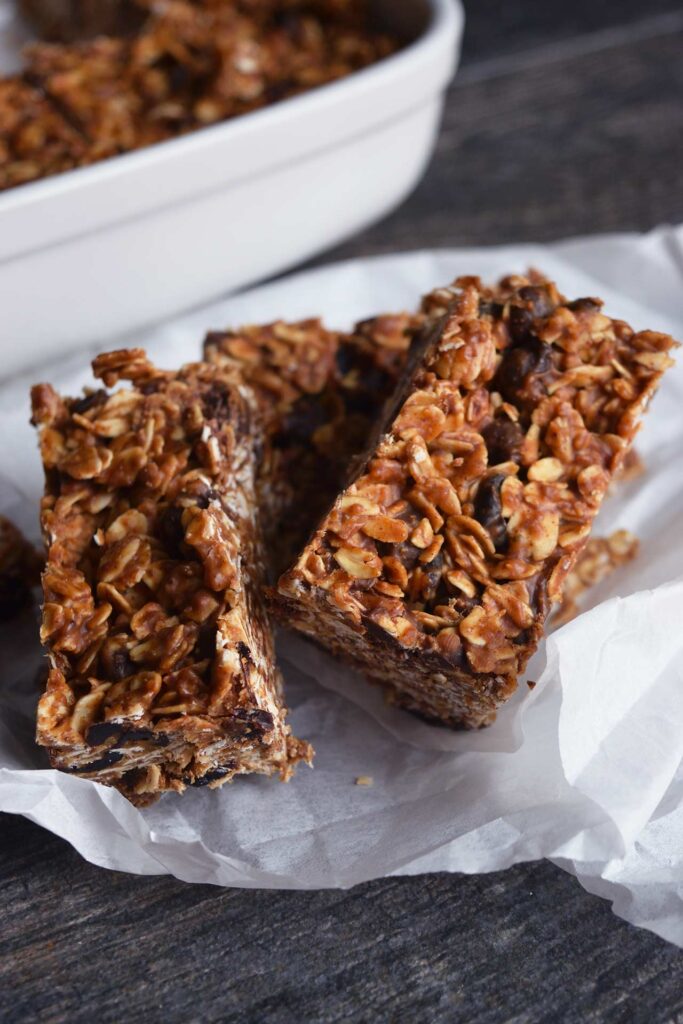
- Oats – You can use either traditional (old-fashioned) oats or quick-cooking oats. The traditional oats will give you a chewier texture, while the quick oats will blend in with the other ingredients more. If you are making these for kids, you might try the quick-cooking oats first. They give a texture that is more conducive to what kids usually like. But if your kids are used to eating whole grains, then the traditional oats will be just fine.
- Nut butter – You can use any type of nut butter (or seed butter) you prefer. In fact, if your child’s school has strict rules for nut-allergy kids, then something like sun butter will work well here, too. Pick the nut butter you like best for flavor. Just be aware that if you choose peanut butter, that will then become a predominant flavor. Almond butter is a milder flavor that will showcase the flavor of your mix-ins more.
- Mix-ins – Mix-ins are what give you granola bars that extra zing. Feel free to play around with what you add here. You don’t have to use the same ones I did. While I love this particular combination, there are many other possibilities out there that would be equally delicious. Try other dry fruits, chopped nuts, cacao nibs, or even seeds like chia seeds, flax, or sesame.
- Sweetener – Using a sticky sweetener like honey will give you a slightly sticky granola bar. I have found that the benefits of the flavor and sweetness level of the honey make a little bit of stickiness worth it. But if you have a child with texture issues or want something that is just slightly less intense in sweetness, you can also use maple syrup. And if you really want to cut down on any stickiness at all, you can use half maple syrup and half dry sweetener such as Sucanat or coconut sugar. You can also use a piece of parchment to really press down on your granola bars without getting your hands sticky. If it sticks together once pressed, it will hold together in a lunchbox.
Tips On Making Homemade Granola Bars
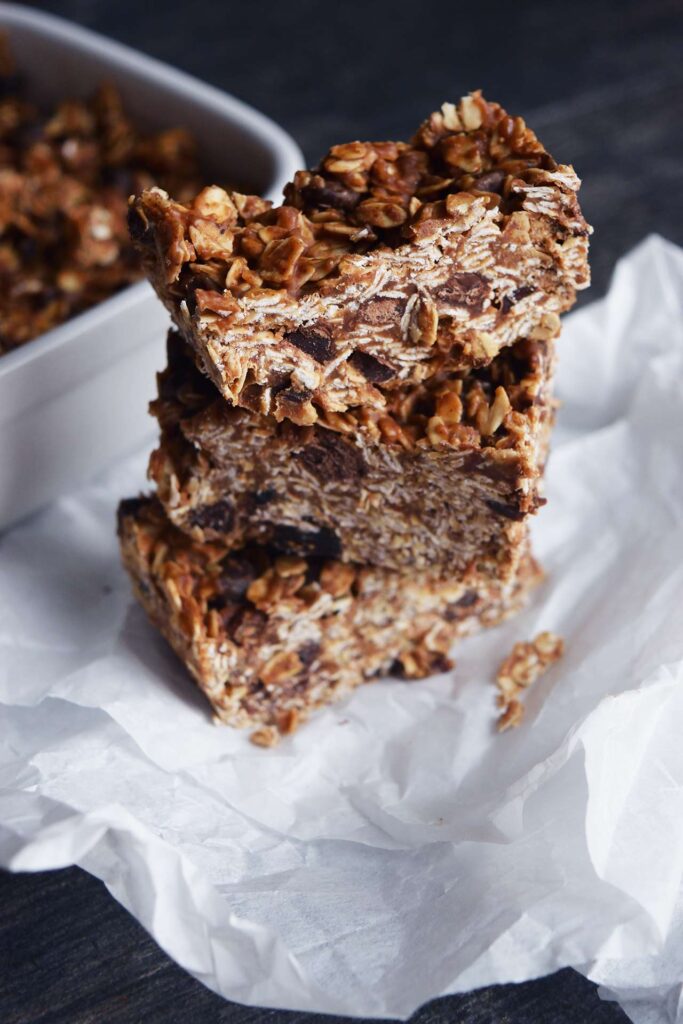
- Chop – The best texture in a no-bake granola bar happens when your chunky ingredients aren’t too big. Feel free to chop ingredients as needed. This will help the bars stick together better and give them a better texture for eating as well.
- Press – Make sure you really press everything down. Compression is the key to everything sticking together.
- Set – Let the bars rest before you cut them. Give them an hour or two minimum to let everything set and stick.
The Homemade Granola Bars Pan
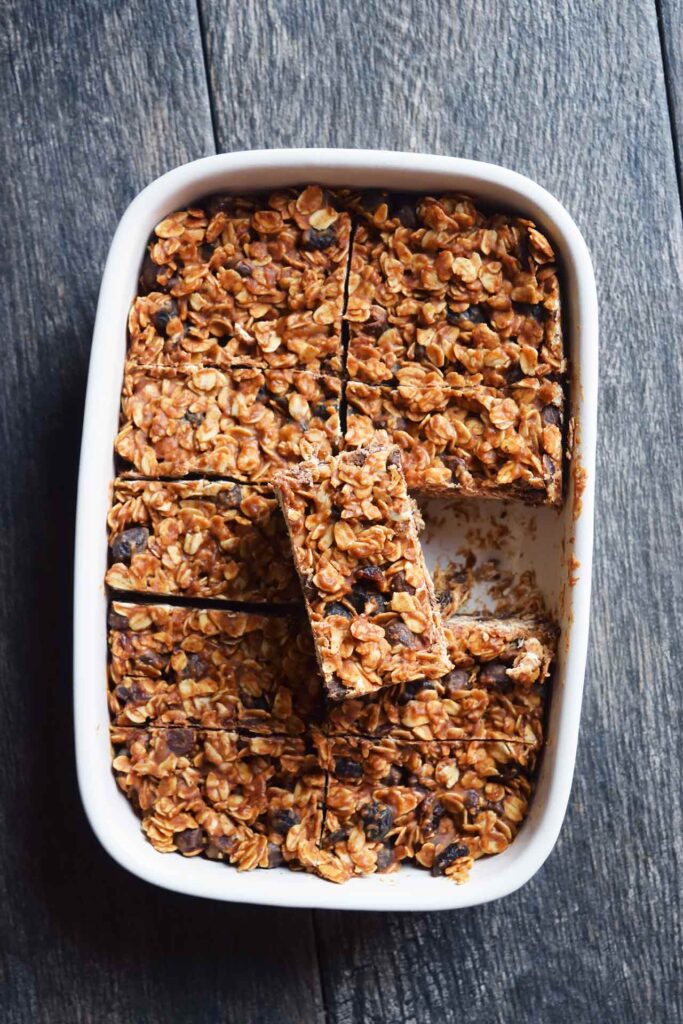
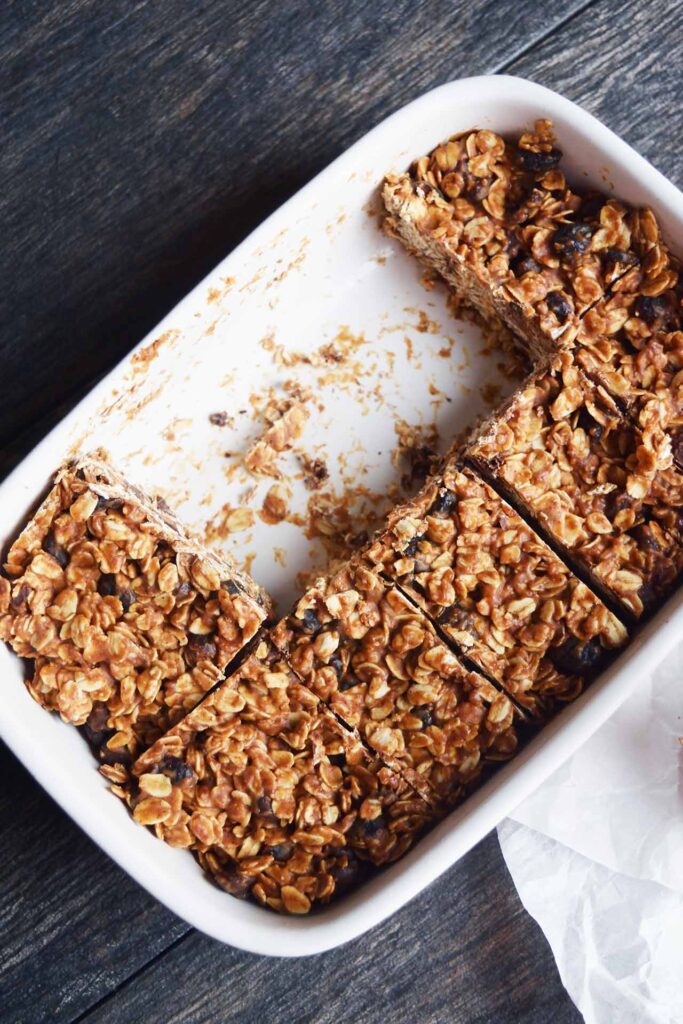
The shape and size of your pan will affect the size and number of bars you end up with. I’ve noted my pan size in a few places (9 x 4½). But if you want more bars that are smaller or thinner (and therefore lighter in calories), use a slightly larger pan. Just make sure you press them really well so they don’t fall apart. They will still be slightly crumbly like most granola bars, but the harder you press them, the better they will stick together.
About The Homemade Granola Bar Recipe Ingredients
Old-fashioned oats – You can also use quick-cooking oats if you prefer them.
Dried cranberries – Fruit juice sweetened.
Mini dark chocolate chips – Or raw cacao nibs
Ground cinnamon
Salt – Add a pinch of salt to truly bring out the sweetness. A little goes a long way.
Virgin coconut oil – It has to be virgin coconut oil so that it will harden when cold.
Honey – Or brown rice syrup
Pure vanilla extract – The real stuff. Not vanilla flavoring.
Raw, creamy almond butter – Or sunflower butter for nut-free
Optional Additions For Homemade Granola Bars
- Sunflower seeds
- Other dried fruit like raisins
How To Make Homemade Granola Bars
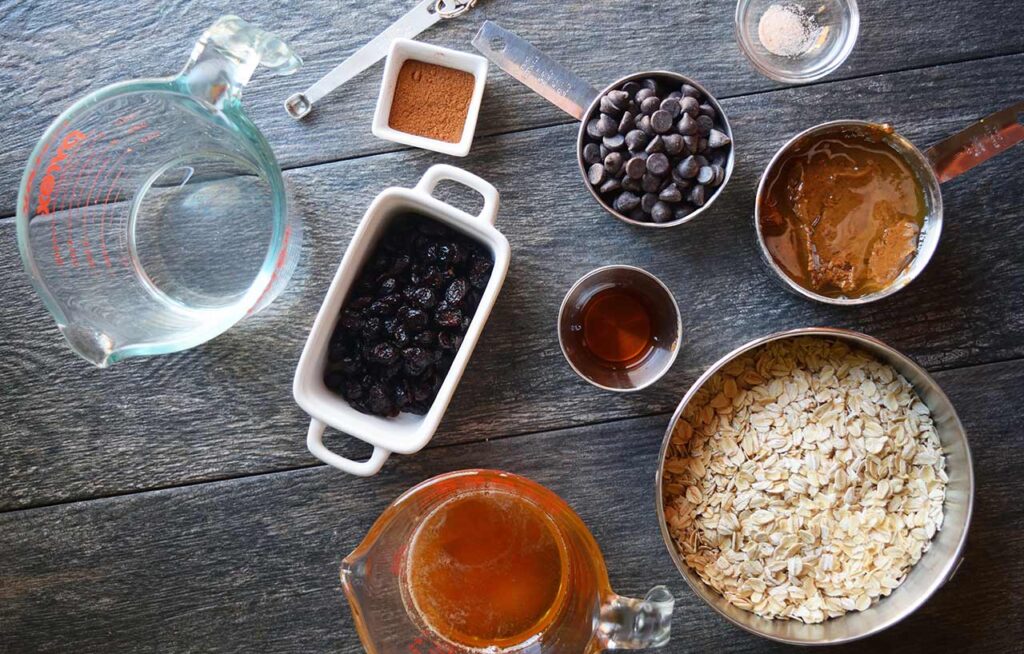
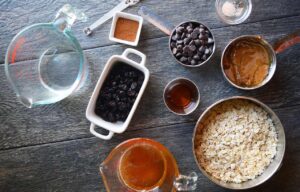
Gather and measure all your ingredients.
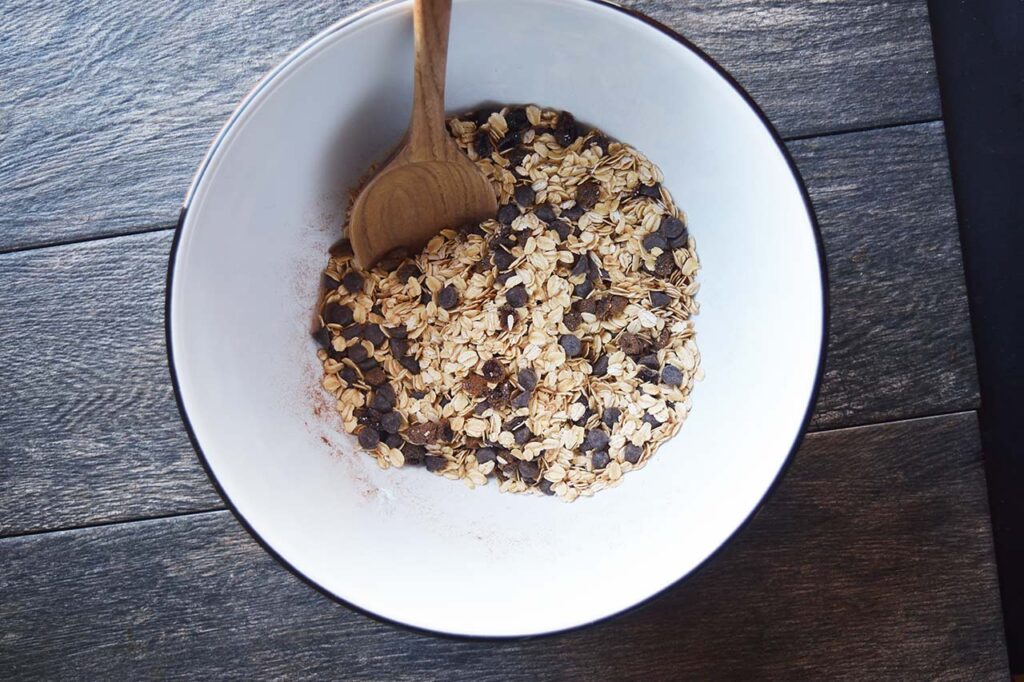
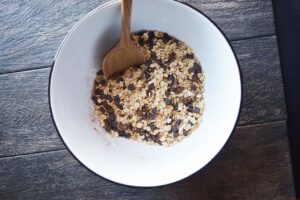
In a large mixing bowl, combine the oats, cranberries, chocolate chips, and cinnamon. Stir well.
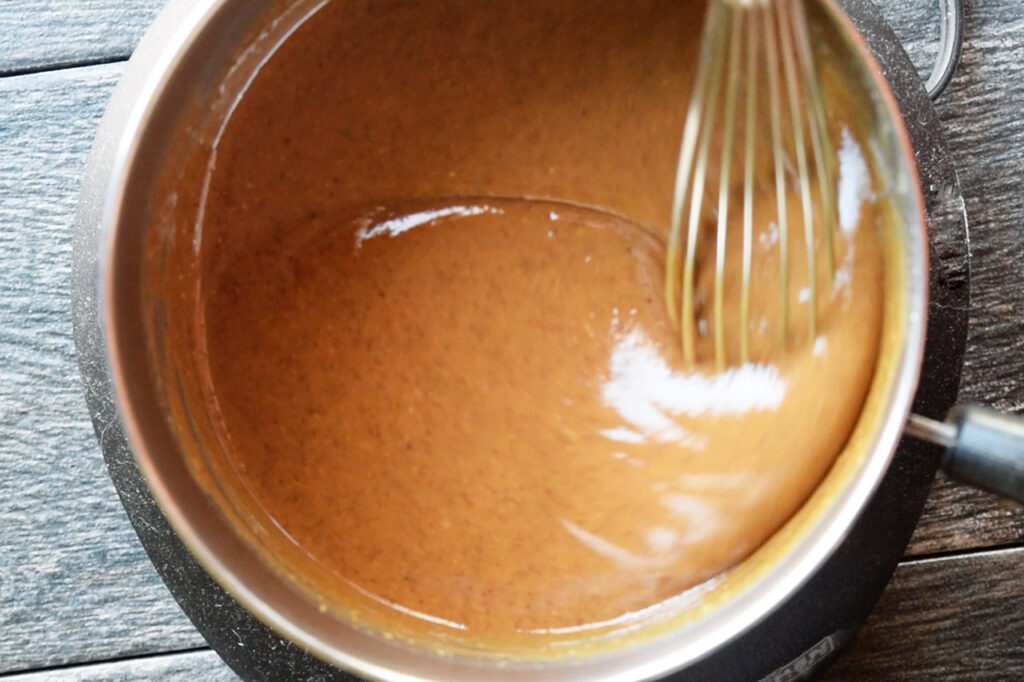
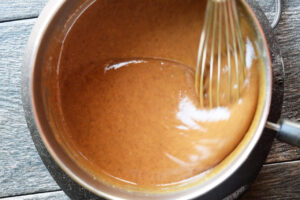
In a small pot, combine the oil, honey, vanilla extract, salt, and almond butter over medium heat. You want to warm this enough to combine the liquids well. But DO NOT BOIL or simmer! Stir constantly to avoid any simmering and only long enough to whisk everything together into a fluid state. This warmth is strictly to get everything to combine and to make it fluid for mixing with the oats.
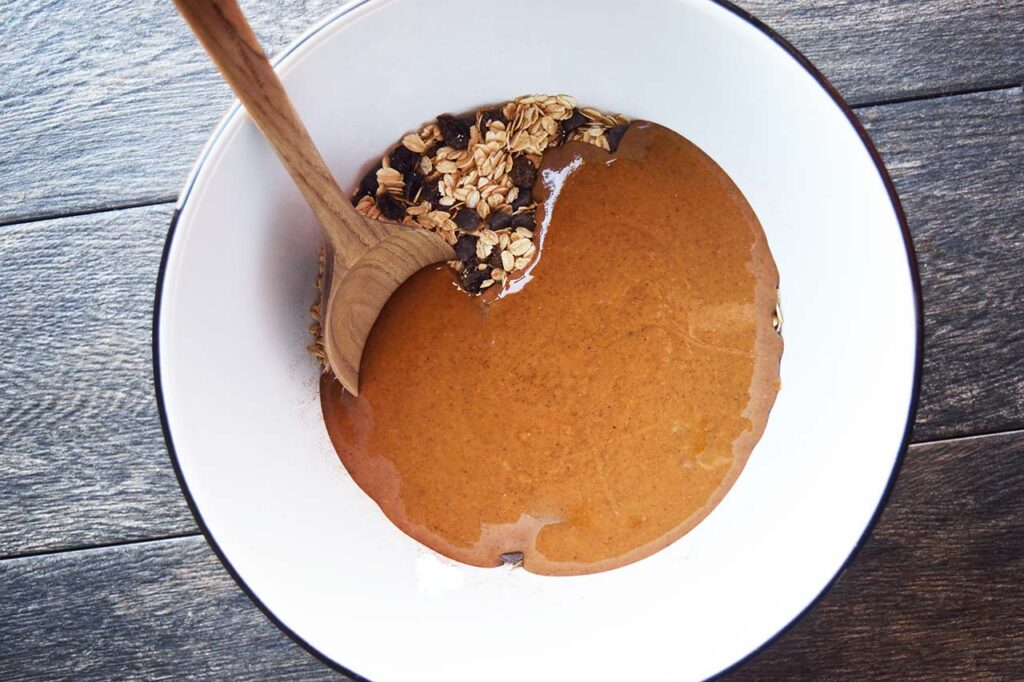
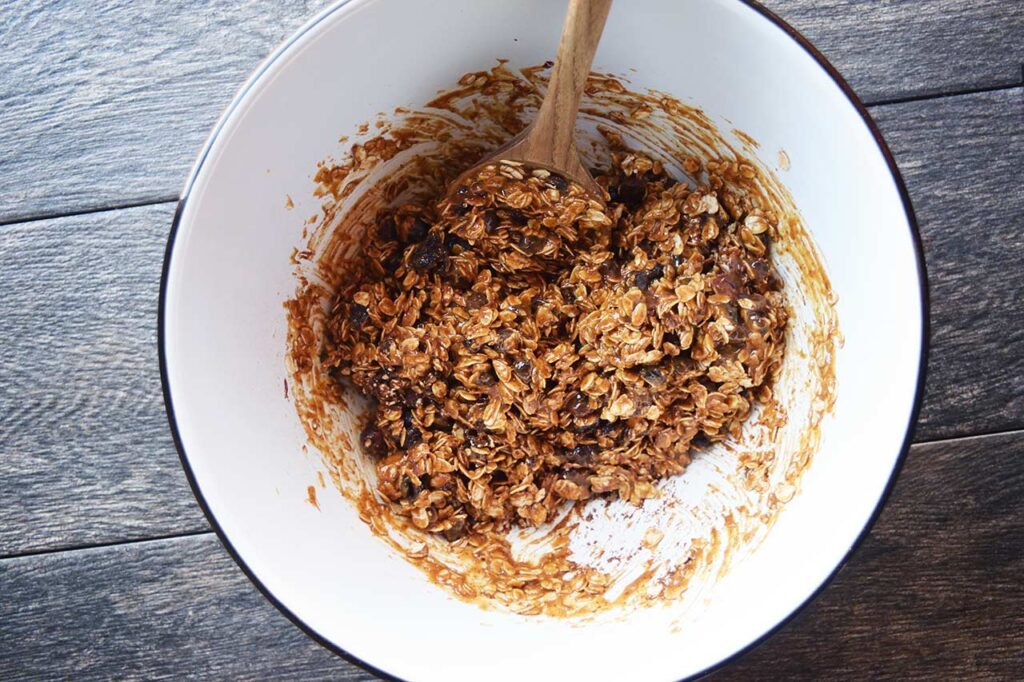
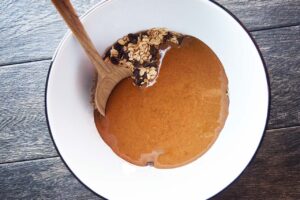
Pour the nut butter into the mixing bowl and mix well to completely coat the oats.
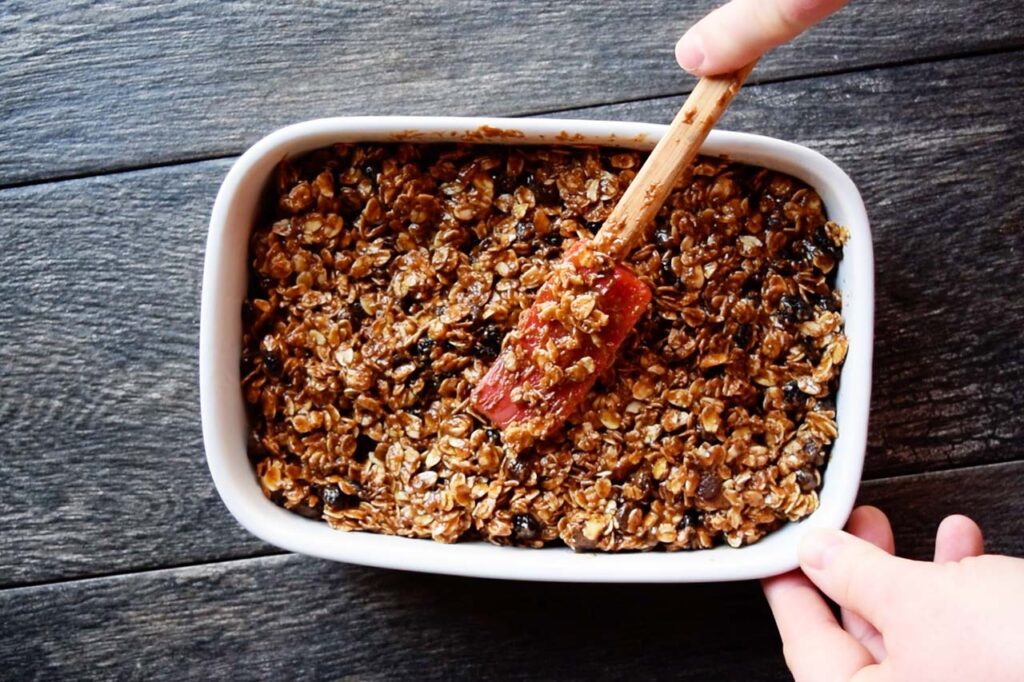
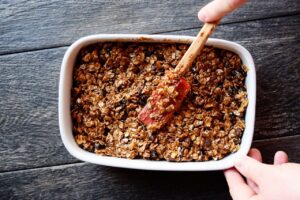
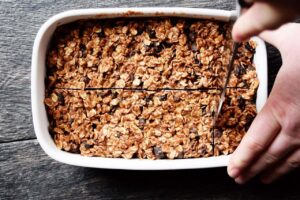
Press the mixture into an oiled or parchment paper-lined baking dish. (Mine -pictured above- was 9 x 4½)
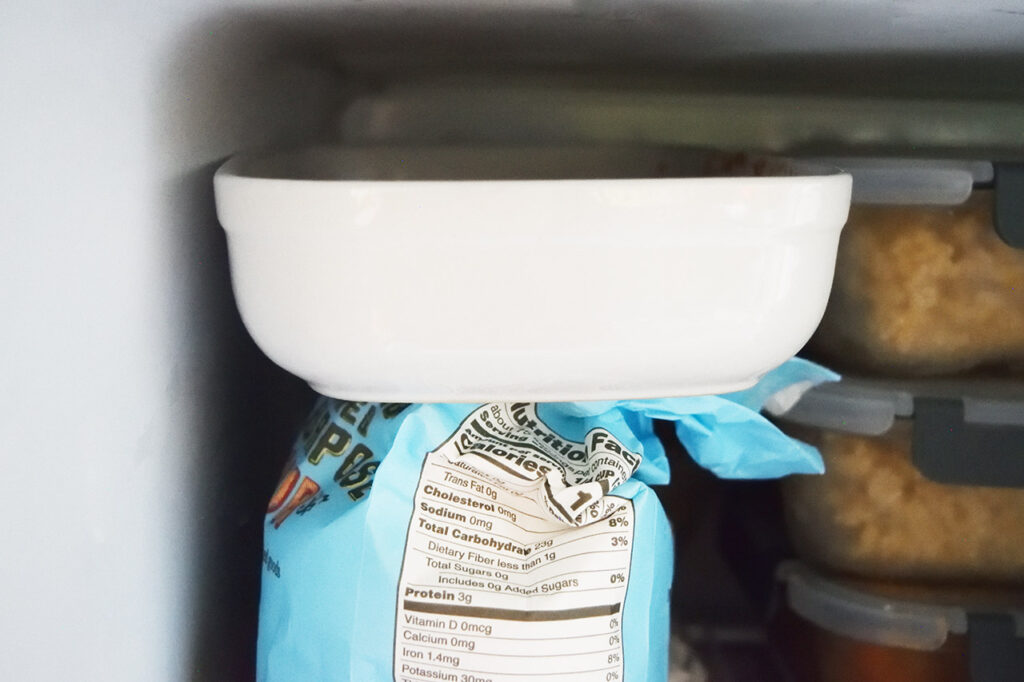
Freeze for 2 hours. Remove from the freezer and allow them to warm up a bit for 10-20 minutes so they are easier to cut.
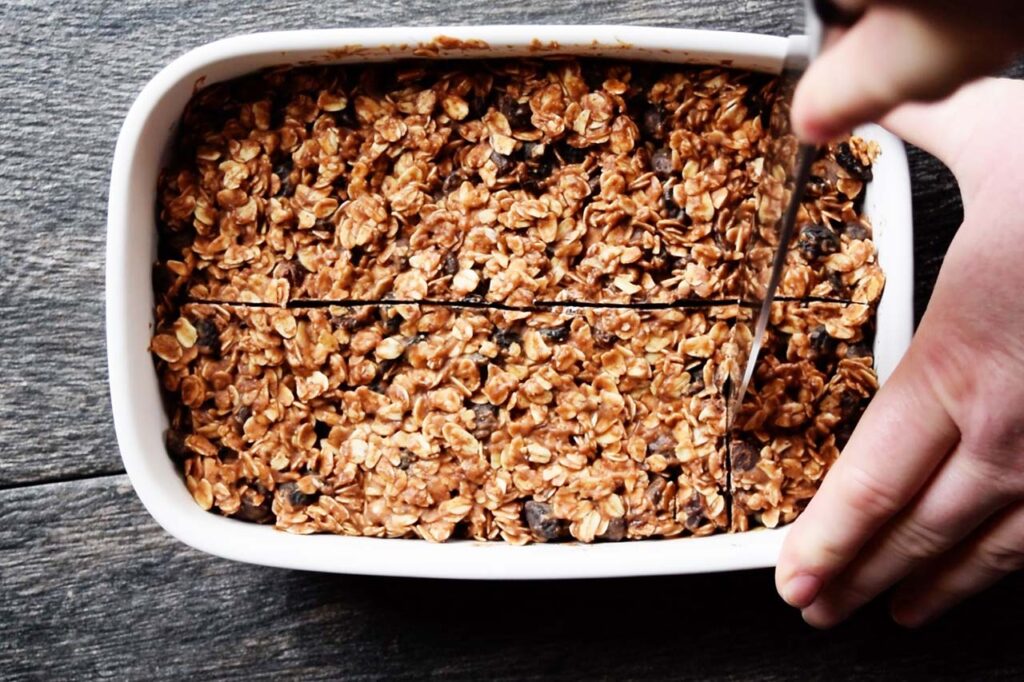
Cut the homemade granola bars with a sharp knife and store them back in the freezer in an airtight container for up to 2 months, tightly wrapped in plastic wrap so no air gets to them.
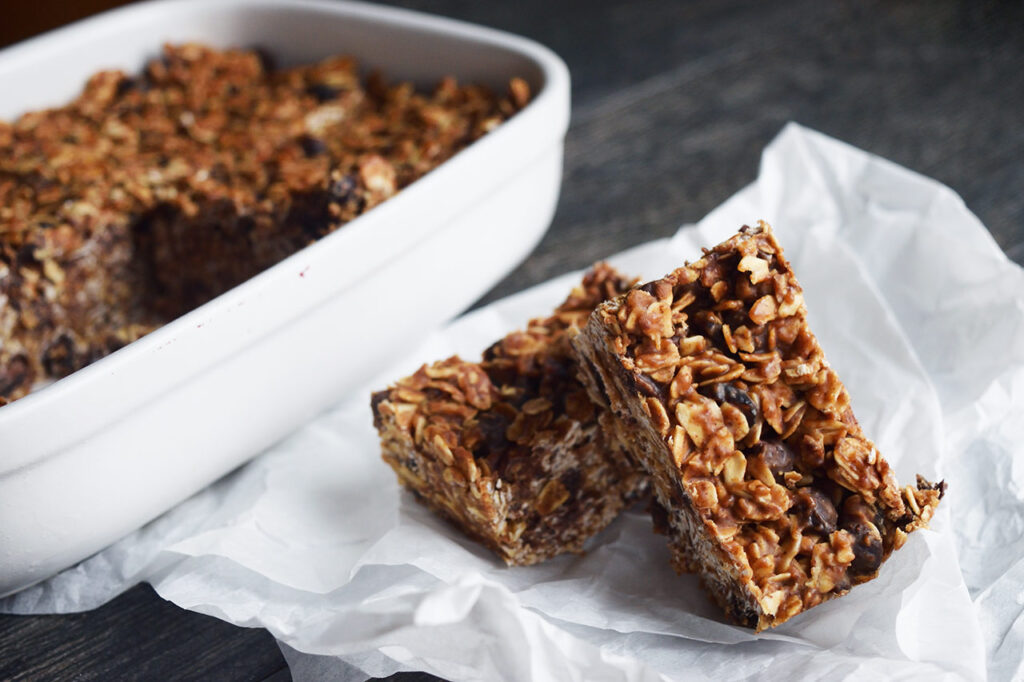
Note that by snacktime, these will no longer be frozen and will be perfect to eat at room temperature. (They keep in the fridge for about a week.)
More Homemade Granola Bars And Granola

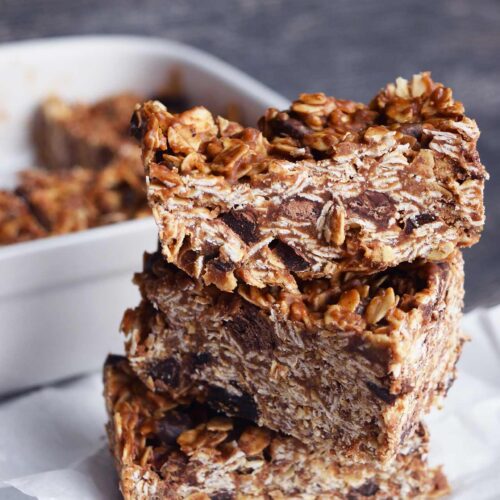
Homemade Granola Bars
CLICK TO WATCH THIS RECIPE IN ACTION!
Ingredients
- 2 cups old fashion oats
- ½ cup dried cranberries (fruit juice sweetened)
- ⅓ cup mini dark chocolate chips (or raw cacao nibs)
- 2 tsp. ground cinnamon
- 1 pinch sea salt (optional)
- ⅓ cup coconut oil
- ⅓ cup honey
- 1 tbsp. pure vanilla extract
- ¾ cup raw, creamy almond butter
Instructions
- Gather and measure all your ingredients.2 cups old fashion oats, ½ cup dried cranberries, ⅓ cup mini dark chocolate chips, 2 tsp. ground cinnamon, 1 pinch sea salt (optional), ⅓ cup coconut oil, ⅓ cup honey, 1 tbsp. pure vanilla extract, ¾ cup raw, creamy almond butter

- In a large mixing bowl, combine the oats, cranberries, chocolate chips, and cinnamon. Stir well.2 cups old fashion oats, ½ cup dried cranberries, ⅓ cup mini dark chocolate chips, 2 tsp. ground cinnamon

- In a small pot, combine the oil, honey, vanilla extract, salt, and almond butter over medium heat. You want to warm this enough to combine the liquids well. But DO NOT BOIL or simmer! Stir constantly to avoid any simmering and only long enough to whisk everything together into a fluid state. This warmth is strictly to get everything to combine and to make it fluid for mixing with the oats.⅓ cup coconut oil, ⅓ cup honey, 1 tbsp. pure vanilla extract, ¾ cup raw, creamy almond butter, 1 pinch sea salt (optional)

- Pour the nut butter into the mixing bowl and mix well to completely coat the oats.

- Press the mixture into an oiled or parchment paper-lined baking dish. (Mine -pictured above- was 9 x 4½)

- Freeze for 2 hours. Remove from the freezer and allow them to warm up a bit for 10-20 minutes so they are easier to cut.

- Cut the homemade granola bars with a sharp knife and store them back in the freezer in an airtight container for up to 2 months, tightly wrapped in plastic wrap so no air gets to them.

- Note that by snacktime, these will no longer be frozen and will be perfect to eat at room temperature. (They keep in the fridge for about a week.)

Notes
Nutrition
Recipe from the Gracious Pantry archives, originally posted 9/23/13.



Delicious!! Healthy and quick treat.
I definitely am going to try with protein next time.
These sure are hearty as well.
Matthew – So happy you enjoyed them! 😀
Would agave syrup work in place of honey?
Peggy – It wouldn’t be considered clean, but yes, it would work. 🙂
How many calories per slice? or the hold batch of granola
Fabiola – I recommend MyFitnessPal.com. They have a good recipe calculator that will give you that information.
I love your clean eating ideas and recipes. Do these bars actually have 458 calories EACH, or is that the total for the entire batch?
Kathryn – Thanks so much! If you cut this into 7 bars, then yes. That’s the ballpark figure on the nutrition. More of a meal replacement bar in that respect.