Witch Finger Cookies (Gluten-Free Recipe!)
This post may contain affiliate links. If you make a purchase through links on this site, I may earn a commission.
Read my Privacy Policy.
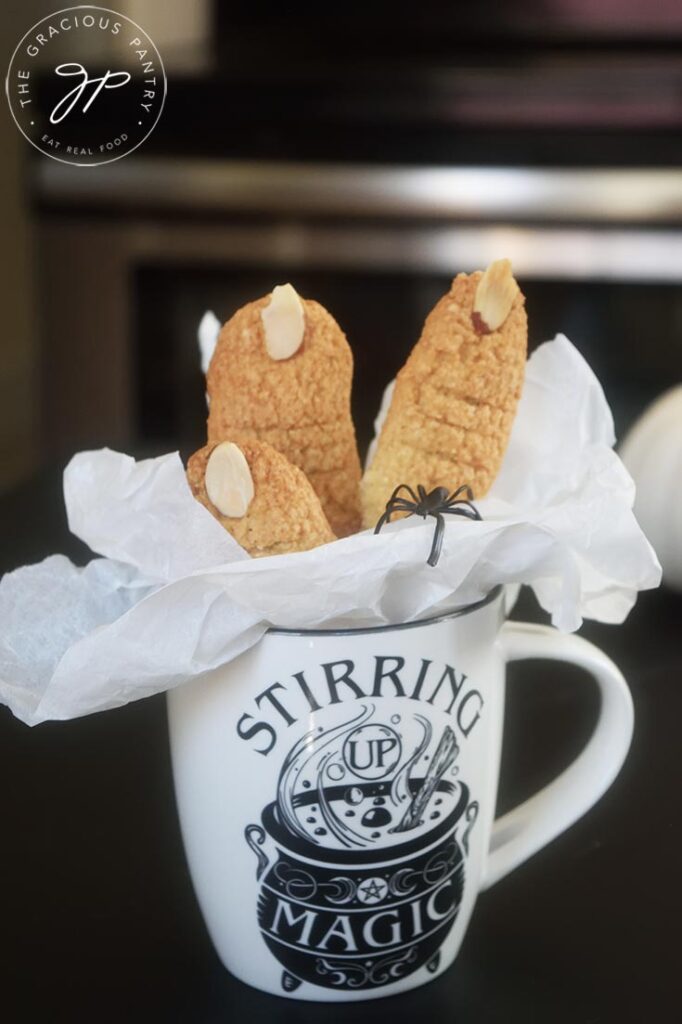
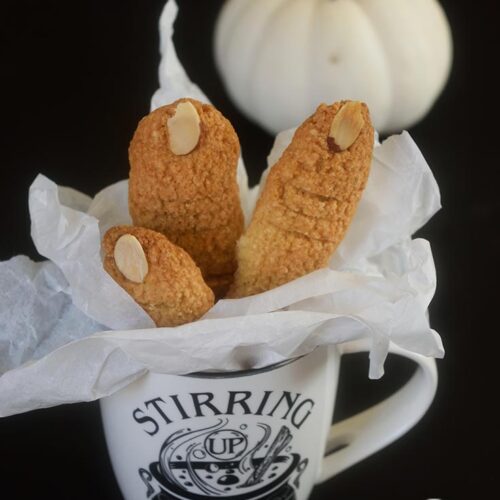
Witch finger cookies are a Halloween dessert popular with kids and adults alike. These creepy treats are made with an easy, gluten-free flour mixture that can also be made dairy-free.
Need to get your kids in the Halloween spirit? This easy Halloween treat will have them buzzing with fun while they’re baking. They are great for a Halloween party or just a family dessert!
Can I Dye These Witch Finger Cookies Green Without Adding Food Coloring?
This recipe does not call for green food coloring. If you wish to color these cookies with a bit of green color, simply add a tablespoon or two of juiced spinach to the dough. Easy and healthy!
What Gluten-Free Flour Is Best For Cookies?
In my experience, there is no single gluten-free flour that works well in any type of dessert baking. The best choice here is a combination of gluten-free flour. In the case of this recipe, it’s oat flour, chickpea flour, and a small amount of coconut flour.
What Do Witch Finger Cookies Taste Like?
While different bakers will use different types of dough for this recipe, the recipe below tastes like a vanilla sugar cookie.
What Other Type Of Flour Can I Use?
In the case of this recipe, I do not recommend making any substitutions. The flour used is specific for this recipe. Changing the flour will cause these to crumble on contact.
Can I Make These In Advance?
You can! These cookies hold up well for up to a week. You can even freeze them if you need even more time before you serve them.
Recipe Variations
If you want to make the flavor a bit more exciting for the kids, try adding one or more of these:
- Dark chocolate chips – They will look like bugs or warts! I recommend pressing them into the raw fingers on the baking sheets. Don’t mix them into the dough.
- Almond extract – The flavor of almonds will go extremely well here and pair nicely with the sliced almond fingernails! One teaspoon almond extract should give these a nice, strong, almond flavor. You can use it in addition to one teaspoon vanilla extract, or in place of it. Whatever you prefer.
- Strawberry jam – Want to make these look bloody? Whisk some strawberry jam with a fork to make it more “pliable”, and then spread some around the nails or knuckles. Raspberry jam works too.
About The Ingredients
Oat flour – Make sure this is labeled as gluten-free when you purchase it. Not all oat flour is guaranteed to be gluten-free.
Chickpea flour – This can be found in many health food stores. If your store carries the Bob’s Redmill brand, they will most likely have this.
Granular sweetener – I used xylitol because that’s what works best for my blood sugar. But cleaner options are Sucanat, coconut sugar, and monk fruit. Note that a darker sweetener will produce a darker cookie.
Coconut flour – Make sure there is no added sugar.
Baking powder – Make sure this is fresh, or it won’t work as well. Older baking powder gets weaker and weaker over time. Do not use baking soda. They are different.
Salt – I used pink Himalayan salt, but use whatever you normally bake with.
Butter – This can be regular, unsweetened, dairy-based butter, or you can use vegan/plant-based butter. I used the latter to make this dairy-free.
Large eggs – These work best if used at room temperature. Just set them on your counter for 20-30 minutes before using them.
Pure vanilla extract – Don’t use vanilla flavoring. Use the real stuff.
Sliced almonds – make sure they are whole or just slightly chipped.
How To Make Witch Finger Cookies

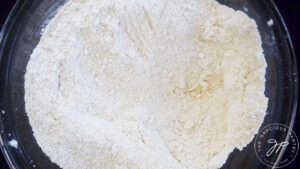
Whisk together all the dry ingredients in a large bowl.

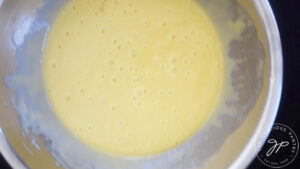
In a separate medium bowl, whisk together the wet ingredients. (If adding spinach juice do so now.)

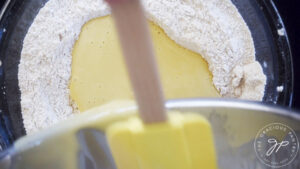
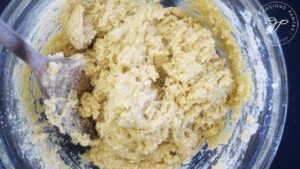
Pour the wet mixture into the flour mixture and stir until you have a well-mixed dough.
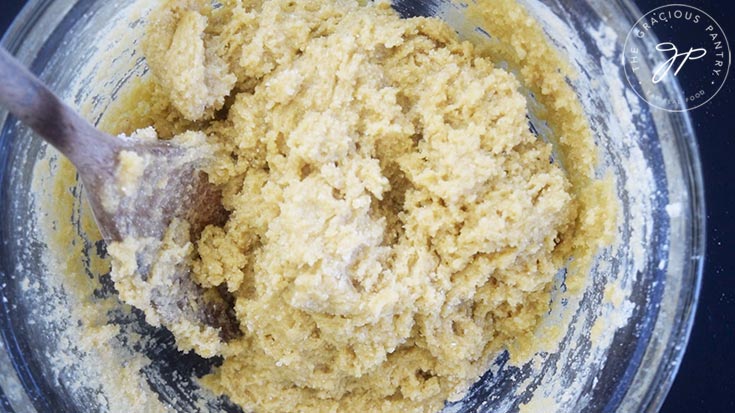
Chill the dough for 1 hour in the fridge.
Preheat your oven to 375 F. and line cookie sheets with parchment paper. I used a quarter-sized baking sheet here, but a standard half-size works well too. My pans are pretty thick, so if your pans are on the thinner side, you may not need to bake these as long. Keep an eye on them.

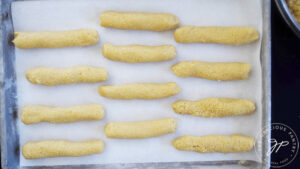
Roll walnut size pieces of dough (or smaller) into long sausages (finger shapes) and lay them on the cookie sheets. Give them some room because they spread. (Mine were too close together!) And make sure they aren’t too thick or you’ll end up with “monster fingers” instead.
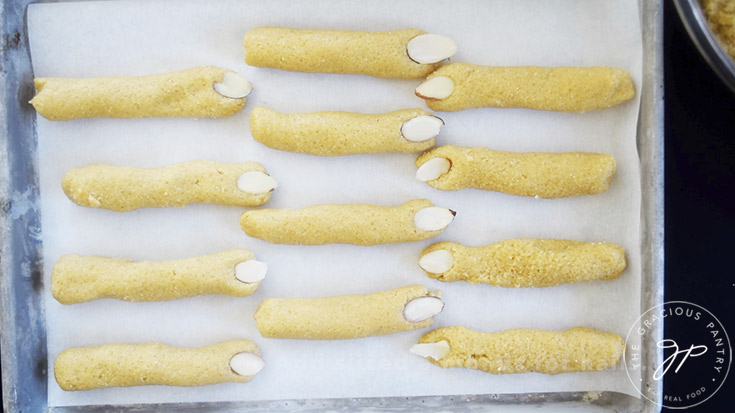
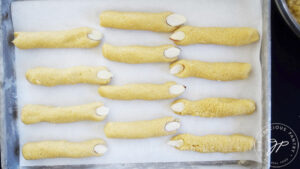
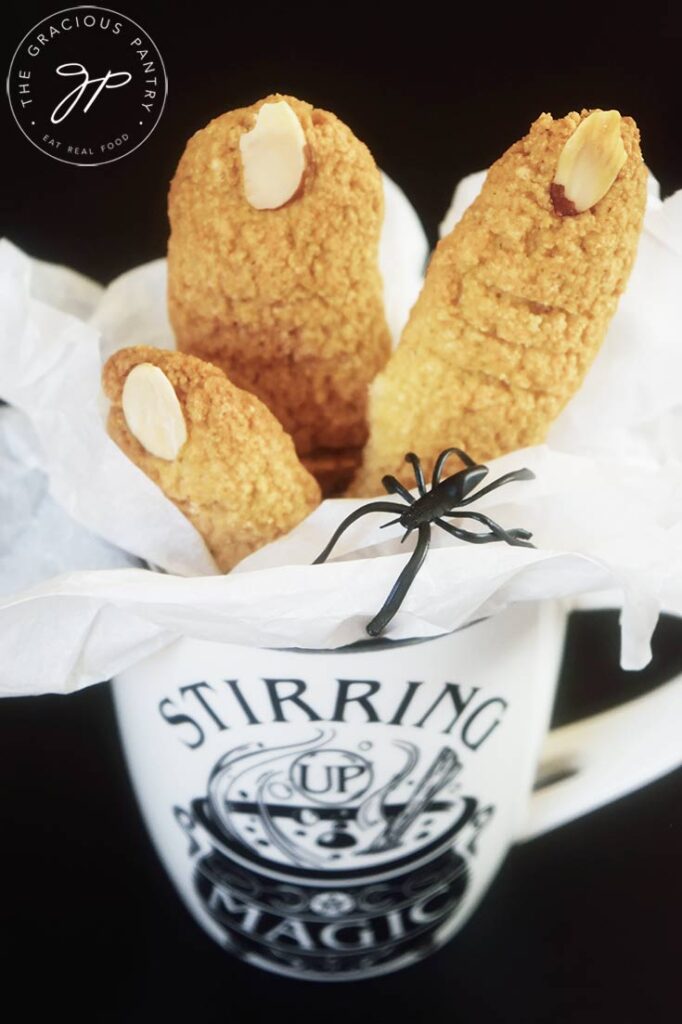
Press a sliced almond into one end of each cookie to create the fingernails. The nail doesn’t have to be perfect, it can be slightly chipped. It just looks spookier that way!

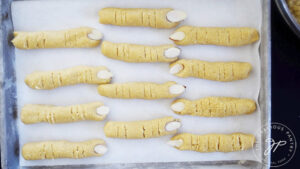
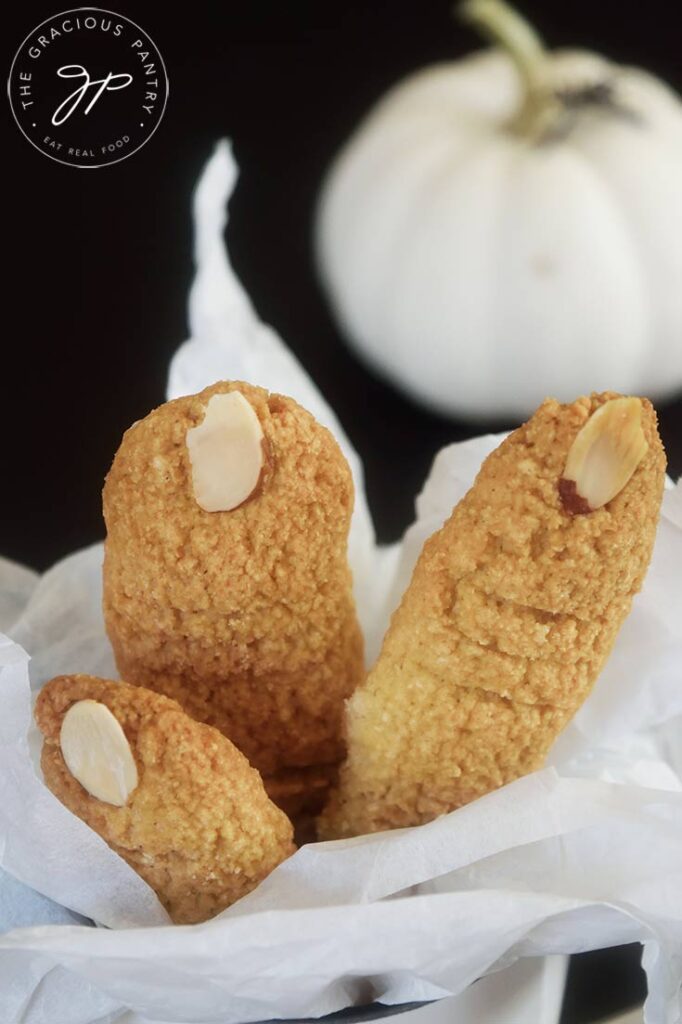
Using a sharp knife, cut shallow cuts into each cookie to create the knuckles.
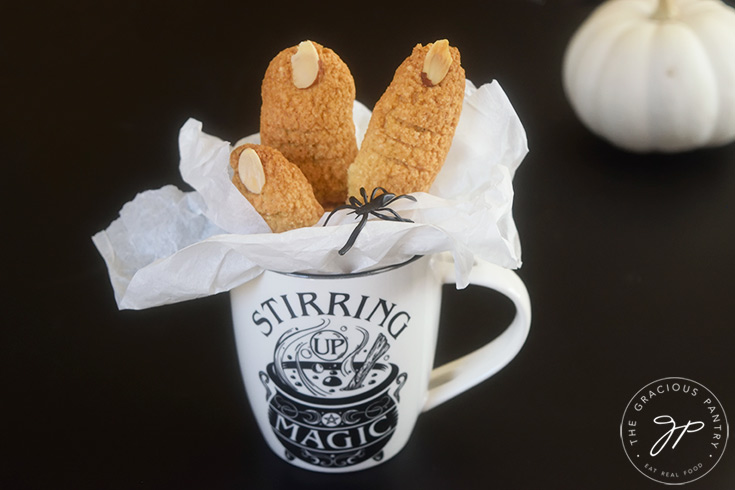
Bake for 20 minutes, or until they are golden brown.
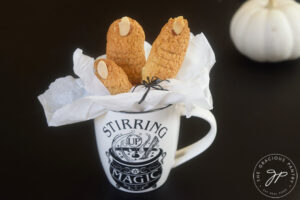
How To Store Witch Finger Cookies
You can either wrap these in plastic wrap or store them in an airtight container and keep them in the fridge for up to one week.
How to Freeze Witch Finger Cookies
If you want to freeze these, I recommend wrapping them in plastic wrap first and then putting them into an airtight container. If wrapped well, they will keep in the freezer for up to 5 months.
Recipe Supplies
For this recipe, you’ll want cookie sheets, parchment paper, and sliced almonds. Click on any image to be taken to that product on Amazon. (Affiliate links)


More Healthy Halloween Recipes
Want more Halloween deliciousness? Give some of these a try!
Halloween Desserts
Halloween Meals
SUBSCRIBE
Remember to subscribe to my free newsletter to receive all my latest recipes in your inbox. Click here to sign up!
Witch Finger Cookies Recipe Card + Video

Gluten-Free Witch Finger Cookies Recipe
CLICK TO WATCH THIS RECIPE IN ACTION!
Ingredients
- 1 cup oat flour
- 1 cup chickpea flour
- 1 cup granular sweetener
- ¼ cup coconut flour
- 1 tsp. baking powder
- ¼ tsp. salt
- ¾ cup butter
- 2 large eggs
- 1 tsp. pure vanilla extract
- 1 tbsp. sliced almonds (make sure they are whole or just slightly chipped)
Instructions
- Whisk together all the dry ingredients in a large bowl.

- In a separate bowl, whisk together the wet ingredients. (If adding spinach juice do so now.)
- Pour the wet mixture into the flour mixture and stir until you have a well-mixed dough.
- Chill the dough for 1 hour in the fridge.
- Preheat your oven to 375 F. and line cookie sheets with parchment paper. I used a quarter-sized baking sheet here, but a standard half-size works well too. My pans are pretty thick, so if your pans are on the thinner side, you may not need to bake these as long. Keep an eye on them.
- Roll walnut size pieces of dough (or smaller) into long sausages and lay them on the cookie sheets. Give them some room because they spread. (Mine were too close together!)
- Press the sliced almonds into one end of each cookie to create the fingernails.
- Cut shallow cuts into each cookie to create the knuckles.
- Bake for 20 minutes, or until they are golden brown.