Raspberry Coconut Truffles Recipe
This post may contain affiliate links. If you make a purchase through links on this site, I may earn a commission.
Read my Privacy Policy.
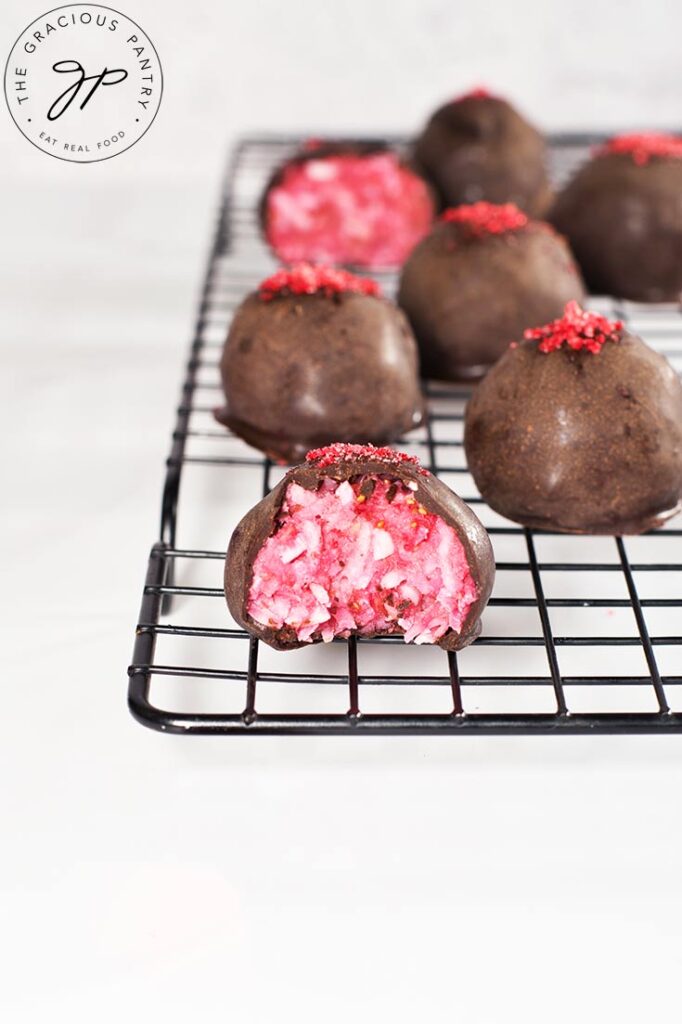
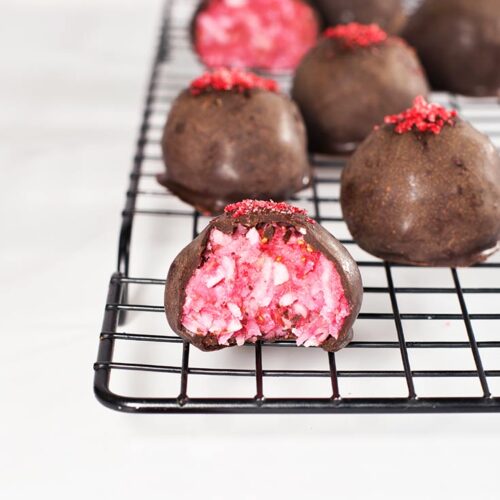
These raspberry coconut truffles are just a little bit, deliciously unexpected. They’re decadent little balls of chocolate covered goodness. The recipe uses very simple ingredients which help the flavors truly shine through.
I love making truffles. They are so much easier than I thought the first time I tried them and the results are impressive. Even better, you can make them ahead and freeze them for a special occasion, such as Valentines day!
Why Is It Called A Truffle?
Candy truffles are called truffles because of their close resemblance to the high-value fungus truffle used in expensive restaurants and the like.
What Do Truffles Taste Like?
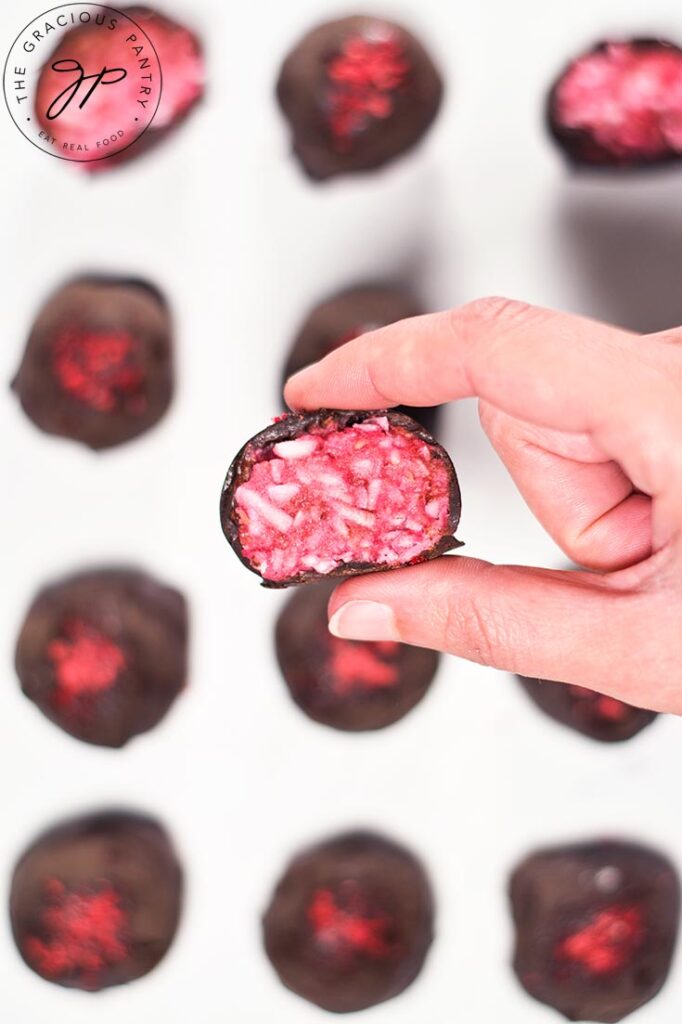
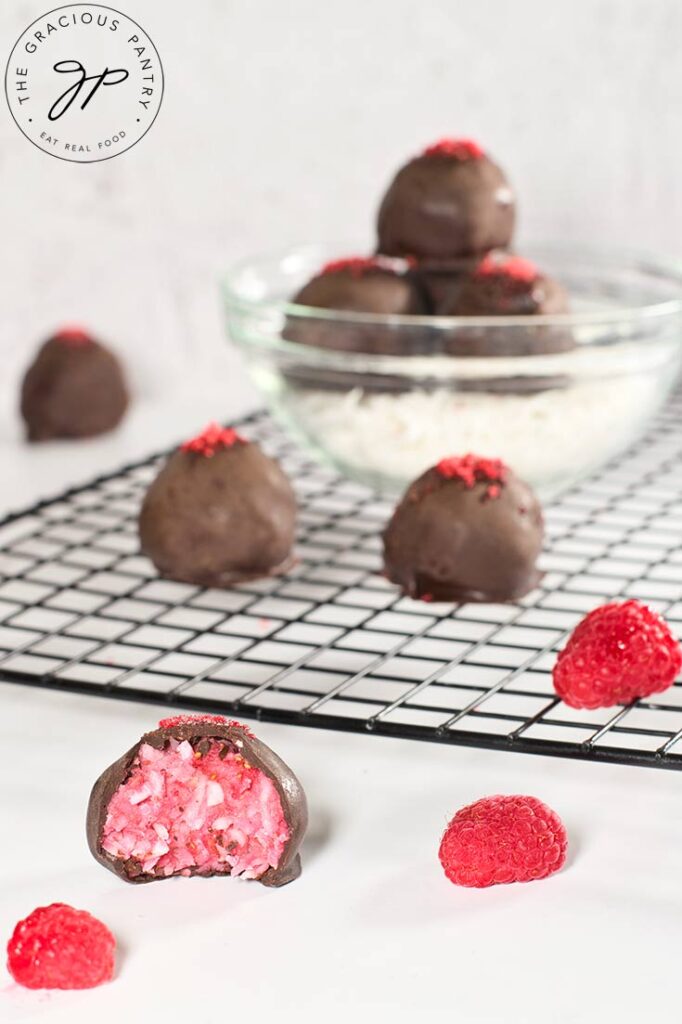
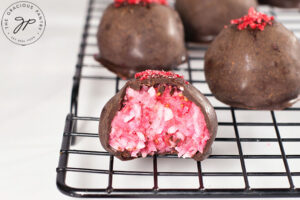
Traditional truffles have a harder, outer, chocolate coating and a very soft chocolate filling on the inside. They often come in different flavors. However, these particular truffles have all that chocolatey goodness with a little something different on the inside. Coconut and raspberries! (I promise, it’s a great combination!)
What Makes A Truffle A Truffle?
Truffles are traditionally made with a ganache filling. That filling is rolled into balls and then dipped in melted chocolate that will harden. The outside coating is hard chocolate while the inside is very soft and creamy chocolate. However, there are many versions of truffles. Versions like the one I’m sharing here today.
Dietary Concerns & Allergy Advice
Vegan – Yes, these are naturally vegan/plant-based
Dairy-Free – Yes, because they are naturally vegan, they are also naturally dairy-free.
Gluten-Free – Technically, these are also gluten-free. However, it’s best to verify that each individual ingredient you use is labeled as being gluten-free if this is a serious concern.
Sugar-Free – These are not sugar-free, although, in theory, you could use a sugar-free sweetener instead of maple syrup. I leave that up to you.
Egg-Free – These are naturally egg-free.
Nut-Free – Because of the coconut, many nut-allergy folks won’t be able to tolerate these.
Soy-Free – As long as you use dark chocolate that is soy free, these should be fine. But double-check all ingredients before making these.
Corn-Free – In theory, these are naturally corn free. But double-check the dark chocolate you use. Sometimes, you’ll find some crazy ingredients in certain things.
About The Ingredients
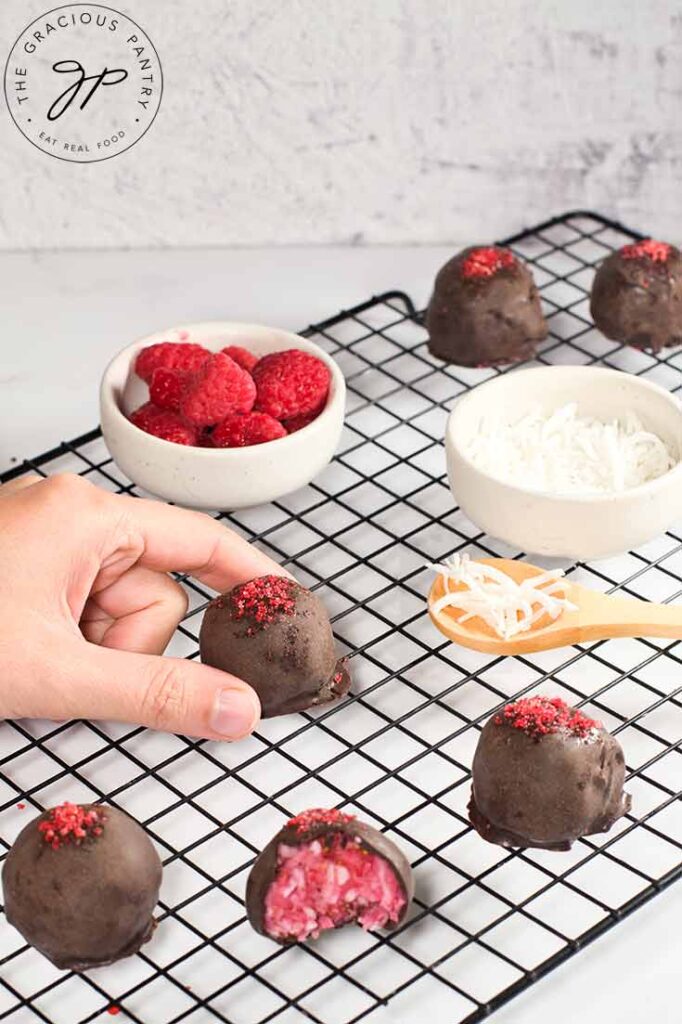
Frozen raspberries – no sugar added. And yes, you can use fresh raspberries if you prefer that.
Coconut cream – No sugar added. If you can’t find a can of just cream, you can purchase full-fat coconut milk and keep the can in the fridge for a few days. Then open the can and scrape off the hard cream.
Pure maple syrup – or honey. Just make sure to use the real stuff. Not flavoring or pancake syrup.
Desiccated coconut – no sugar added. This is the unsweetened, finely shredded stuff.
Coconut oil – It’s best to use liquid coconut oil. You don’t want this to harden as it cools. Any coconut oil that is liquid when cold will work fine here.
Dark chocolate – I use either Lily’s sugar-free chocolate (stevia sweetened), or Whole Foods Sugar-Free chocolate chips. Both are dark chocolate.
How To Make Raspberry Coconut Truffles
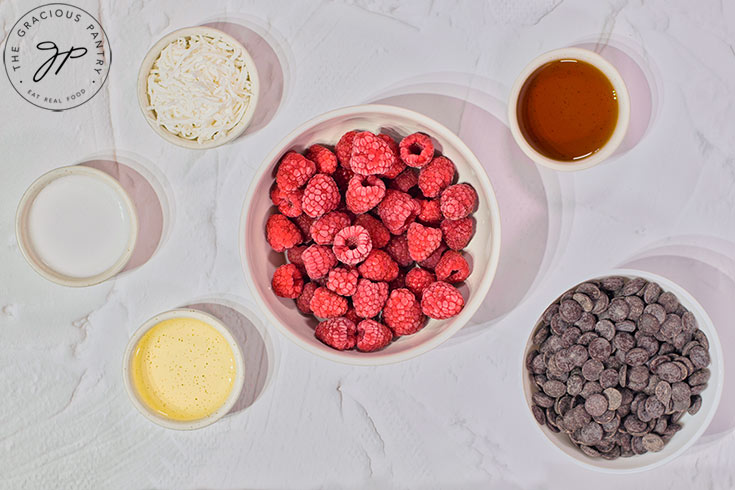
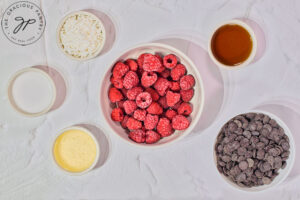
Collect and measure all your ingredients.
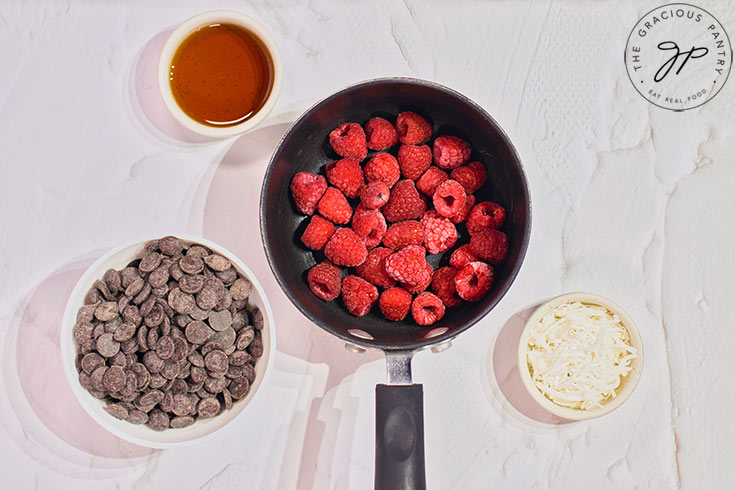
To a small saucepan, add the frozen raspberries. Heat them over medium-low heat until they start to break down. You can add tablespoons of water if you are worried about the liquid content. But they should be okay without it. Use your judgment here. Much will depend on how juicy the raspberries are.
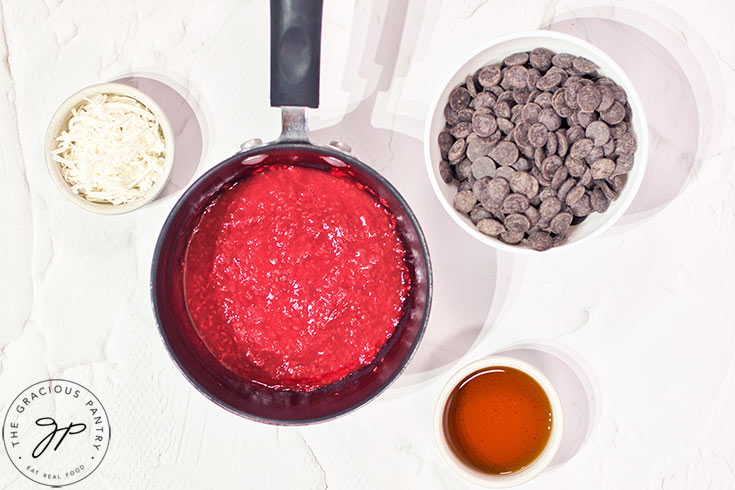
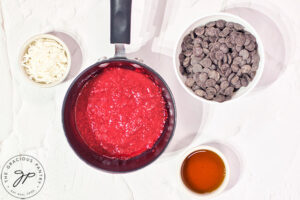
Mash the berries with a fork or potato masher. Simmer over low heat for about 10 minutes, or until the berry mixture has reduced itself by half. Set the pot in the fridge to cool for about 10 to 15 minutes. It doesn’t have to be cold, but it does need to cool down quite a bit. You should be able to touch it without burning yourself.
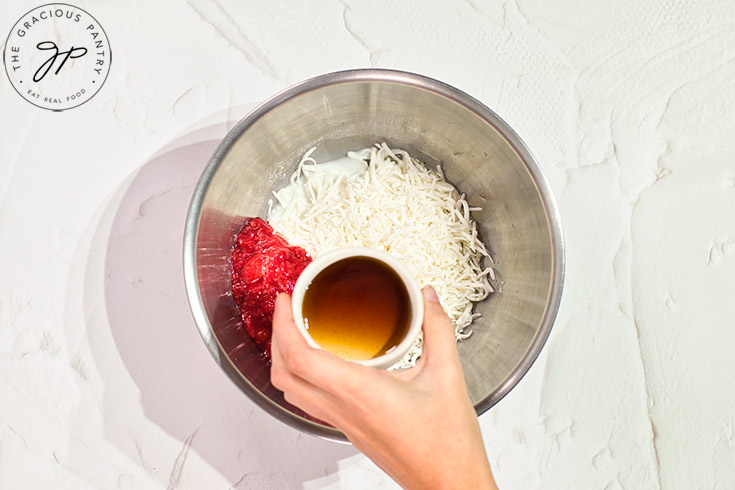
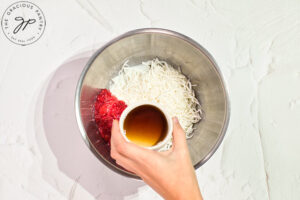
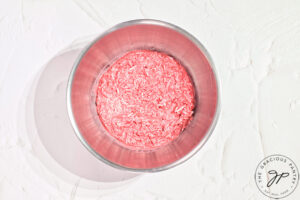
In a mixing bowl, combine the berries, desiccated coconut, coconut cream, coconut oil, and maple syrup. Mix well.
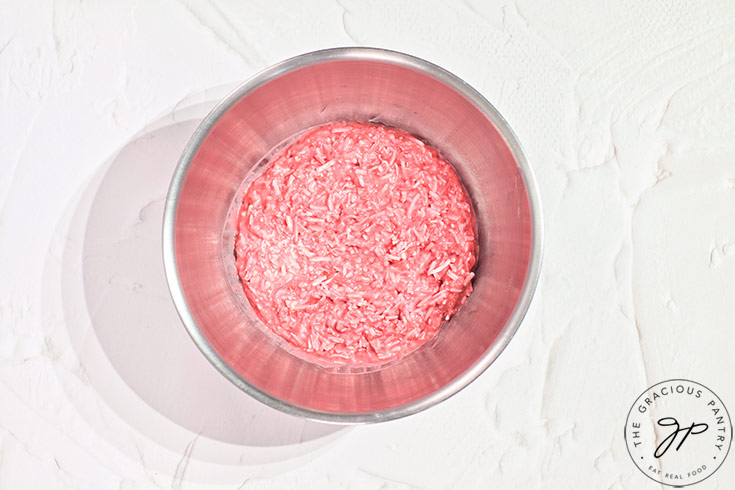
If the mixture is too soft or runny, add a bit more desiccated coconut. About 1 teaspoon at a time until you have a good “dough-like” filling that will roll well. Coconut soaks up a lot of liquid, so only add extra in very small amounts.
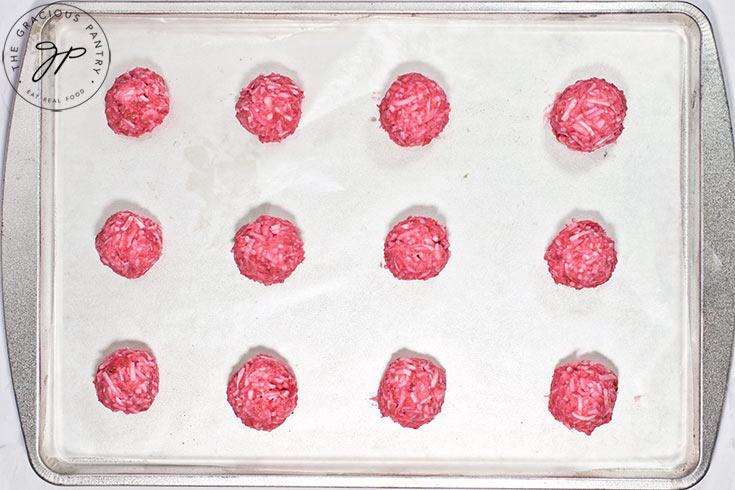
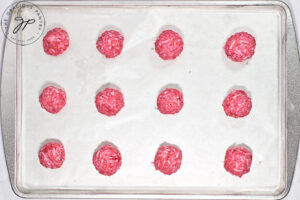
Roll the filling into balls, about 1 inch in size. If you prefer to weigh each ball for accurate measurement, you want each one to weigh half an ounce (or fifteen grams). You should have approximately 12 truffles balls. Place these in the freezer for 30 minutes to harden them.
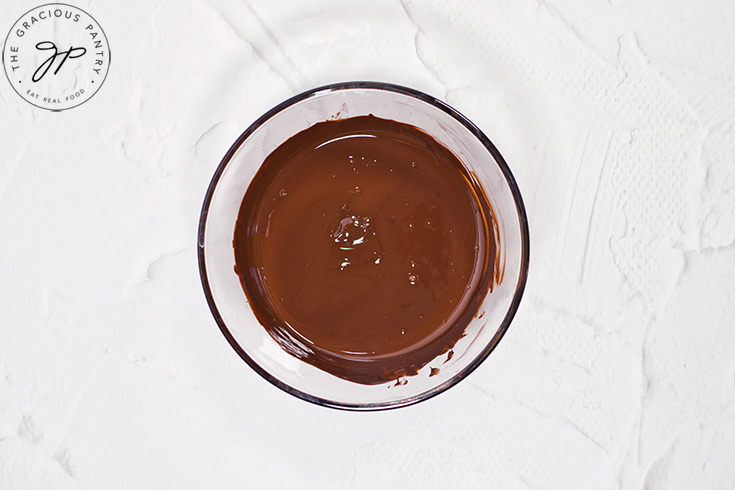
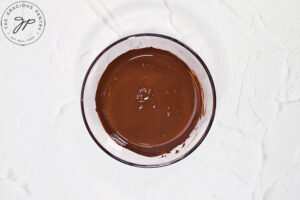
Melt the dark chocolate chips in a double boiler or microwave (in 30-second intervals, stirring between each interval.).
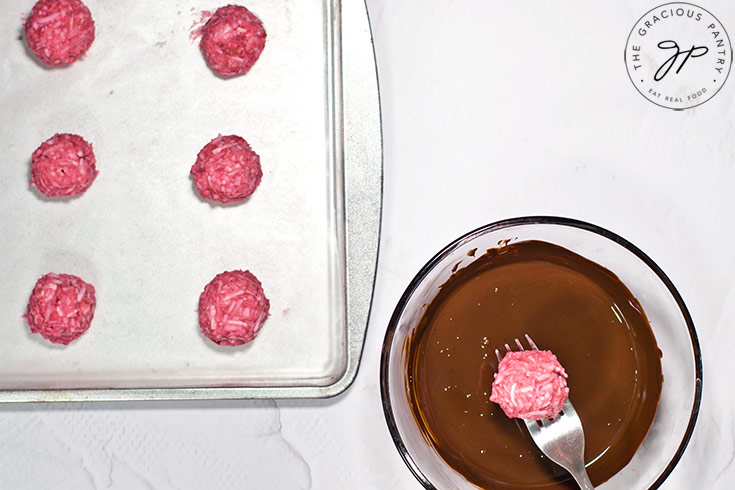
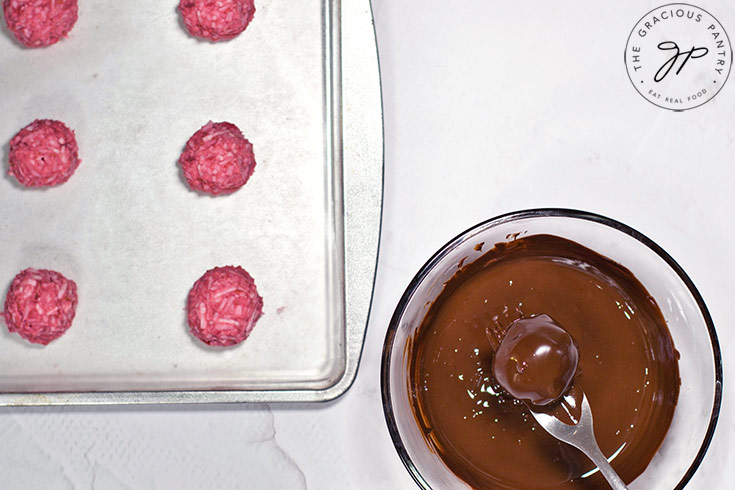
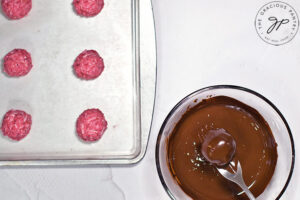
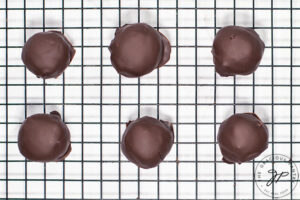
Use a fork or slotted spoon to carefully dip each truffle in the melted chocolate, coating it well, all the way around.
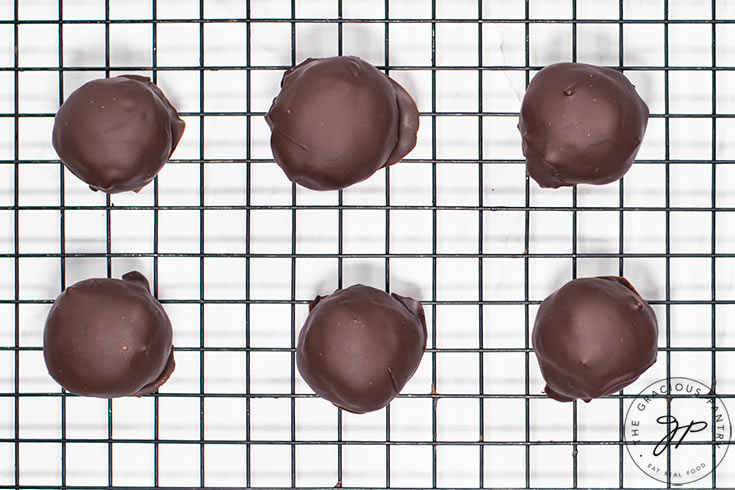
Let any excess chocolate drip back into the bowl before placing it on a parchment-lined baking sheet or cooling rack.
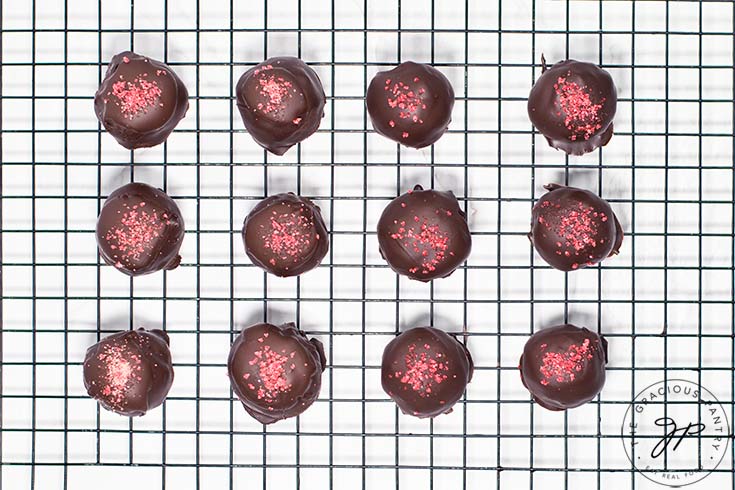
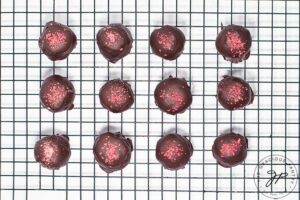
For decoration, you can sprinkle your truffles with crushed, freeze-dried raspberries, or finely shredded coconut while the chocolate is still partially wet.
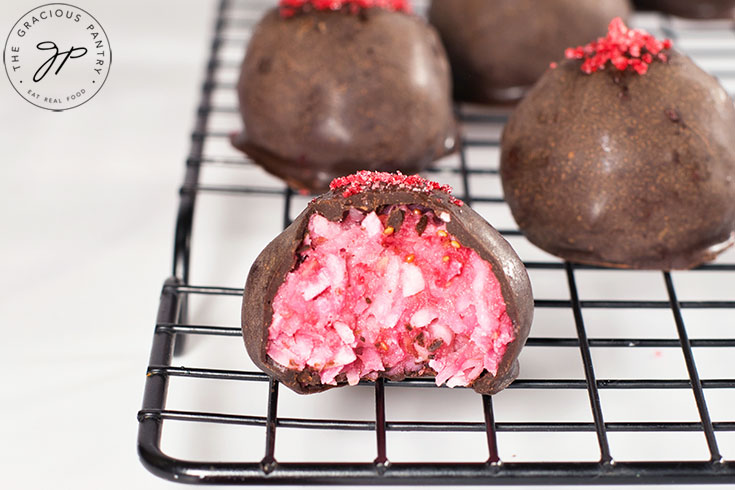
Enjoy your truffles!
Storage
These can be kept in the refrigerator for up to a full week.
Freezing Raspberry Coconut Truffles
If wrapped well in an airtight container, these will store well in the freezer for up to 4 months.
Recipe Supplies For Raspberry Coconut Truffles
For this recipe, you’ll want a few supplies. Parchment paper, dedicated coconut, and the items pictured below. Click any image to be taken to that product on Amazon. (Affiliate links)
More Wholesome Candy Recipes
SUBSCRIBE
Remember to subscribe to my free newsletter to receive all my latest recipes in your inbox. Click here to sign up!
Raspberry Coconut Truffles Recipe Card

Raspberry Coconut Truffles Recipe
Equipment
- 1 cooling rack
- 1 medium bowl
- 1 baking paper
- 2 forks
Ingredients
- 1¼ cup frozen raspberries (no sugar added)
- 2 oz. coconut cream
- 3 tbsp. pure maple syrup (or honey)
- 2 cups desiccated coconut (no sugar added)
- 2 oz. coconut oil
- 1⅓ cup dark chocolate
Instructions
- Collect and measure all your ingredients.

- To a small saucepan, add the frozen raspberries. Heat them over medium-low heat until they start to break down. You can add tablespoons of water if you are worried about the liquid content. But they should be okay without it. Use your judgment here. Much will depend on how juicy the raspberries are.

- Mash the berries with a fork or potato masher. Simmer over low heat for about 10 minutes, or until the berry mixture has reduced itself by half. Set the pot in the fridge to cool for about 10 to 15 minutes. It doesn't have to be cold, but it does need to cool down quite a bit. You should be able to touch it without burning yourself.

- In a mixing bowl, combine the berries, desiccated coconut, coconut cream, coconut oil, and maple syrup. Mix well.

- If the mixture is too soft or runny, add a bit more desiccated coconut. About 1 teaspoon at a time until you have a good "dough-like" filling that will roll well. Coconut soaks up a lot of liquid, so only add extra in very small amounts.

- Roll the filling into balls, about 1 inch in size. If you prefer to weigh each ball for accurate measurement, you want each one to weigh half an ounce (or fifteen grams). You should have approximately 12 truffle balls. Place these in the freezer for 30 minutes to harden them.

- Melt the dark chocolate chips in a double boiler or microwave (in 30-second intervals, stirring between each interval.).

- Use a fork or slotted spoon to carefully dip each truffle in the melted chocolate, coating it well, all the way around.

- Let any excess chocolate drip back off into the bowl before placing it on a parchment-lined baking sheet or cooling rack.

- For decoration, you can sprinkle your truffles with crushed, freeze-dried raspberries, or finely shredded coconut while the chocolate is still partially wet.

- Enjoy your truffles!



These look delish! I’m guessing the raspberries need to be added in step 4? It doesn’t say.
Michele – It’s step 2. 🙂
Step 2 says how to cook down and chill the raspberries but nowhere says where to add them??
Meg – Sorry about that. All fixed. It was in the photo, I just forgot to add it to the step.