Sheet Pan Garlic Butter Shrimp Recipe
This post may contain affiliate links. If you make a purchase through links on this site, I may earn a commission.
Read my Privacy Policy.
Delicious sheet pan garlic butter shrimp that is easy to make, healthy, and bursting with flavor.
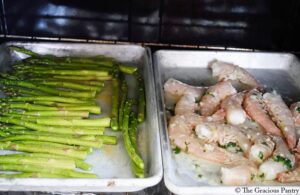
I love sheet pan dinners just because they are so simple. In some cases, I use two at a time, like I did with this recipe here, because I wanted asparagus to go with the shrimp. It works perfectly, and it’s a delicious, filling meal.
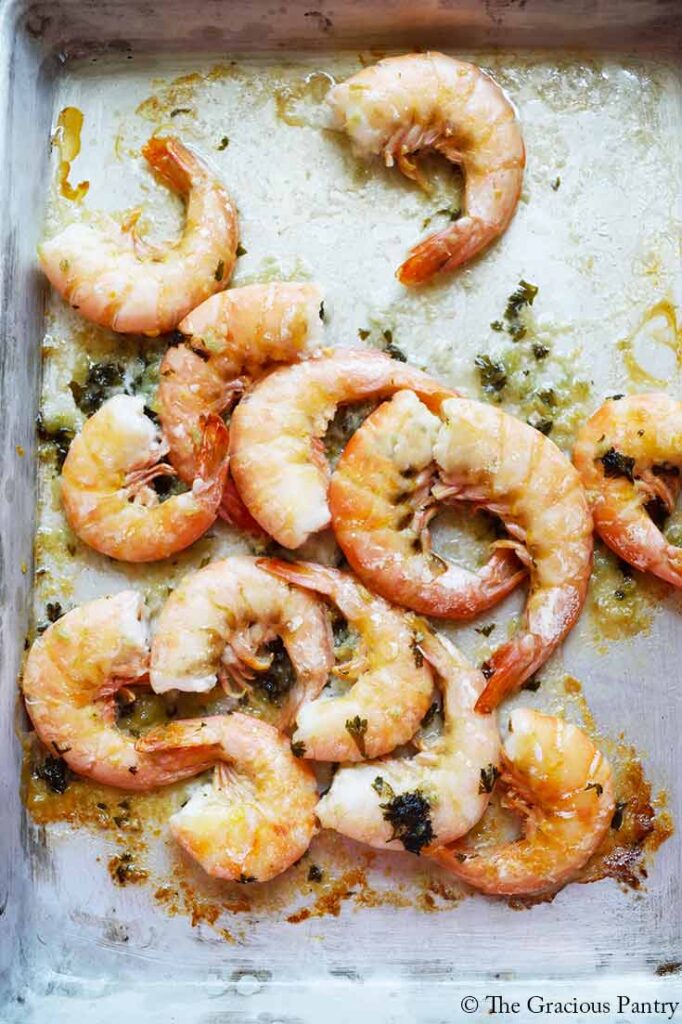
What Is The Secret To Tender Shrimp?
For this, I’ll refer you to the experts because I tend to really enjoy my shrimp on the well-done side. But I know that’s not the case for all of you, so I’ll refer you to this article here.
Is It Better To Cook Shrimp With Olive Oil Or Butter?
One isn’t necessarily better than the other where the flavor is concerned. Both will do a good job of cooking shrimp. The main difference is in the smoke point. Butter has a lower smoke point than olive oil does. But I have found that when you bake this in the oven, it tends to do just fine with either one. Where this would make a bigger difference would be if you were to cook this in a skillet on the stovetop.
What To Serve With Garlic Butter Shrimp
There are tons of things you can serve with this shrimp! Here are some ideas.
Roasted vegetables such as:
- Asparagus
- Mushrooms
- Peppers
- Zucchini
- Baked potato
- Red peppers (bell peppers)
- Cauliflower rice
- Tomatoes
Grains such as:
- Quinoa
- Brown rice
- Whole grain pasta
More Extras
- Feta cheese
- Fresh herbs such as fresh basil or dill
- Red pepper flakes for some heat
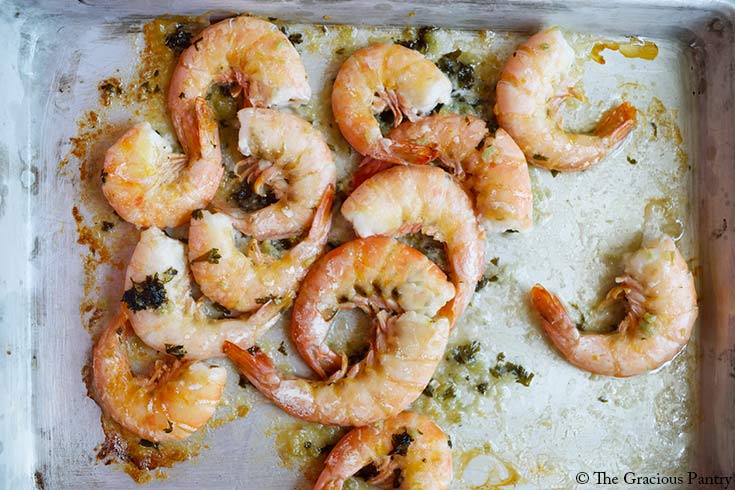
How Long Does It Take To Cook Shrimp In A Sheet Pan?
For this recipe, it took me about 20 minutes. But my shrimp were still a tiny bit frozen. If your shrimp are completely thawed, they will usually take about 10-15 minutes.
The best way to know if your shrimp are done is by their color. If they are a bright, shrimp-pink color, they are cooked. So keep an eye on them!
How To Serve This Shrimp Bake
It’s best to have a separate bowl handy for the shells. You can also reserve a little bit of the butter sauce (or make extra) for dipping the shrimp into once it’s been shelled. I promise you won’t mind washing the extra dishes. These lemon garlic butter shrimp are way too yummy for that!
Dietary Adjustments
Low-Carb or Keto – These are already low-carb friendly, so enjoy! And if you are keto, you can load up on extra butter sauce by making a double batch.
Dairy-Free – Use a dairy-free butter like I did. It works great and no tummy aches after eating.
About The Ingredients
Large, raw shrimp – I used frozen with the shell on. The shell helps keep the flavor and tenderness in your shrimp. So if you have the option, always purchase shrimp with the shell on.
Salted butter – Any butter will work, including dairy-free butter.
Garlic cloves – Pressed. You can mince it too, if you don’t have a press. But pressing really brings out a ton of flavor.
Fresh lemon juice – Yes, bottled juice will work too. Just be sure it’s 100% lemon juice.
Fresh parsley – Make sure to chop some extra for garnish if you are serving this to others.
Lemon wedges – For serving.
Salt and pepper – As needed. You can add some to the sauce when you make it if you wish.
How To Make Sheet Pan Garlic Butter Shrimp
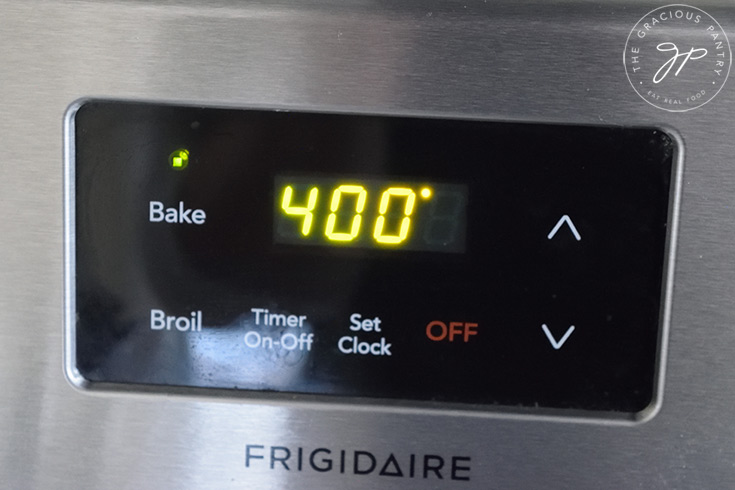
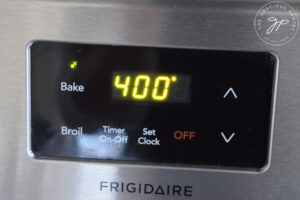
Preheat oven to 400°F and set out a baking sheet.
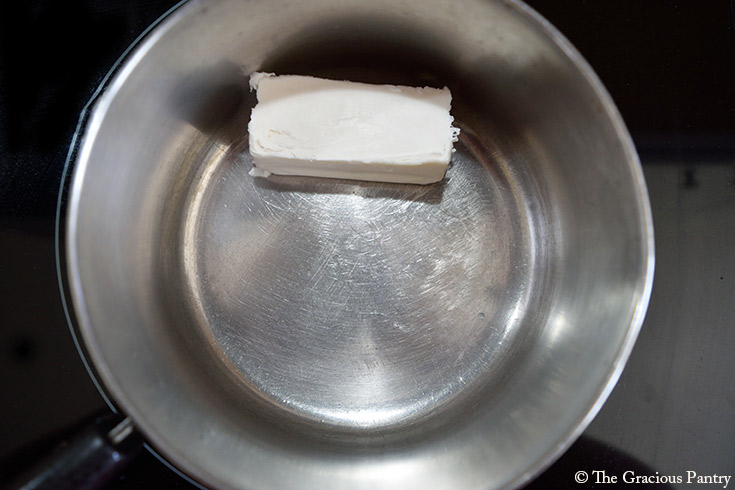
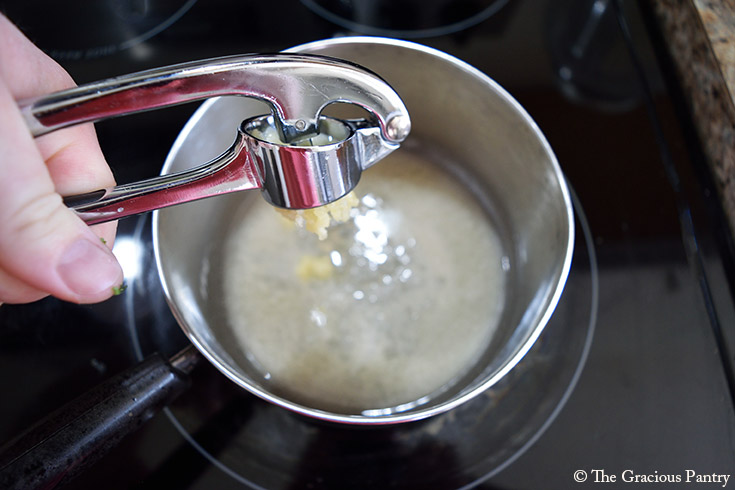
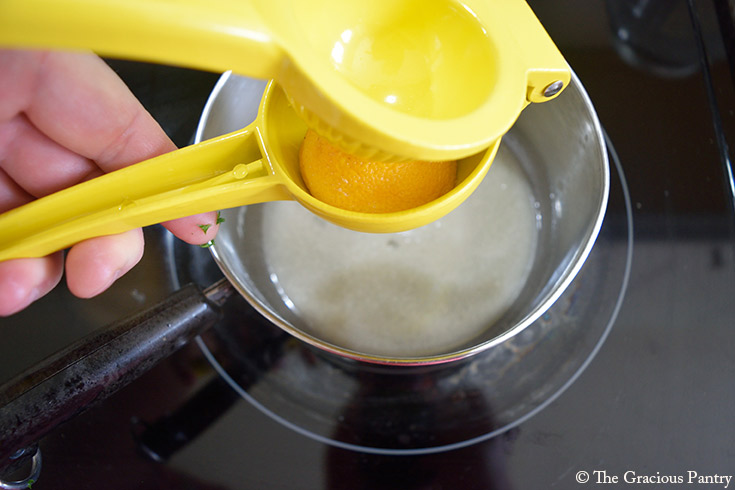
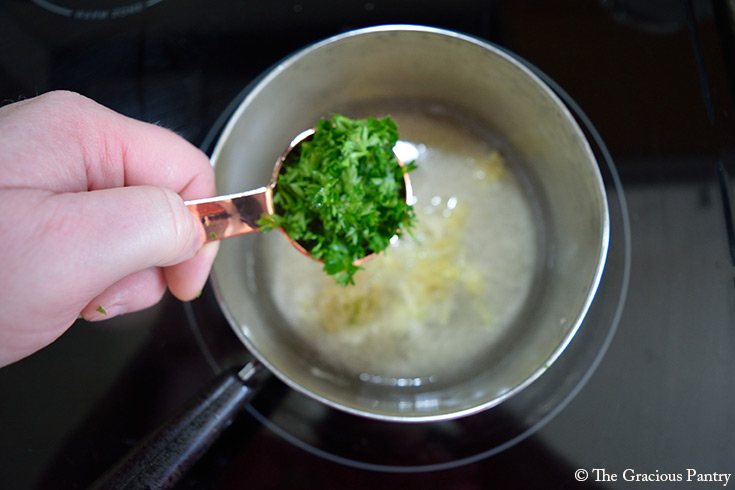
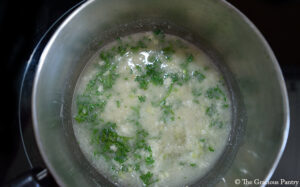
In a small pot, combine the butter, pressed garlic, lemon juice, salt, and black pepper. Over low to medium heat, stir until the butter melts fully. Then stir for 1 full, additional minute to make sure the garlic gets cooked.
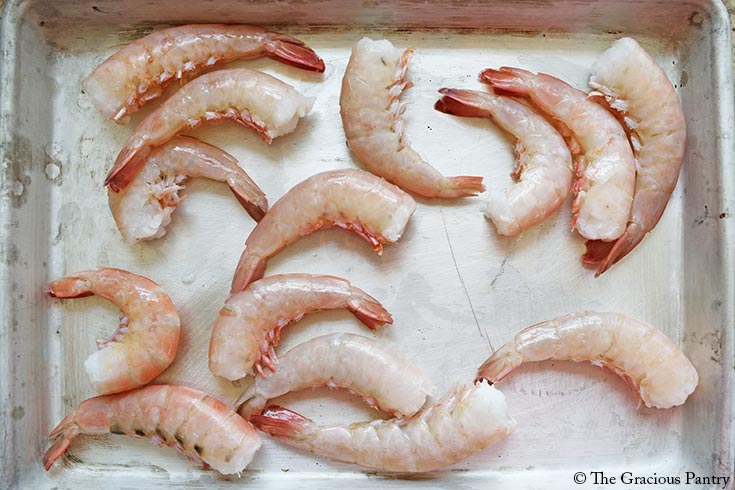
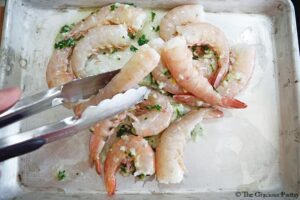
Place the peeled and deveined shrimp on the baking sheet in a single layer.
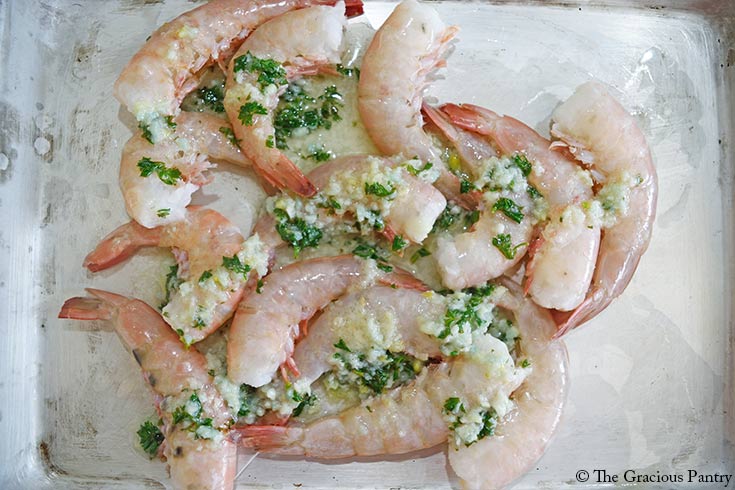
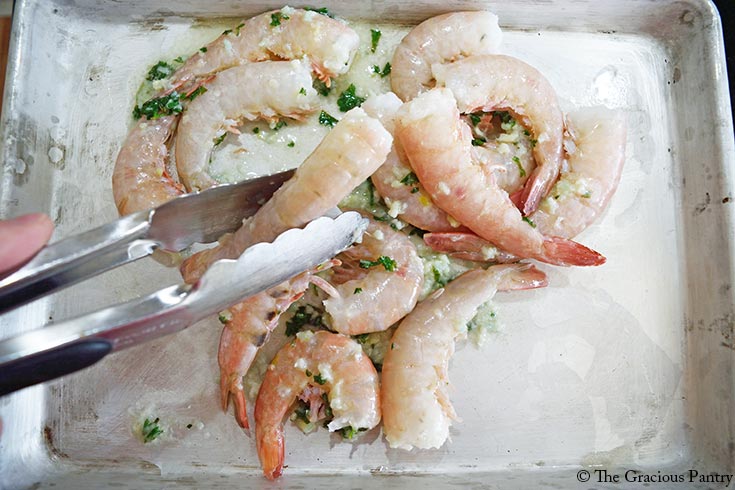
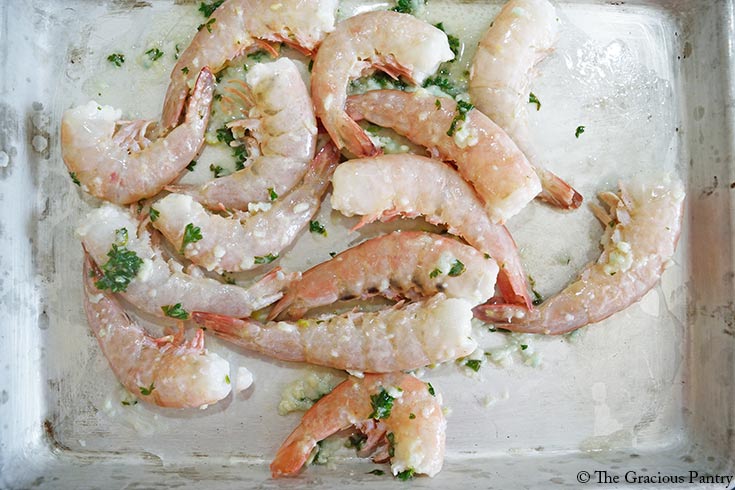
Pour the butter mixture over the shrimp, making sure each shrimp is coated evenly. Toss the shrimp in the sauce a bit to make sure everything gets coated in the sauce.
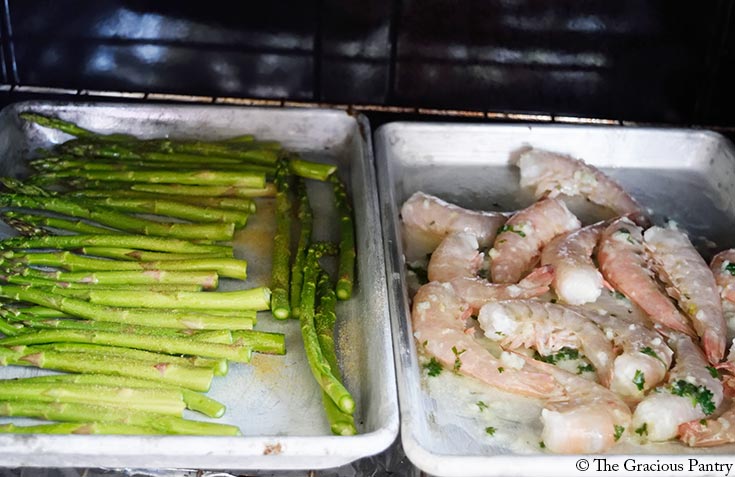
Place the baking sheet in the preheated oven and bake for about 10-15 minutes, or until the shrimp are cooked through and pink.

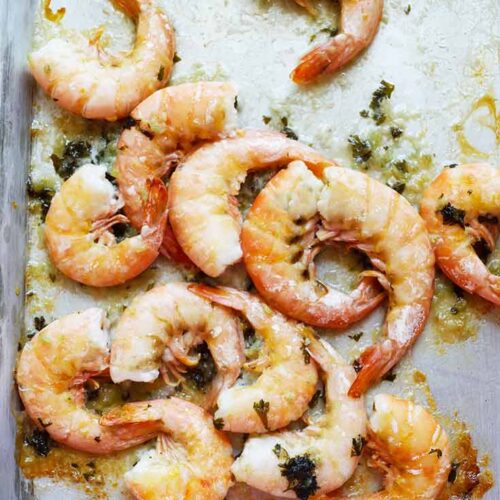
Once the shrimp are cooked, remove the baking sheet from the oven and sprinkle the chopped parsley over the shrimp. Serve the Sheet Pan Garlic Butter Shrimp immediately with lemon wedges on the side for squeezing over the shrimp.
Storage
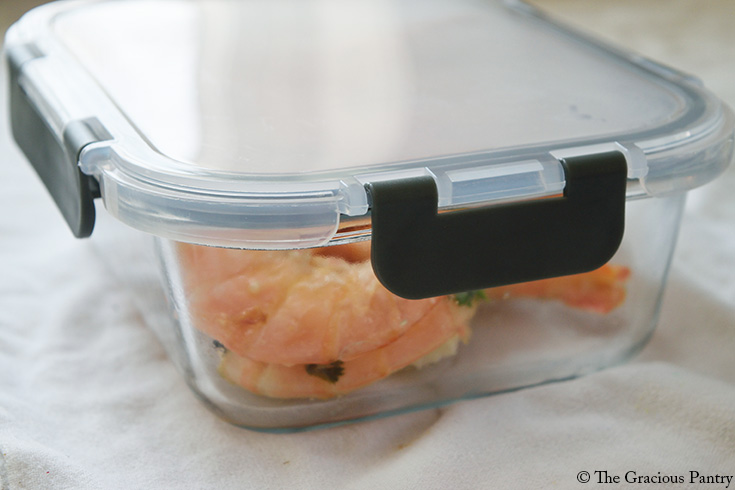
Store leftovers in an airtight container in the refrigerator for up to 3 days. If possible, leave the shell on to help keep them from drying out.
Freezing
Freezing is not recommended for this recipe.
Reheating Sheet Pan Shrimp
These can be heated very briefly in the microwave, but you risk turning your shrimp into rubber. The best way to reheat these is to do so on a sheet pan in the oven.
Recipe Supplies
More Healthy Shrimp Recipes
SUBSCRIBE
Remember to subscribe to my free newsletter to receive all my latest recipes in your inbox. Click here to sign up!
Sheet Pan Garlic Butter Shrimp Recipe Card

Sheet Pan Garlic Butter Shrimp Recipe
Ingredients
- 12 oz. package large raw shrimp with shell on (frozen or fresh)
- 4 tbsp. salted butter
- 4 large cloves garlic (pressed)
- 1 tbsp. fresh lemon juice (or the juice of half a lemon)
- 1 tbsp. fresh, chopped parsley
- extra lemon for serving
- salt and pepper (as needed)
Instructions
- Preheat oven to 400°F and set out a baking sheet.

- In a small pot, combine the butter, pressed garlic, lemon juice, salt, and black pepper. Over low to medium heat, stir until the butter melts fully. Then stir for 1 full, additional minute to make sure the garlic gets cooked.

- Place the peeled and deveined shrimp on the baking sheet in a single layer.
- Pour the garlic butter sauce over the shrimp, making sure each shrimp is coated evenly. Toss the shrimp in the sauce a bit to make sure everything gets coated in sauce.

- Place the baking sheet in the preheated oven and bake for about 10-15 minutes, or until the shrimp are cooked through and pink.

- Once the shrimp are cooked, remove the baking sheet from the oven and sprinkle the chopped parsley over the shrimp. Serve the Sheet Pan Garlic Butter Shrimp immediately with lemon wedges on the side for squeezing over the shrimp.


