
Pickled Ginger (Gari) Recipe
This post may contain affiliate links. If you make a purchase through links on this site, I may earn a commission.
Read my Privacy Policy.
If you’ve ever tried pickled ginger in a Japanese restaurant and loved it, you’ll be happy to know you can easily make your own at home. It’s great to keep on hand in the fridge for any number of uses, and gives you plenty of nutritional benefits as well.
If you love ginger, you might also enjoy my fresh ginger tea or my homemade ginger ale recipes.
Why You’ll Love This Recipe
- Easy to make – It may seem like it has a lot of steps, and each one is important. But this recipe is actually quite simple to make. Just read the instructions all the way through before you begin.
- Delicious – You will always have a jar of pickled ginger handy in the fridge! What’s not to love about that?
- Great addition to other dishes – Keep this on hand for stir fries, sushi, salads, and more! (See more suggestions below.
What Is Ginger Good For?
There are so many ways to use pickled ginger! Here are just a few ideas:
- Topping for sushi or sashimi
- Side dish with Japanese meals (like ramen or bento boxes)
- Garnish for rice dishes
- Mix-in for salads (especially Asian-inspired)
- Add to stir-fries
- Topping for poke bowls
- Accompaniment to grilled meats (chicken, pork)
- Stir into sauces or dressings for a zingy kick
- Serve with tempura or fried foods
- Add to sandwiches or wraps
- Pair with avocado toast or bagels
- Use in cocktails or mocktails
- Add to slaws
- Include in rice paper rolls (spring rolls)
- Mix into marinades or glazes
- Use in smoothies
- Stir into yogurt
- Serve alongside grilled fish or seafood
- Blended into vinaigrette
- Add to baked desserts like muffins
How to Use Stevia for Pickled Ginger
If you’re like me and prefer to use stevia over any other sweetener, here’s how to use it best for pickled ginger.
- Type of Stevia
- Liquid Stevia: Easiest to dissolve and incorporate into the brine.
- Stevia Powder: Works too, but make sure it’s 100% pure stevia without added fillers.
- Sweetness Ratio
- Stevia is much sweeter than sugar. Typically, 1 teaspoon of liquid stevia or 1/4 teaspoon of pure stevia powder is equal to 1/4 cup of sugar.
- Start with a small amount (about a 1/4 teaspoon liquid stevia) and taste the brine before adding more.
- Flavor
- Stevia has a distinct aftertaste that some people notice more than others. Since pickled ginger has a tangy, punchy flavor, it can help mask this aftertaste.
- You may want to balance the sweetness by adding a small amount of another natural sweetener, like 1-2 teaspoons of maple syrup or coconut sugar, to reduce any bitterness. But if you use granular sweetener, make sure it fully dissolves.
Other Sweeteners You Can Use For Making Pickled Ginger
Here’s a list of clean sweeteners and their measurements for this pickled ginger recipe:
- Stevia (liquid) – ½ to 1 teaspoon (start small and adjust to taste)
- Stevia (pure powder) – ¼ teaspoon (adjust to taste)
- Coconut Sugar – ¼ cup (1:1 swap for white sugar)
- Maple Syrup – 3 tablespoons
- Honey – 2-3 tablespoons
- Date Syrup – 3 tablespoons
- Monk Fruit Syrup – 1-2 teaspoons (very sweet, so use sparingly)
- Apple Juice (unsweetened) – 3-4 tablespoons (can also combine with other sweeteners)
- White Grape Juice (unsweetened) – 3-4 tablespoons (adds sweetness and balance)
Pro Recipe Tips
- Read the instructions from start to finish BEFORE you start making this. Having a full grasp of what you need to do will make this go much faster.
- Easily double or triple the recipe with the use of a larger jar.
- Young ginger works best for this recipe.
- If using stevia alone, keep in mind that it doesn’t provide the same “syrupy” texture as sugar, so the pickling brine may taste a little lighter.
- To achieve a more balanced flavor, consider adding 1-2 teaspoons of apple juice or a splash of unsweetened white grape juice to round out the sweetness naturally.
Tips for Longer Shelf Life
- Use A Sterilized Jar: Wash and sterilize your glass jar in boiling water before adding the ginger and brine.
- Keep The Ginger Submerged: Make sure that all the ginger slices are fully covered in brine to prevent mold.
- Use Clean Utensils: Avoid putting fingers or unclean utensils into the jar. Always use clean tongs or a fork.
How Do You Know If Your Pickled Ginger Went Bad?
If you notice an off smell, cloudiness in the brine (not to be confused with harmless sediment), or mold, it’s time to discard it. For the best flavor and quality, try to consume it within 2 weeks.
About The Ingredients
Fresh ginger – Use young ginger if it’s available. I didn’t have any available here, so I used regular ginger. But young ginger will truly work best here.
Salt – Use regular, white table salt for this.
Rice vinegar – You can also use apple vinegar, but rice vinegar tastes best for this.
Water – Make sure it’s filtered water to avoid premature mold or spoilage.
Pure liquid stevia – Or other sweetener to taste.
How To Make Pickled Ginger At Home
Prep the Ginger
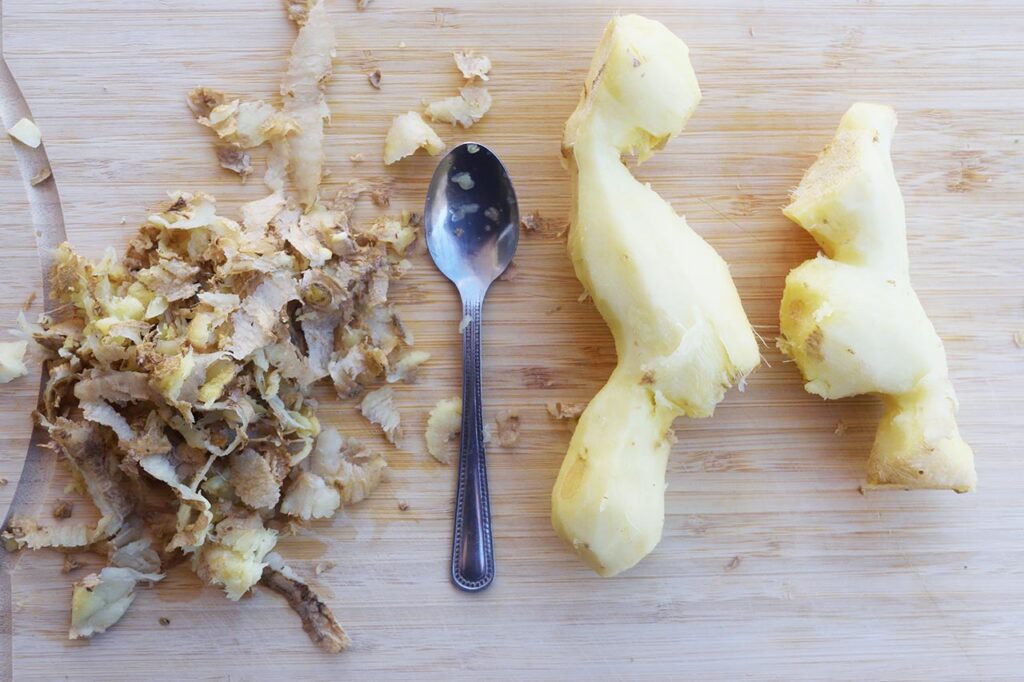
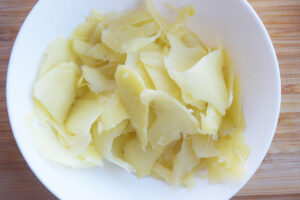
Peel the ginger using the edge of a spoon to scrape off the skin. Shave or slice the ginger as thinly as possible with a mandolin or vegetable peeler.
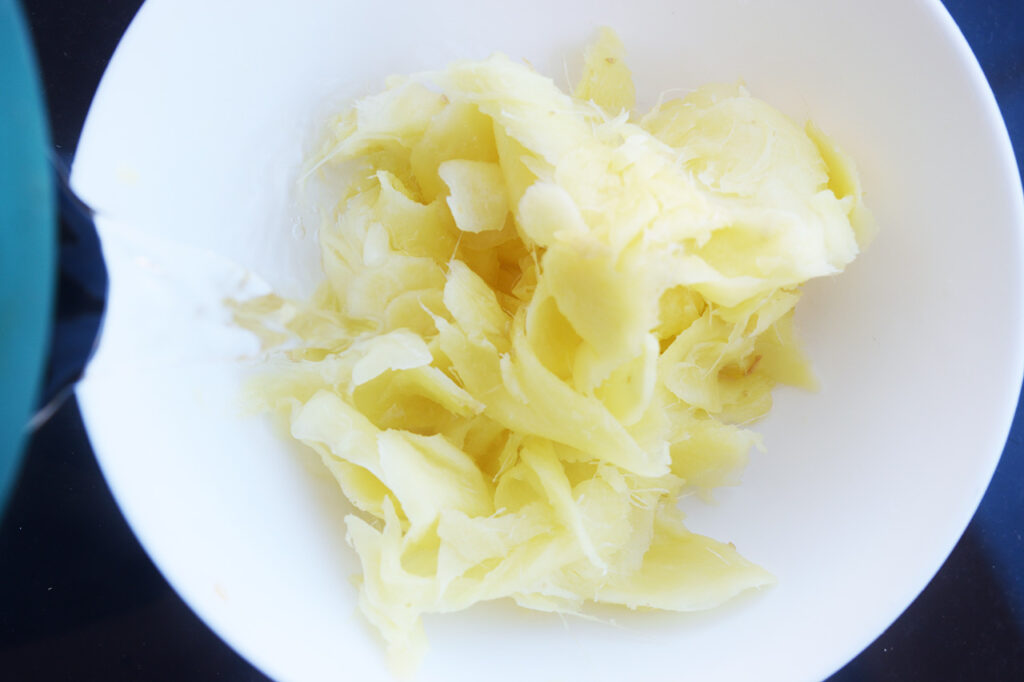
Place the ginger slices in a bowl and toss with 1 ½ teaspoons sea salt. Let it sit for 30 minutes to soften and release moisture.
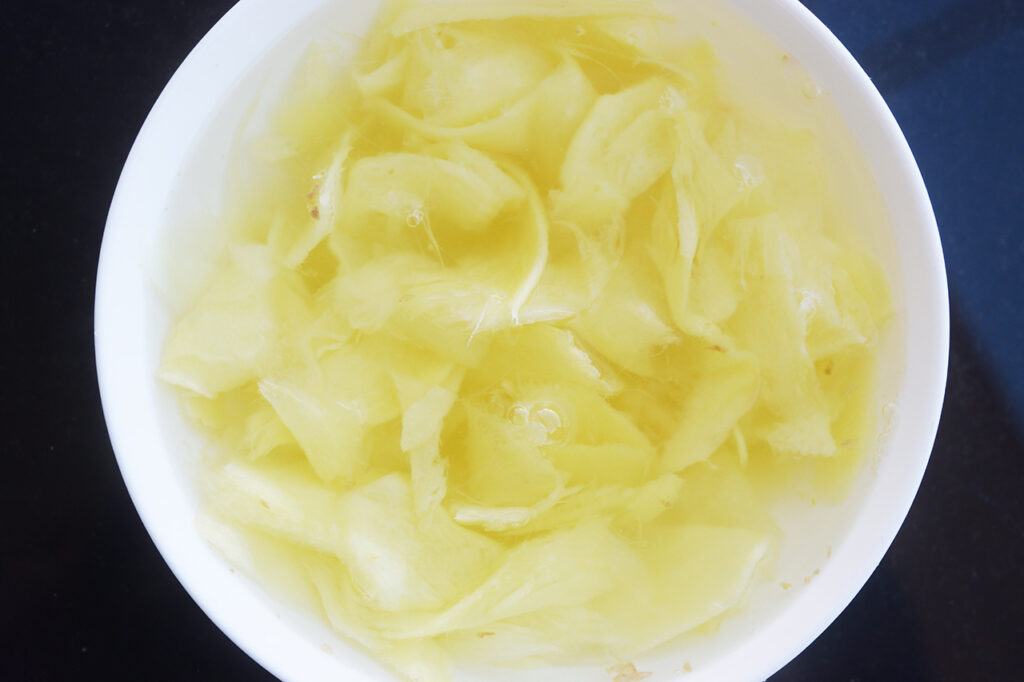
After 30 minutes, pour boiling water over the salted ginger, let it sit for 1 minute, then drain and pat the slices dry with a paper towel.
Make the Pickling Brine
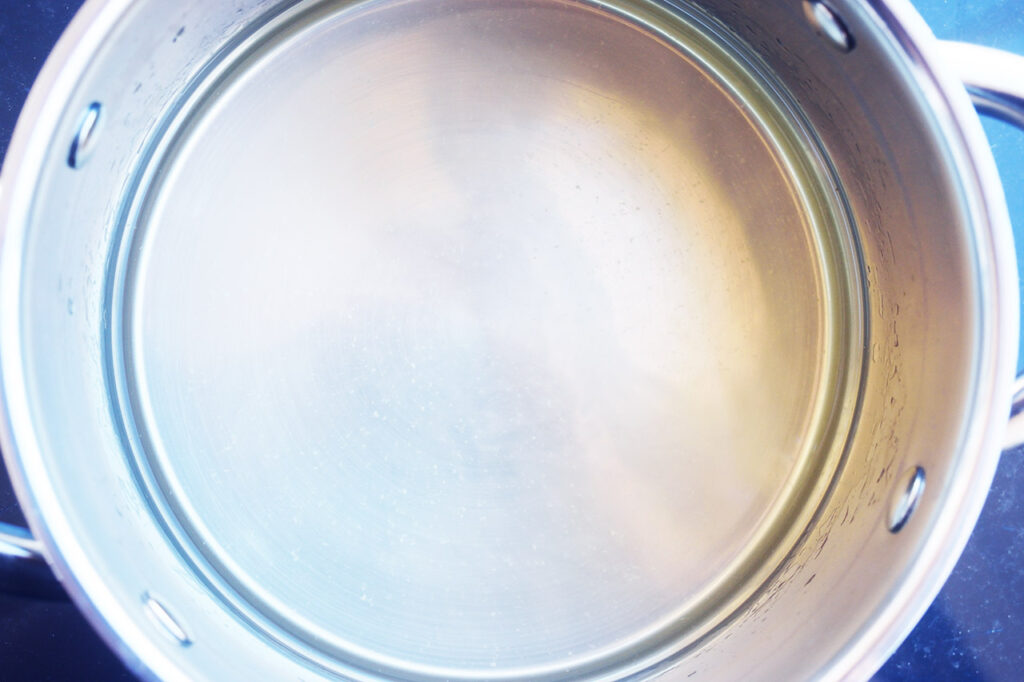
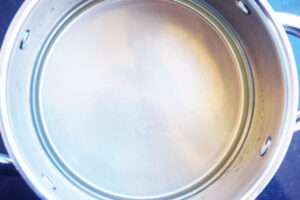
In a saucepan, combine 1 cup apple vinegar, ½ cup water, and 1 teaspoon liquid stevia (start with this amount and adjust to taste). Heat the mixture over medium heat, stirring, and bring it to a gentle boil. Taste the brine and, if you’d like it sweeter, add more to taste.

Pickle the Ginger
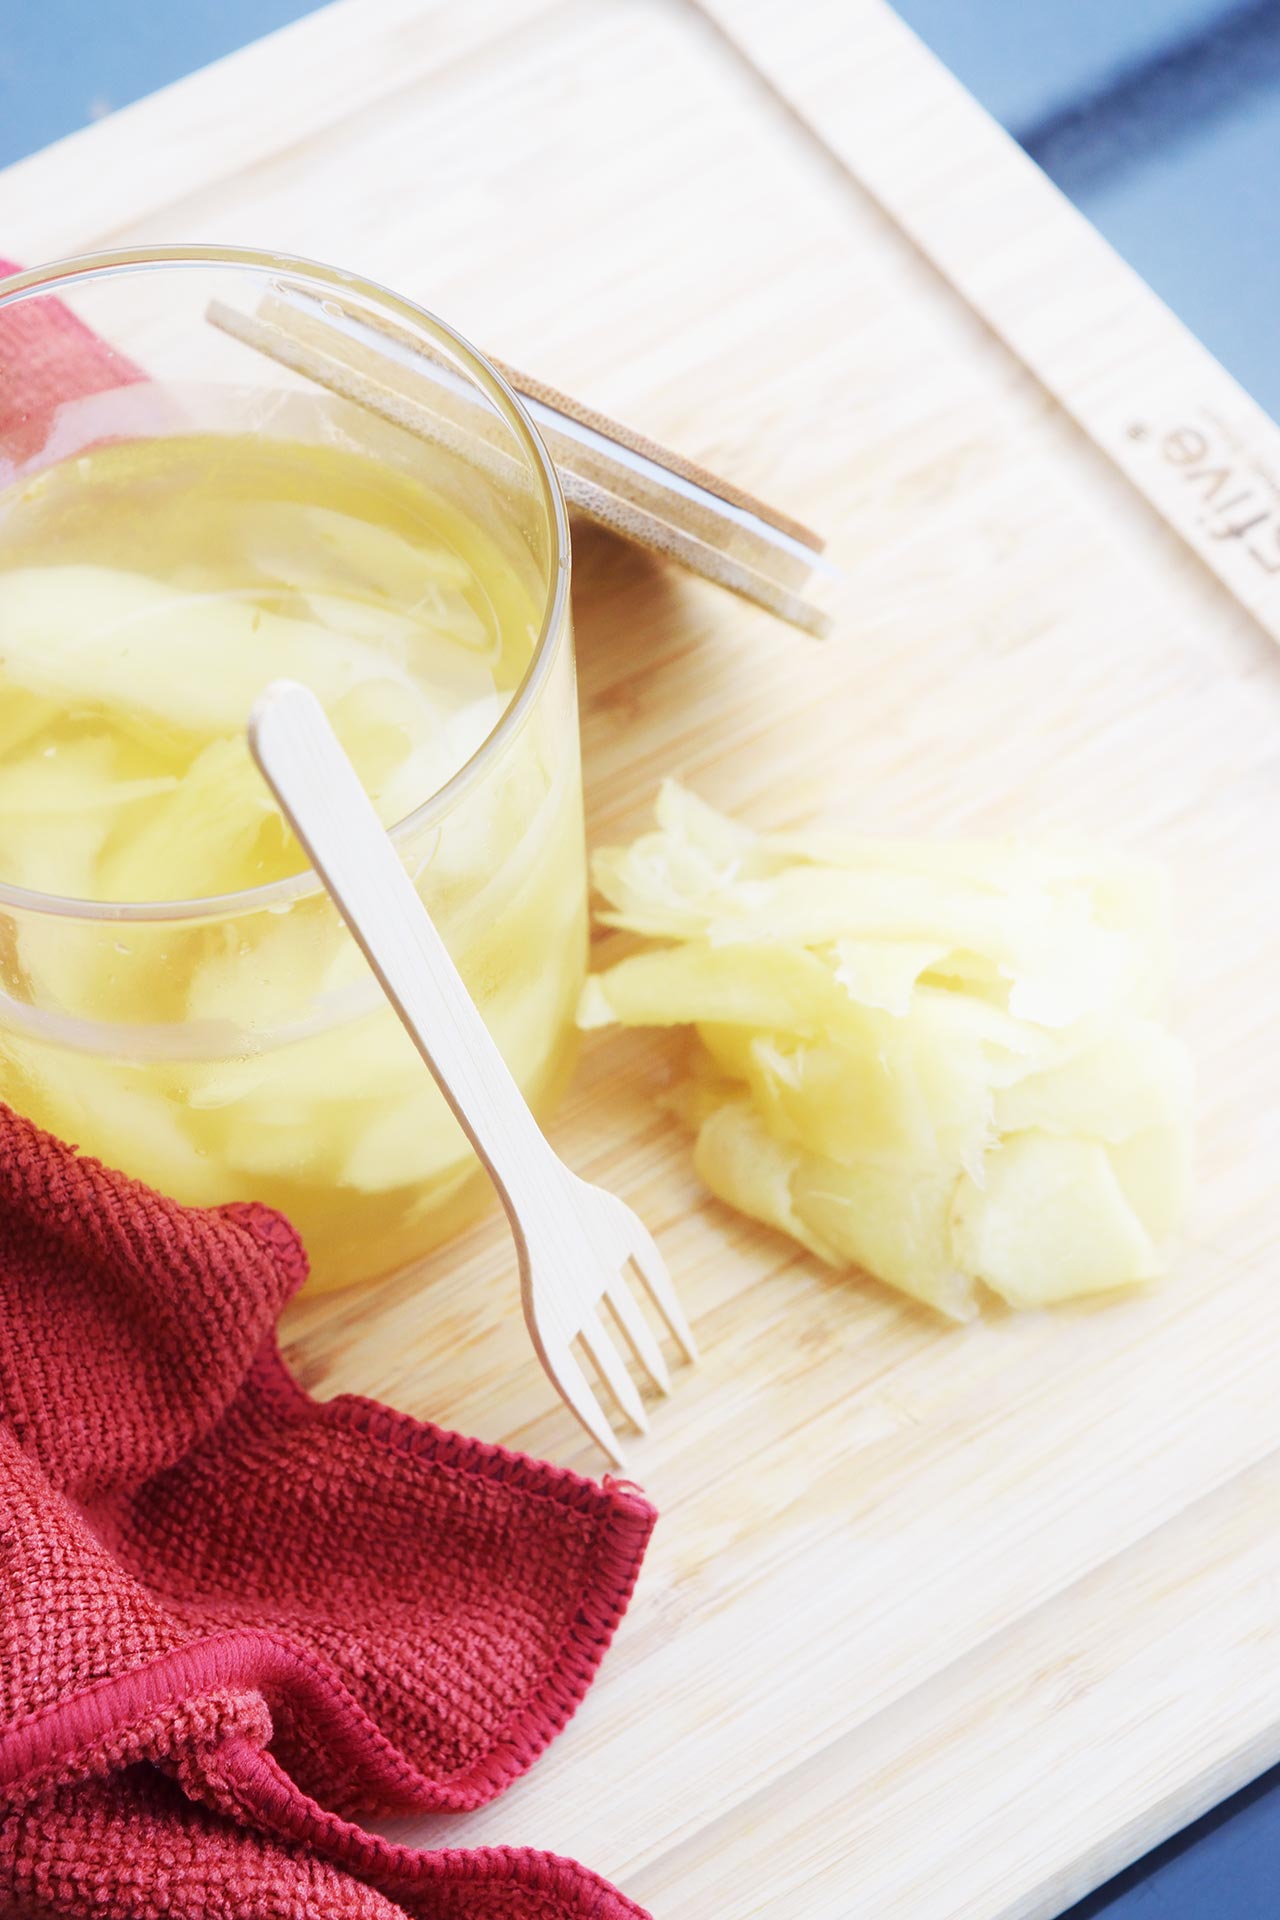
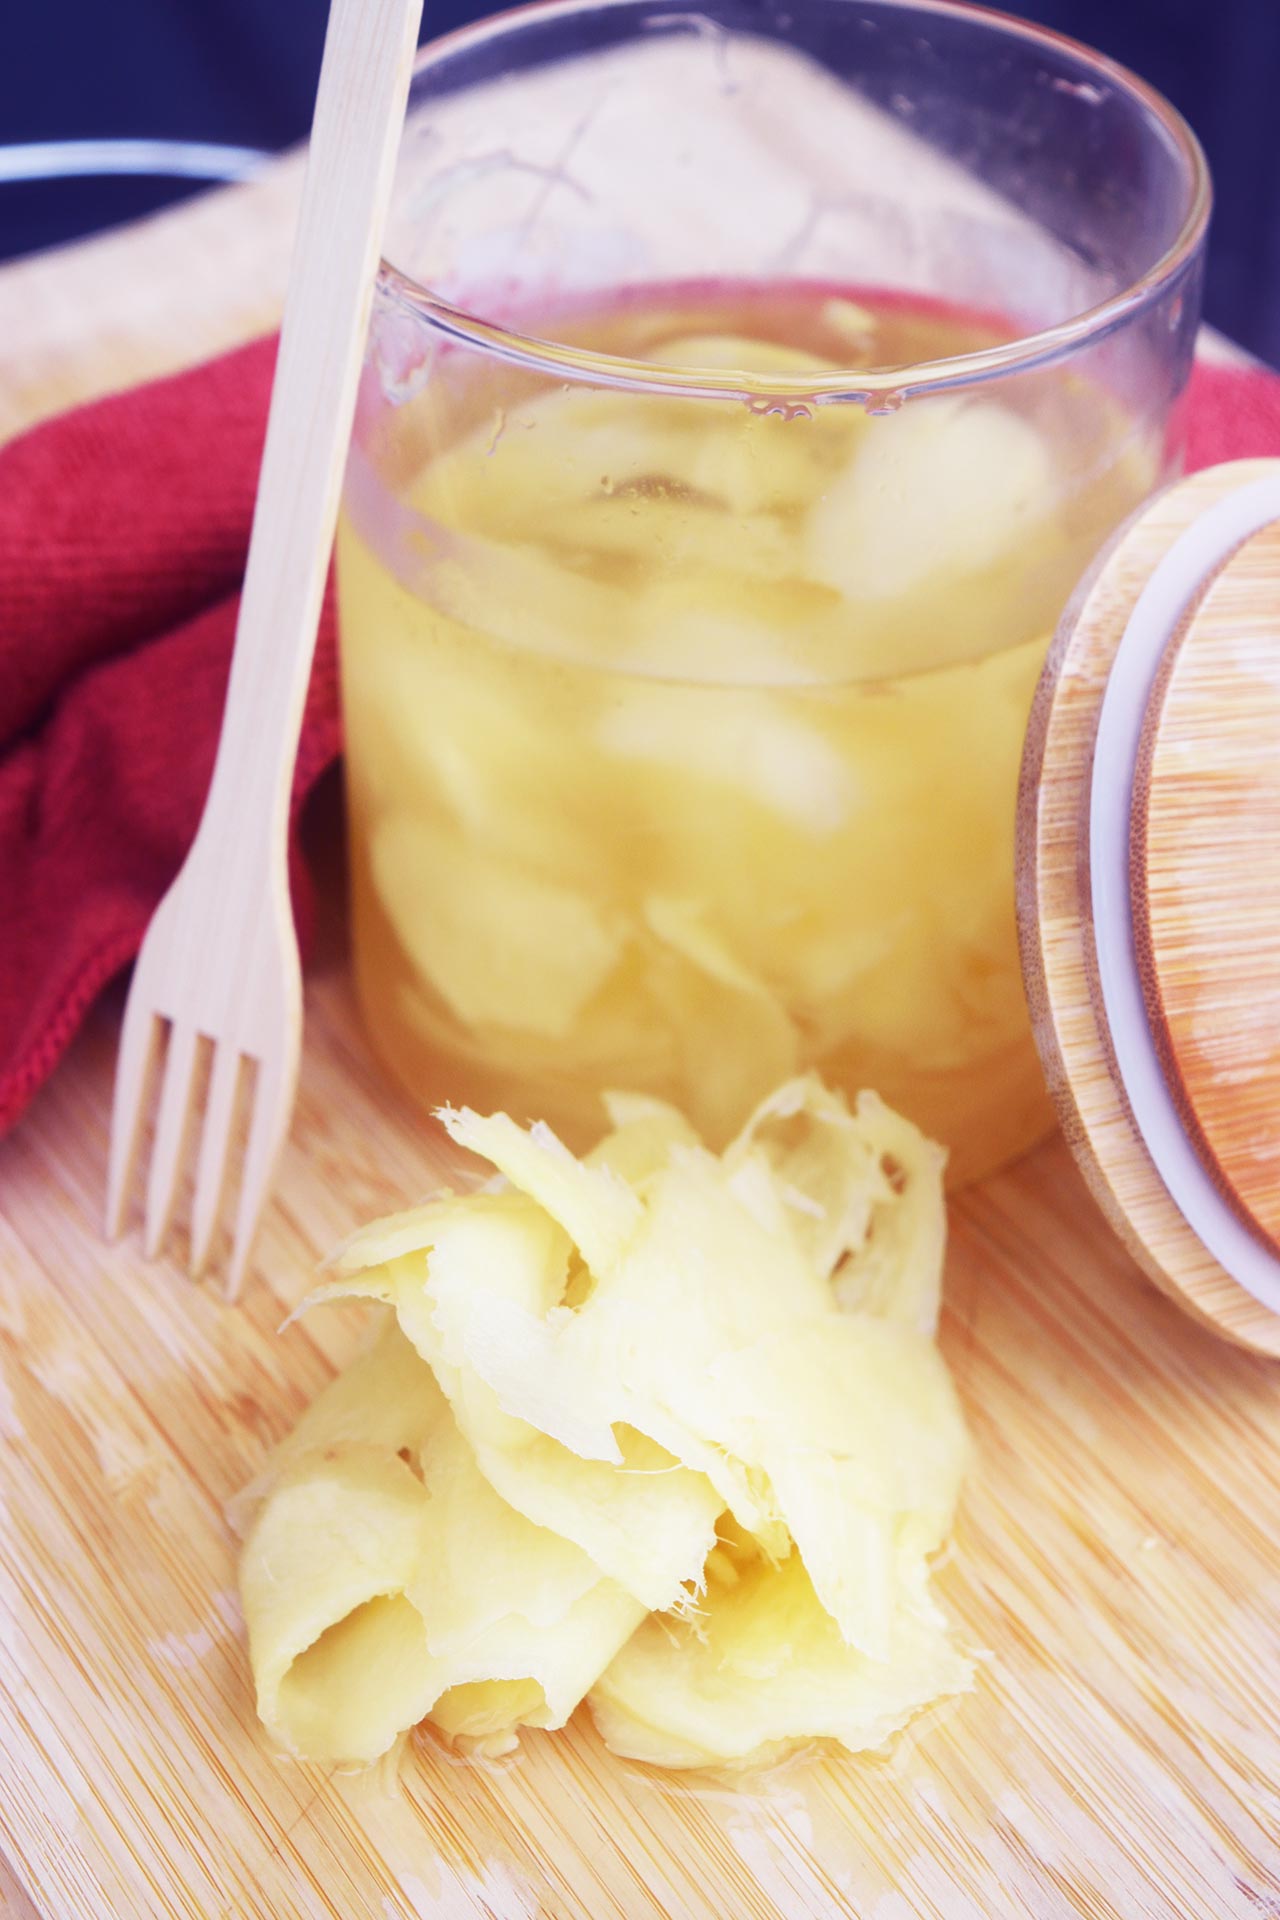
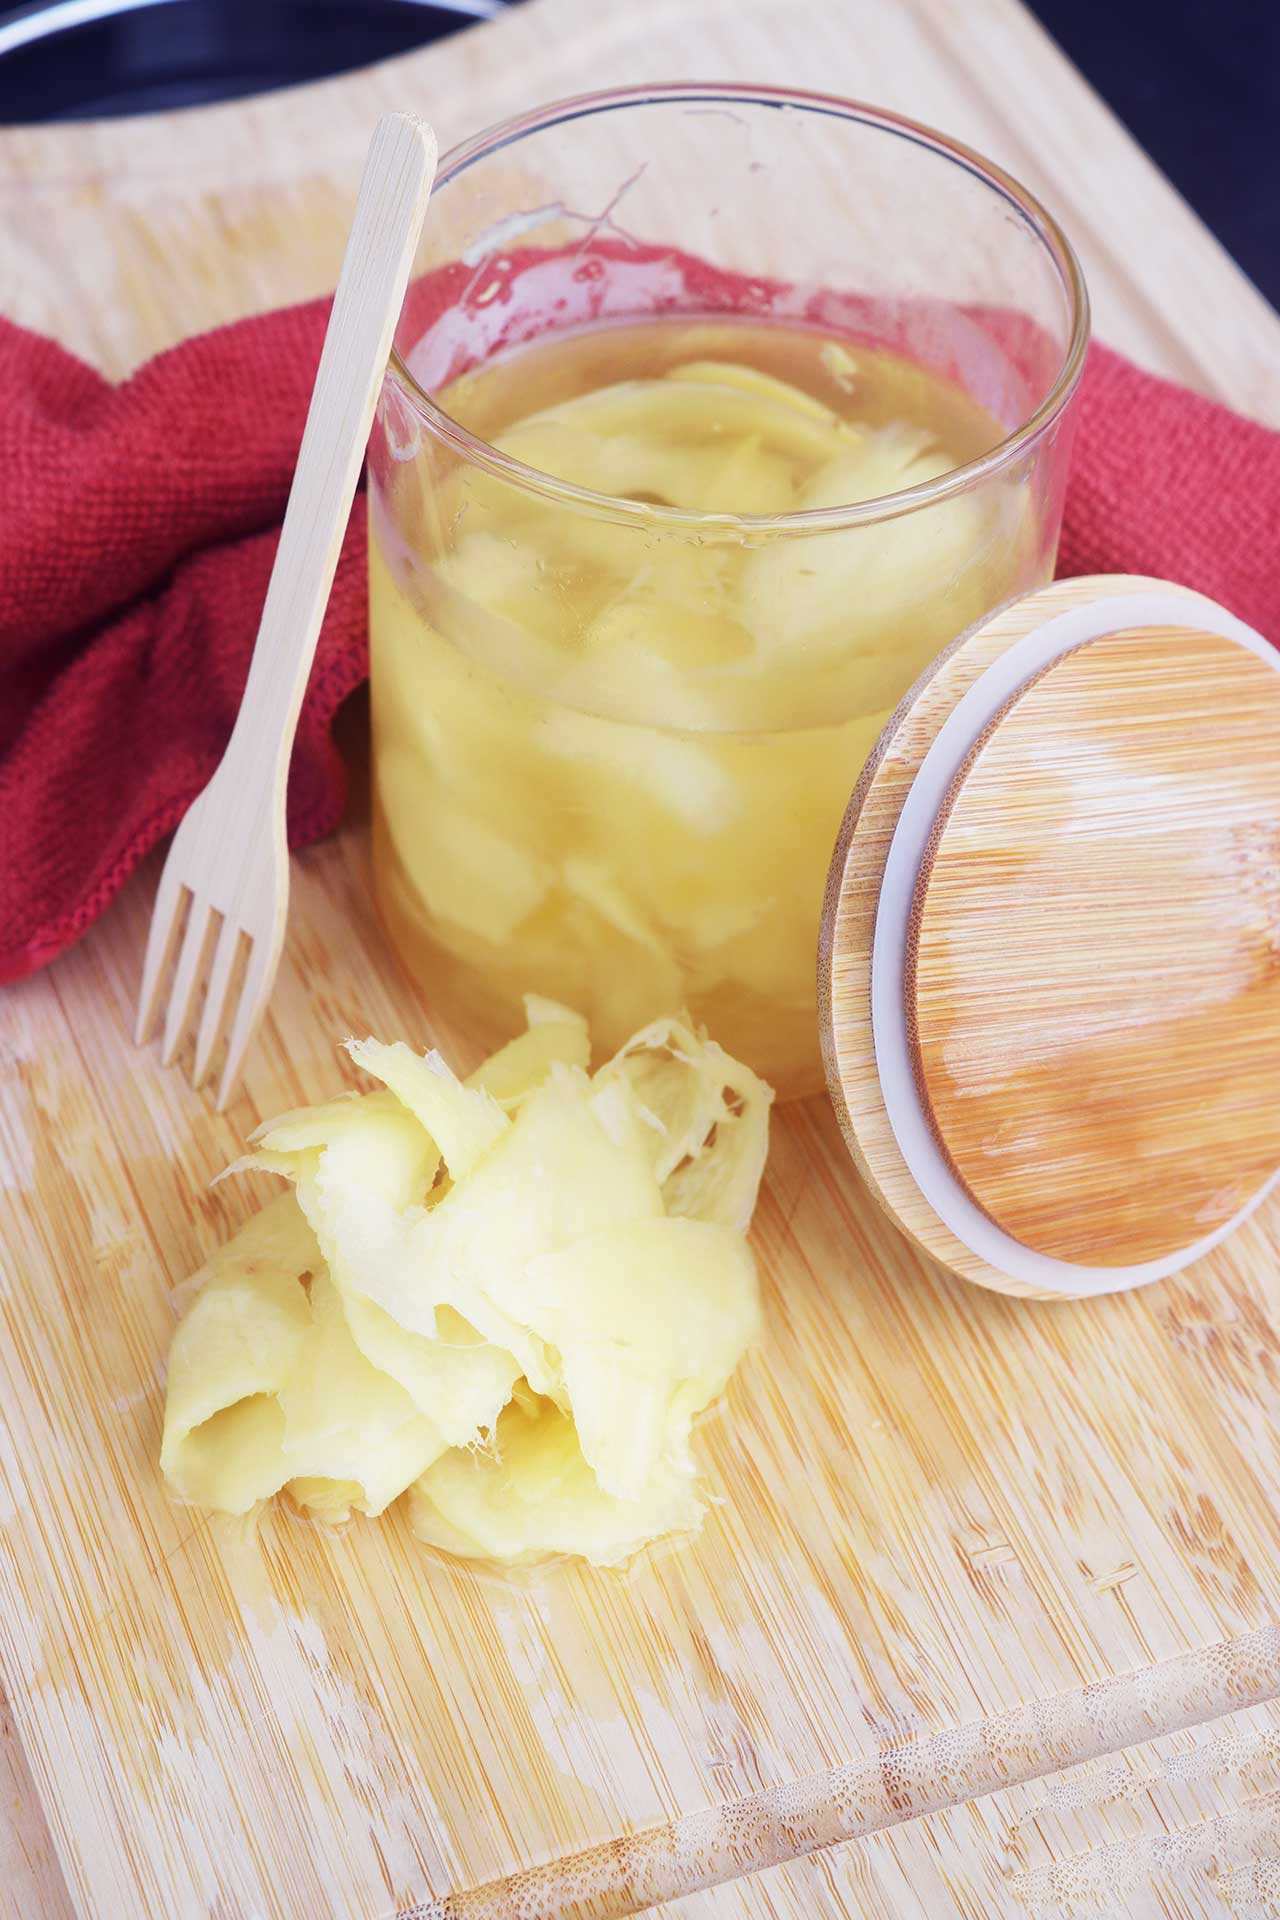
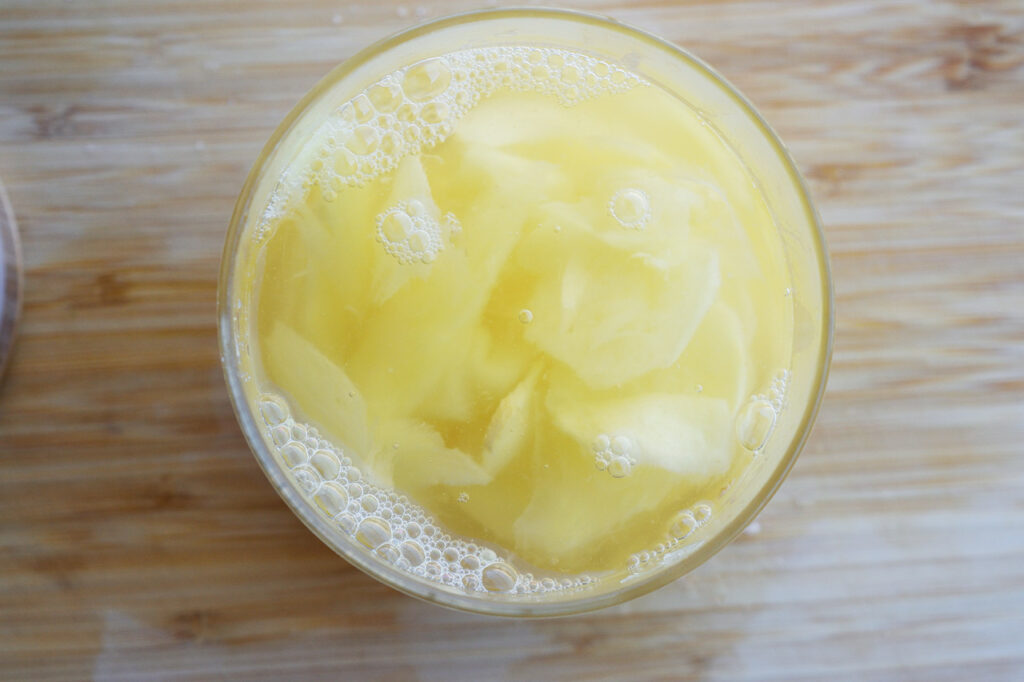
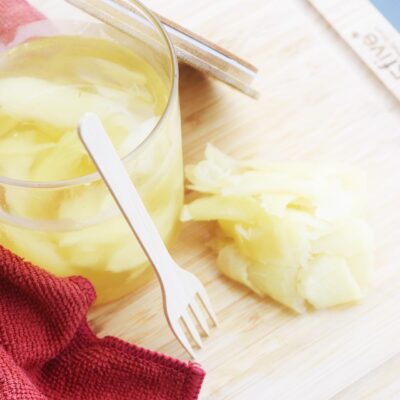
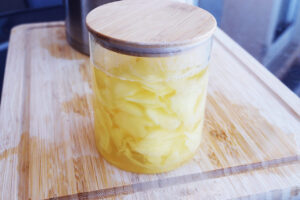
Transfer the prepared ginger slices into a clean glass jar. Pour the hot brine over the ginger, and fully submerge it in the brine. Allow the jar to cool to room temperature, then seal it with a lid.

Refrigerate for at least 24 hours before eating. For the best flavor, let it rest for 2-3 days.
Storage
If packed properly in an airtight jar or container and kept in the fridge, this will last for 2-4 weeks in the fridge.
SUBSCRIBE
Remember to subscribe to my free newsletter to receive all my latest recipes in your inbox. Click here to sign up!

Pickled Ginger (Gari) Recipe
Equipment
- 1 large jar with a lid
Ingredients
- 1 cup fresh, shaved ginger (peeled 125g)
- 1½ tsp. salt
- 1 cup rice vinegar
- ½ cup water
- 1 tsp. liquid stevia (or other sweetener to taste)
Instructions
Prep the Ginger
- Peel the ginger using the edge of a spoon to scrape off the skin.Shave or slice the ginger as thinly as possible with a mandolin or vegetable peeler.

- Place the ginger slices in a bowl and toss with 1 ½ teaspoons sea salt. Let it sit for 30 minutes to soften and release moisture.
- After 30 minutes, pour boiling water over the salted ginger, let it sit for 1 minute, then drain and pat the slices dry with a paper towel.


Make the Pickling Brine
- In a saucepan, combine 1 cup apple vinegar, ½ cup water, and 1 teaspoon liquid stevia (start with this amount and adjust to taste). Heat the mixture over medium heat, stirring, and bring it to a gentle boil. Taste the brine and, if you'd like it sweeter, add more to taste.
Pickle the Ginger
- Transfer the prepared ginger slices into a clean glass jar. Pour the hot brine over the ginger, and fully submerge it in the brine. Allow the jar to cool to room temperature, then seal it with a lid.
- Refrigerate for at least 24 hours before eating. For the best flavor, let it rest for 2-3 days.

Notes
Nutrition

Solid recipe. I like how little sugar this uses, most recipes use 1/4c or more, which makes too sweet ginger for me. I like to add a little apple cider vinegar to the mix, but I really like this base recipe.
Smaug – Fantastic! I’m so happy you liked it! 😀
I’m confused about your recipe. I think you made a mistake because you say to use 100g or 7oz of ginger, but 7oz is 200g!
Scott – Sorry about that! Not sure what happened there. I updated the recipe.