Millet Grits Recipe
This post may contain affiliate links. If you make a purchase through links on this site, I may earn a commission.
Read my Privacy Policy.
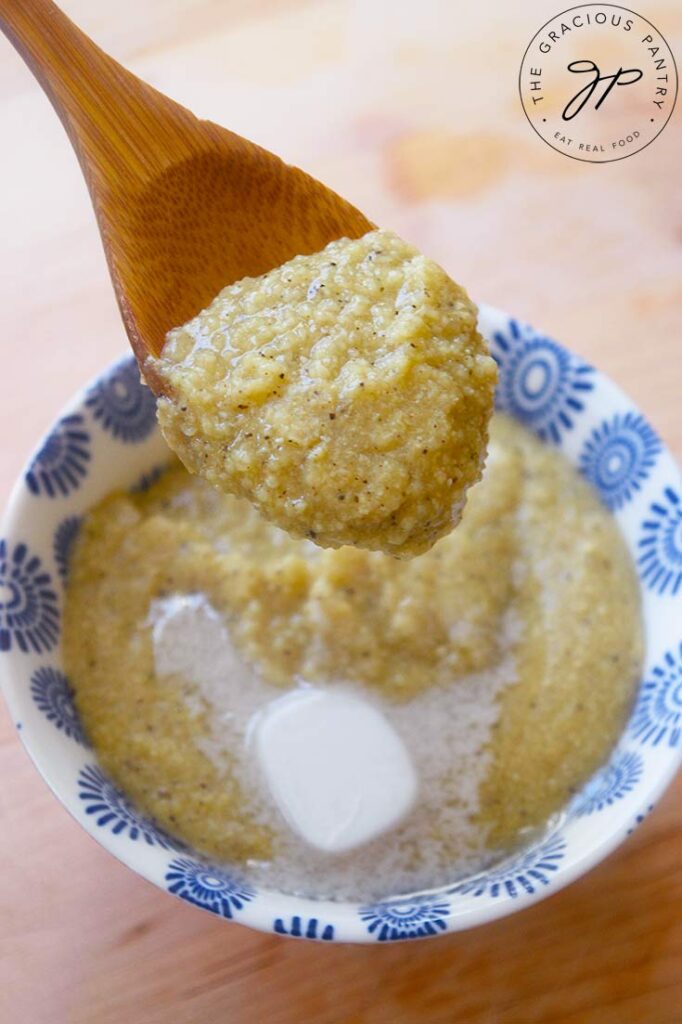
Millet grits have all the wonderful flavor and texture of regular grits, without the corn. Millet is a high-protein grain that contains more fiber than wheat. It is a good alternative to rice, especially for people on a gluten-free diet.
For those of you in the south, that may sound a bit sacrilegious. But I actually learned to make this in the south! So hang onto your cowboy hats, because this dish is delicious for breakfast, lunch, or dinner!
What Is Millet?
Millet is a small, round grain that is actually an ancient seed. It is mostly grown in India, Africa, and other Asian countries. It is a highly nutritious grain that is not well known in the states. But it should be!
One cup of cooked millet contains 12 percent of the recommended daily alloweance of protein and is loaded with minerals manganese and phosphorous.
FoodPrint.org
What Does Millet Taste Like?
Millet is a grain like rice or oats. It has its own unique, mild, slightly nutty flavor. But it’s not too far off from quinoa. It has a rougher texture than softly cooked rice and is wonderful for making grain salads. The individual grains do not stick together the way rice can. At least not if it’s properly cooked.
Is Millet The Same As Grits?
Nope! The former is a grain like rice or wheat, while the latter is a particular “cut” or “grind”. Read on…
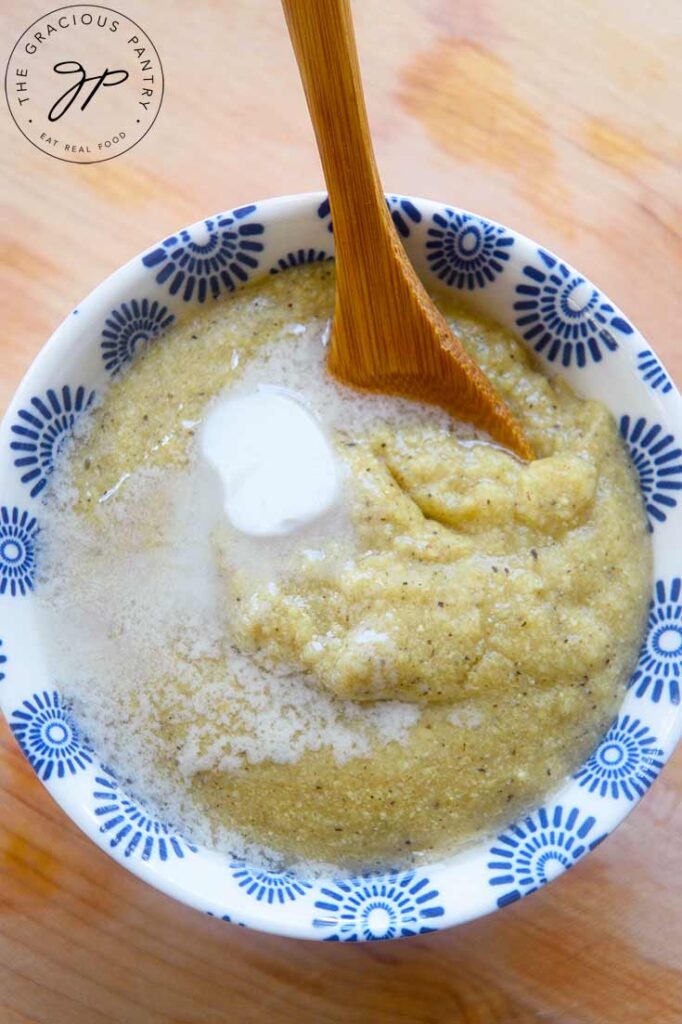
What Are Millet Grits?
Regular grits are made of corn. And much like oats, they come in different “cuts” to the grain. Different styles of milling. In general, it turns the corn into a rough grind, much like coarsely ground coffee grounds. So in this case, you would simply grind millet coarsely to get millet grits.
Can Millet Go Bad?
Like with most grains, over time, they can go stale. Whole millet can be stored in a pantry for approximately 6 months. To make it last longer, you can freeze the whole grains for up to about a year.
Where To Buy Millet Grits
While whole raw millet (whole grain millet) can be purchased in almost any natural food store (typically in the cereal aisle), millet grits are not readily available in most stores. They are in very few specialty stores, and those are very few and far between. So you will most likely need to grind them yourself. I use a coffee grinder that I use just for that purpose.
Is Millet Gluten-Free?
Yes! Millet is naturally gluten-free. However, check the packaging because some millet is processed with other grains, so cross contamination can occur. If it’s critical that these are gluten-free, then make sure your package is labeled as such.
Topping Ideas
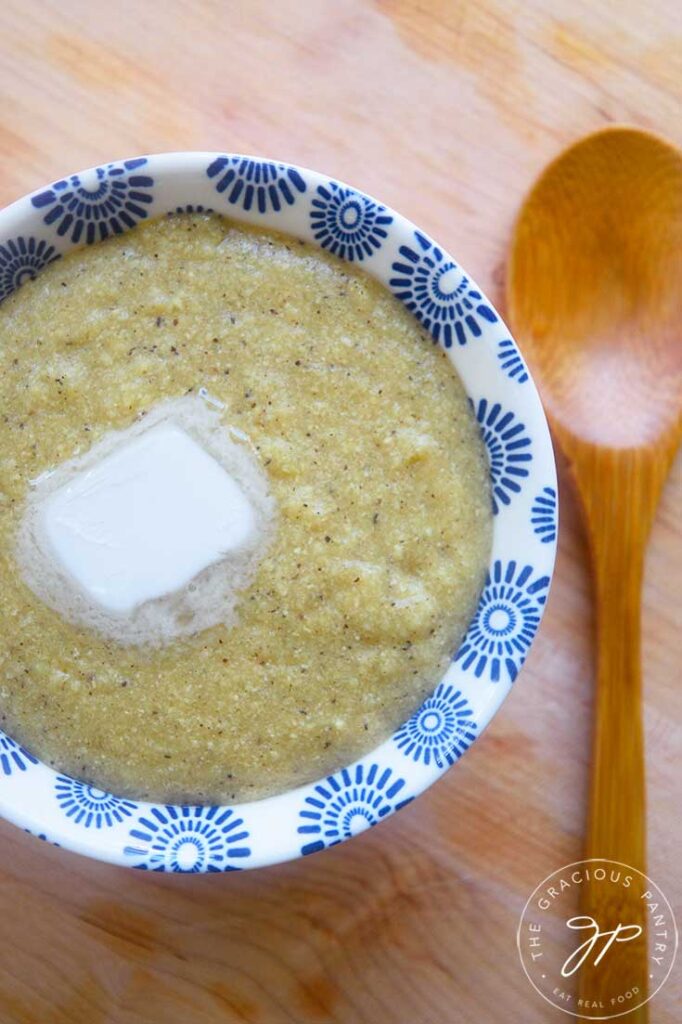
If you are used to regular grits, you can add all the same things to millet grits that you can add to corn grits.
- Cheese
- Cream
- Honey
- Shrimp
- Cooked bacon
- Caramelized onions
- Red bell peppers
- Tomatoes
- Maple syrup
- Chicken or vegetable broth (use in place of water)
- Butter
- Thyme or any other spices
- Garlic or garlic powder
- Olives
- Sun-dried tomatoes
- Vegetables such as mushrooms, corn, onion, carrot, and more.
About The Ingredients
Water – Use a good quality, filtered water. Whatever you feel comfortable cooking with.
Millet grits – Grinders will vary in the cut they give you. You are aiming for something close to, or just smaller than coarsely ground coffee grounds.
Nutritional yeast – I used Braggs nutritional yeast. Use whatever brand you prefer. Just make sure there is no added sugar.
Ground black pepper – White pepper can work too. But black adds great flavor here.
Salt – Use whatever kind you normally cook with. I used pink Himalayan salt.
How To Make Millet Grits
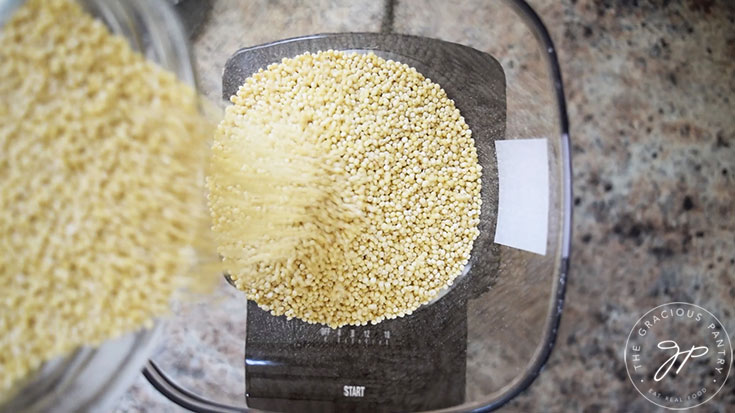
Step 1 – Grinding
Grind the millet into grits on the coarsest setting on your electric grinder. If you don’t have a grinder, you can try a food processor, but you may not get a consistent grind, resulting in a combination of coarser grits and much finer flour. You can sift out the flour to keep and use the larger pieces for grits.
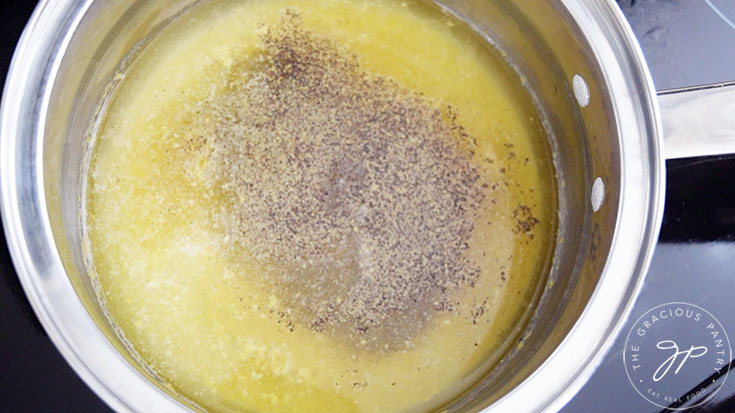
Step 2 – Seasoning
Whisk together the water, nutritional yeast, salt, and pepper in a medium pot and bring it to a boil.
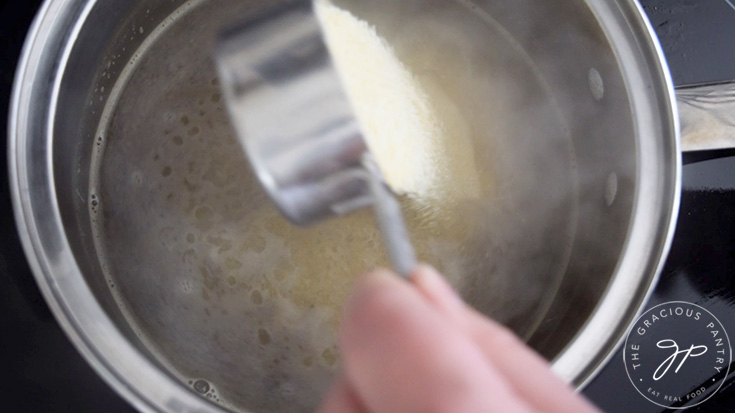
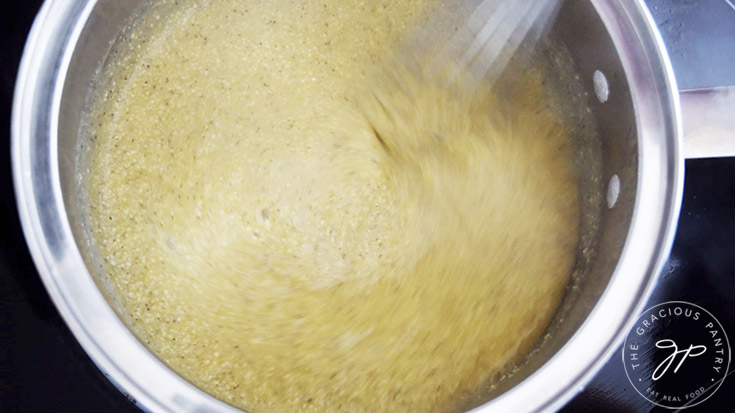
Step 3 – Cooking
Once the water boils, reduce it to medium heat (or low heat if needed) and whisk in the grits Keep whisking to avoid clumps until it just starts to thicken. Simmer on low heat until it reaches your desired consistency.
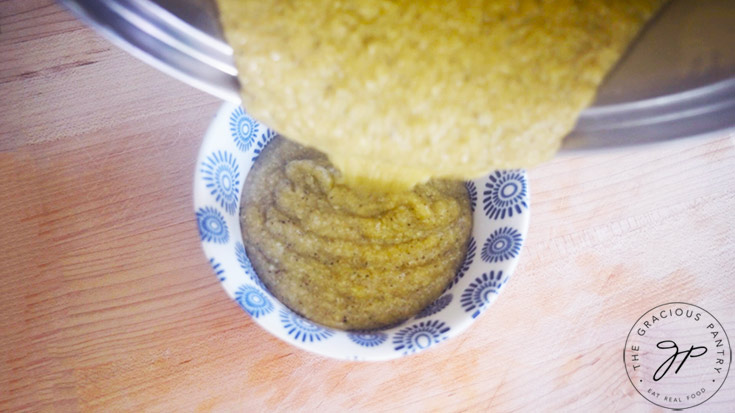
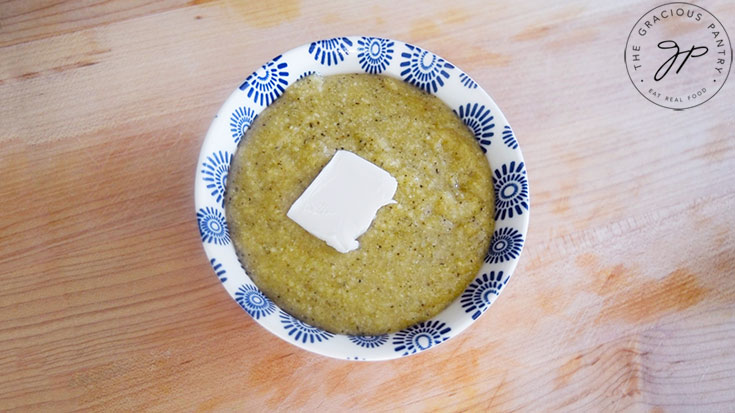
Step 4 – Serving
Serve with your favorite toppings.
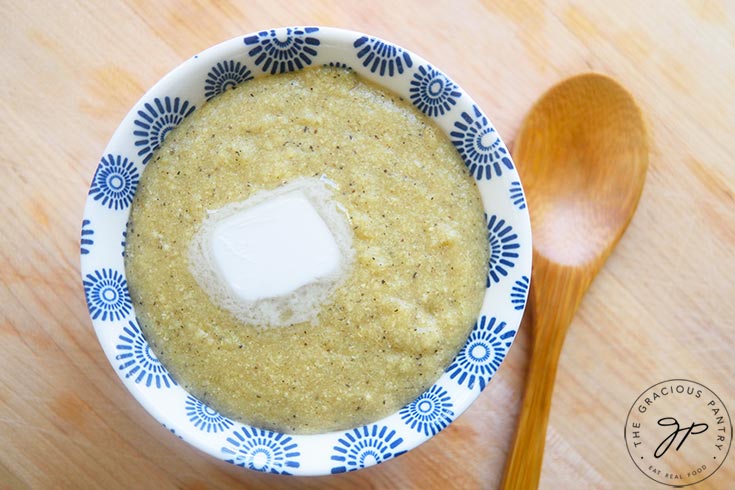
How To Store Cooked Millet Grits
Once cooked, these will last in the refrigerator, in an airtight container, for up to 4 days. You can store this in the freezer for up to 3 months.
Recipe Supplies
For this recipe, you’ll need a medium-size pot and a whisk. Below is also the nutritional yeast I use. You can get any of these items from Amazon by clicking on any of these images. (Affiliate links).
More Healthy Millet Recipes
SUBSCRIBE
Remember to subscribe to my free newsletter to receive all my latest recipes in your inbox. Click here to sign up!
Millet Grits Recipe Card + Video

Millet Grits
CLICK TO WATCH THIS RECIPE IN ACTION!
Ingredients
- 2 cups water
- ½ cup dry millet grits
- 2 tbsp. nutritional yeast
- ½ tsp. ground black pepper (or as much or as little as you like)
- ½ tsp. salt
Instructions
- Grind the millet into grits on the coarsest setting on your electric grinder.
- Whisk together the water, nutritional yeast, salt, and pepper in a pot and bring it to a boil.
- Once the water boils, whisk in the grits and keep whisking to avoid clumps until it just starts to thicken. Simmer on low heat until it reaches your desired consistency.
- Serv with your favorite toppings.


