
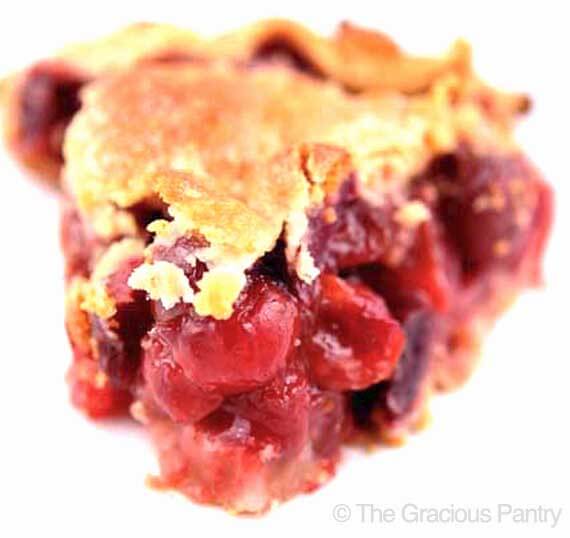
Naturally Sweetened Cherry Pie Recipe
This post may contain affiliate links. If you make a purchase through links on this site, I may earn a commission.
Read my Privacy Policy.
This cherry pie recipe makes a delicious naturally sweetened pie using sweet cherries. The pie filling isn’t sugar free, but is naturally sweetened with honey. It’s one of the best cherry desserts for summer!
I bet you never thought you’d put the words “Clean Eating” and “Cherry Pie” together in the same sentence, did you?
Ya, me either. But that’s exactly what I’m gonna do here.
I recently created another recipe and photo shoot for Elvis International Magazine. They asked me to make Elvis’s favorite Cherry Pie recipe.
Well, far be it from me to turn down work OR cherry pie! I mean, I’m trying to lose weight and all, but let’s face it. Whether it’s once per year, or once per week. At some point, everybody has a cheat meal. So why not make it a slice of something that’s not only tasty, but healthy too!!
The interesting thing is, I didn’t have to change very much of the original cherry pie recipe to clean it up. The more of these recipes I make, the more I realize how much people enjoyed very simple foods in those days. We could all learn a lesson or two from Elvis, eh?
I will say that the clean eating pie crust is not as flaky as traditional pie crust, but it’s better for us, and it’s tasty. That’s all I need!
OTHER NATURALLY SWEETENED DESSERT RECIPES:
CRUST RECIPE FOR HOMEMADE CHERRY PIE FILLING
CHERRY PIE RECIPE:

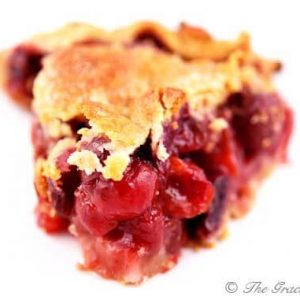
Homemade Cherry Pie
Ingredients
- 1 batch clean eating pie crust (see recipe above – rolled thin)
- 5 cups cherries (cut in half and pitted)
- 2 tbsp. cornstarch (arrowroot or tapioca starch will work too)
- ¼ tsp. almond extract
- ¼ tsp. ground cinnamon
- ¼ tsp. sea salt
- 1 cup honey
- milk or egg wash for pie top (1 egg beaten with a fork and brushed over pie top)
Instructions
- Preheat oven to 425 degrees F.
- Make your pie crust (this will only take about 10 minutes). Just be sure when you roll it out that it’s rolled very thin. About 1/8 of an inch should do the trick. If you leave the crust to thick, that’s all you’ll taste when you bite into you’re pie. And lets face it. The cherries should be the star here.
- Prepare your cherries (this takes a little time, but you can always do this in advance).
- Combine your cherries, cornstarch, almond extract, cinnamon, salt and honey (if you are using it) in a large mixing bowl. Mix well.
- Pour your cherries into your pie crust.
- Position the second crust over the top of your pie, and pinch the edges together all the way around. You can use a fork if you want it to look pretty. You can also get creative like I did here with a little of the leftover dough. I cut out some chickens (at least I think that’s what they are), and placed them around the edge.
- Don’t forget to cut a vent in the top of your pie so steam can escape!
- Using a basting brush, brush a light coat of milk over the top of your pie.
- Place the pie in the oven and bake for approximately 45-60 minutes or until the fruit juices start to bubble in the pie.
- Cool on a cooling rack, slice and serve.
Thank you! My 13 year old son picked 6 pounds of cherries from Grandma’s tree today and this is exactly what we were looking for!
Cassi H – My pleasure! I hope you both enjoy it!
Could the filling or pie be frozen? Would I freeze it before or after cooking? Thanks so much 🙂
Nh – I would just freeze the filling. The crust might not hold up so well.
I used frozen cherries and the filling was super runny – was it because I didn’t use fresh cherries??
Amanda – Yes, that would have been the water from them being frozen. If you want to use them, you would need to thaw them and let them drain for several hours. But then you also lose some of the juice. Fresh is best here.